Twenty-five. The Making of a Tree Art Bench
January 1st, 2012. After exploring a lot of design options, both functional and sculptural, and with many choices and indecisions, the project is now underway. I finally decided to make a large seating bench that could serve in a public space, possibly in the lobby of an historic, and monumentally rustic, inn?
I began taking photographs in the workshop after selecting trees, some new ones for this project and others I had previously prepared then not used for other projects.
I’ve decided to publish this documentation as the project proceeds, as a”work-in-progress,” similar to what I did in documenting the making of the trestle table a year of so ago.

Getting started by selecting component pieces, each a lodgepole pine tree trunk–four “swan’s necks” and one “tuning fork”.

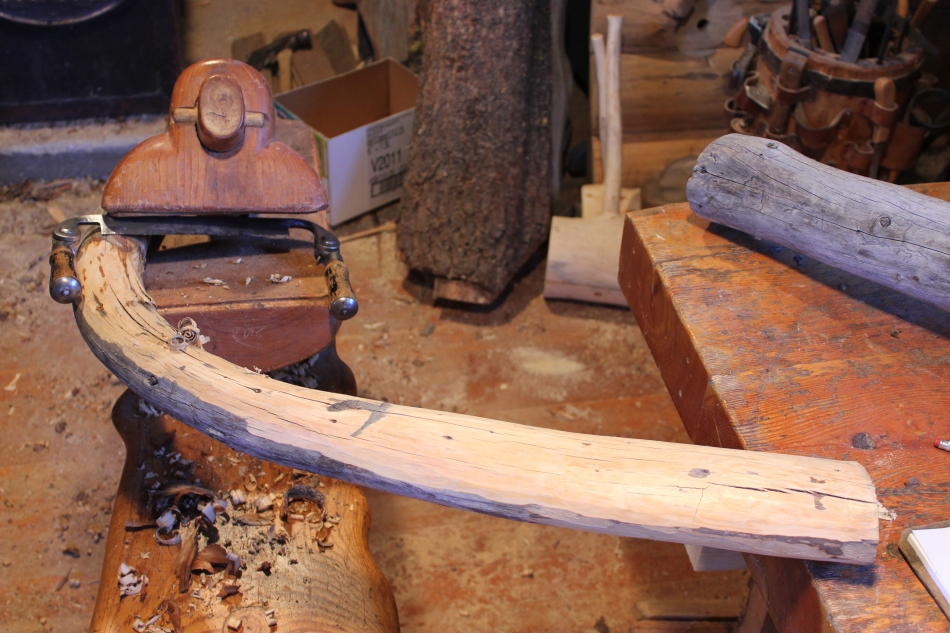
The drawknife and long arch held in the shaving horse. This is an example of the difficulties, the awkwardness of securing the irregular tree shapes, and of how helpful the shaving horse is.

These four tree trunks will become the bench legs that will also support, I think, slab wood armrests. They were originally prepared for use as dining table legs.

Here are sketches (not very artistic) and notes, some old ideas from my 3-ring design binder combined with new options as my thinking about the piece evolved.

Here I have positioned all the pieces into a design for the backrest of the bench. I’ve joined the two swan’s necks end to end, after drilling a 1 inch hole into each piece and inserting a hardwood dowel to maintain the alignment when I web clamped them together.

The bench will be about 8 feet long, so I had to add a board to my workbench top to support the swan’s necks. Using the wood clamps this way solved the problem of how to hold the two swan’s necks upright, so I could begin fitting the arch.

After clamping the joint, I marked the pieces with a connecting straight line, so that after I’ve disassembled the joint for gluing I’ll be able to realign it as it was marked. After gluing, I’ll size and shape the joint by hewing and rasping away the excess on the one piece. And I’ll inlay the flat iron piece on the underside.

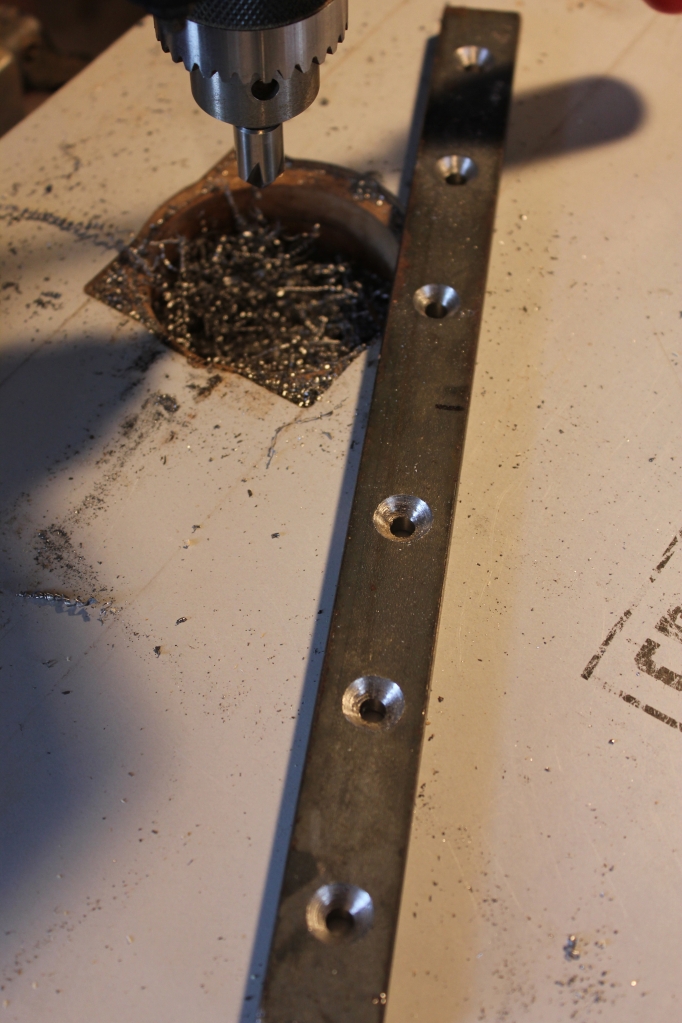
This piece of flat iron is drilled, holes with with countersinks, for flathead wood screws. It will be concealed, inlaid on the underside of the two swan’s necks to span and reinforce the end to end joinery.

A next challenge was to place the arched tree trunk on top of the swan’s necks to make the joints. That’s a recurring challenge because hand holding and clamping the irregular shapes securely isn’t easy, but necessary to cutting and fitting the joints repeatedly.

At this end of the arch, I decided to make a shallow mortise to secure the joint, again making an alignment mark.

Here I’m using a Japanese rip saw to make a “mated cut,” a coped joint in which the saw is cutting both the arch and the swan’s neck at the same time. This takes repeated passes, using a wedge to prevent the saw kerf from pinching the saw blade as the cut progresses.

After the mated cuts were done, I laid the clamped pieces flat on the bench and drilled a 7/8″ hole from the underside of each swan’s neck and up into the end of each arch to reinforce the joint. The dowels are extra long so I can twist them out for gluing. I’ll wait until the other pieces have been dry fitted and joined, so i can glue, clamp, and dowel them all at one time.

Leave a comment