Thirty-five. “Ox-bow” stretcher on back legs
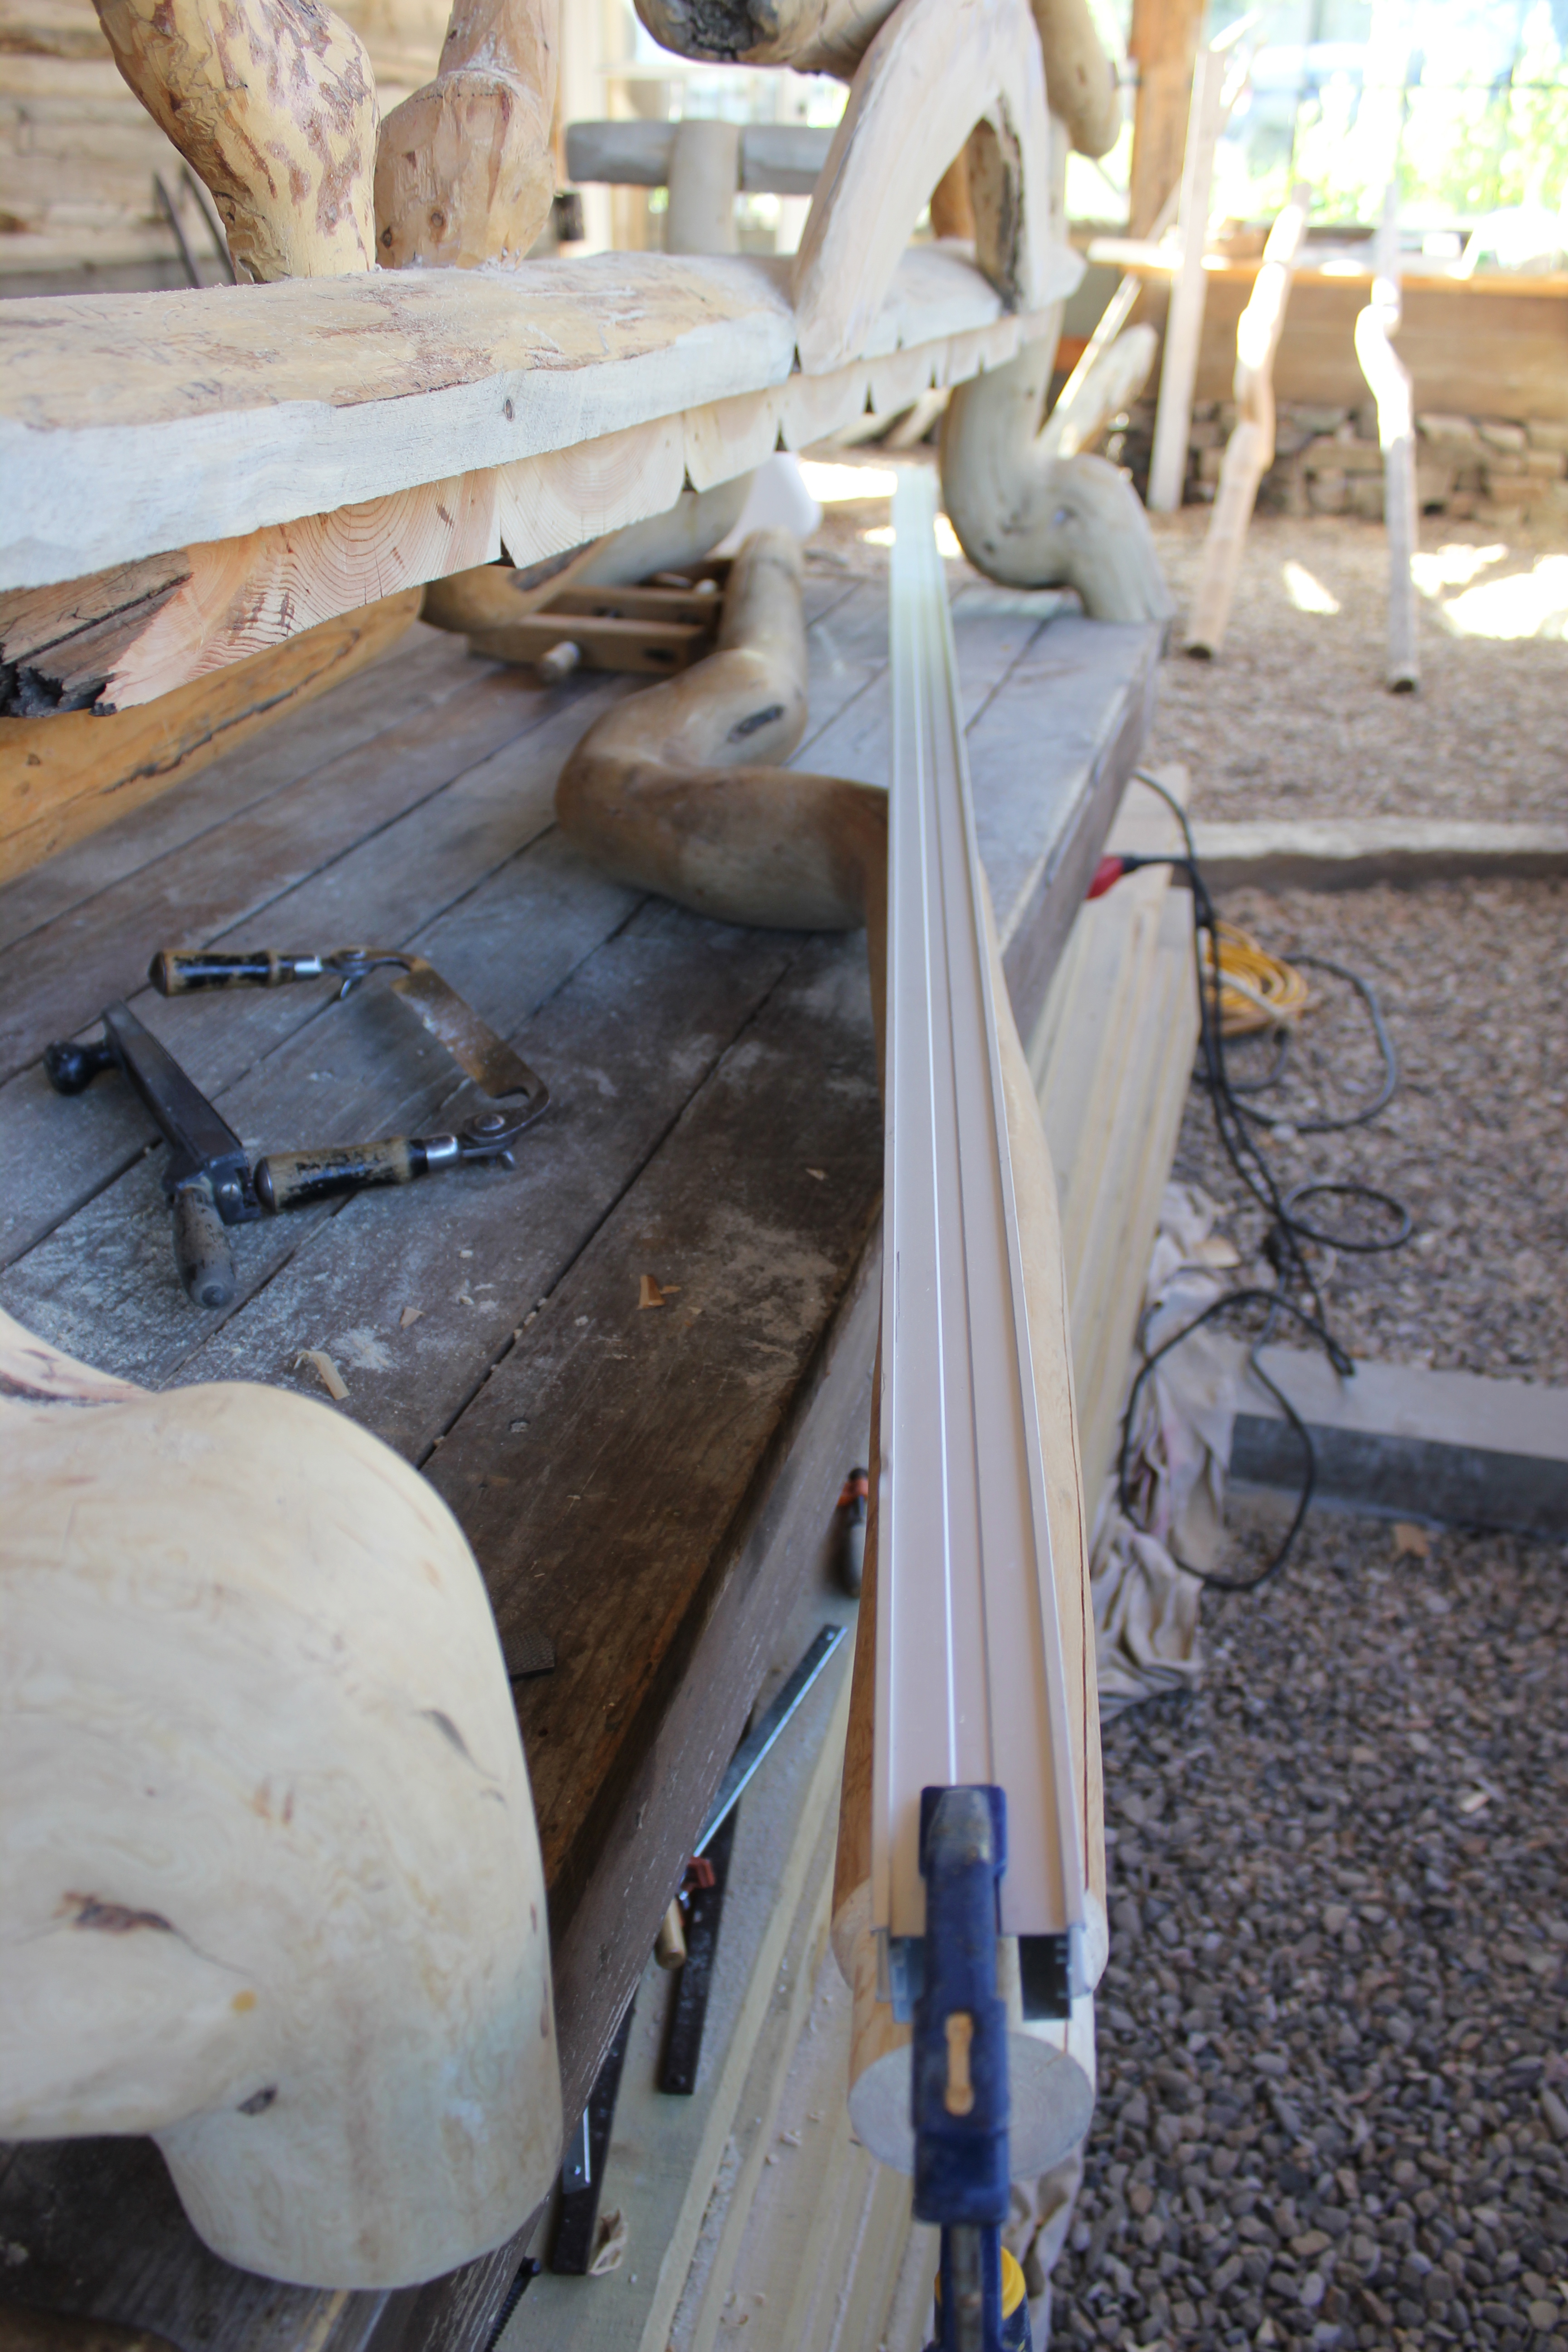
In preparing to place the ox-bow stretcher, and locate the mortise holes at each end, it was important to measure the difference between its two ends on a single line, by clamping an 8 foot straight edge on what will be the lower end. The goal was to place the holes at levels that would place the entire ox-bow in a horizontal position when installed.
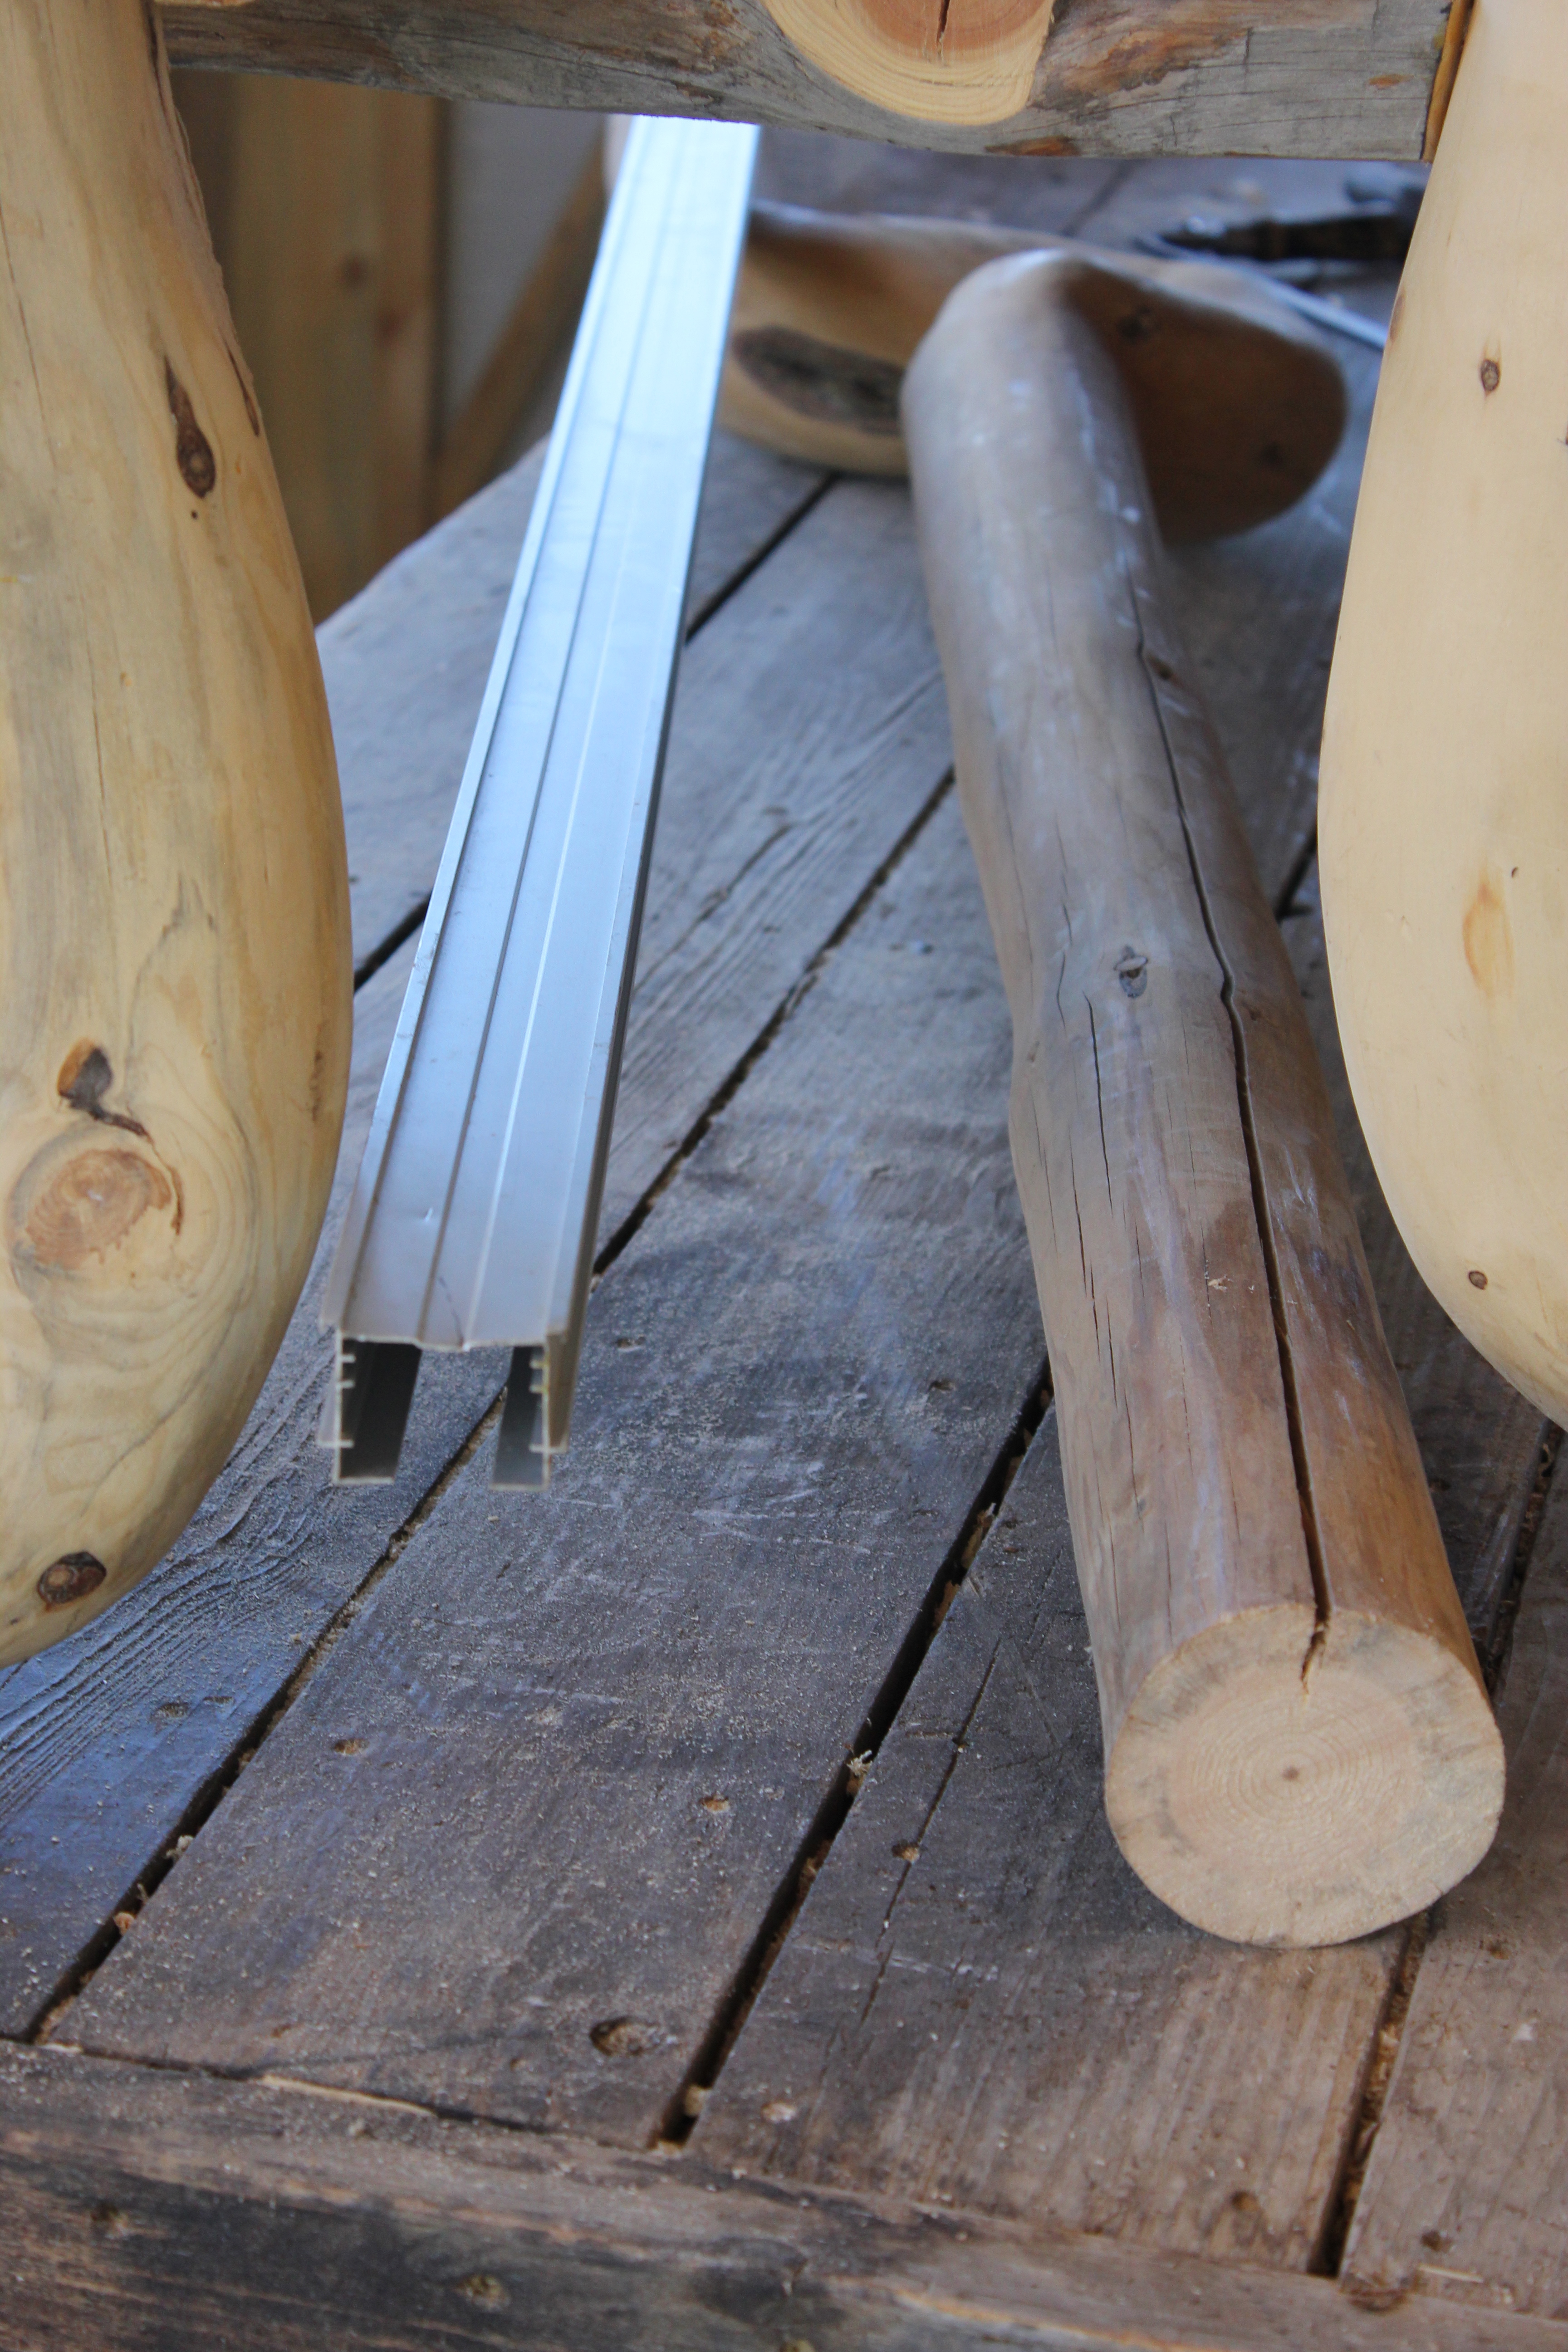
This view, from the other end, shows the offset and the required difference in the round mortises.
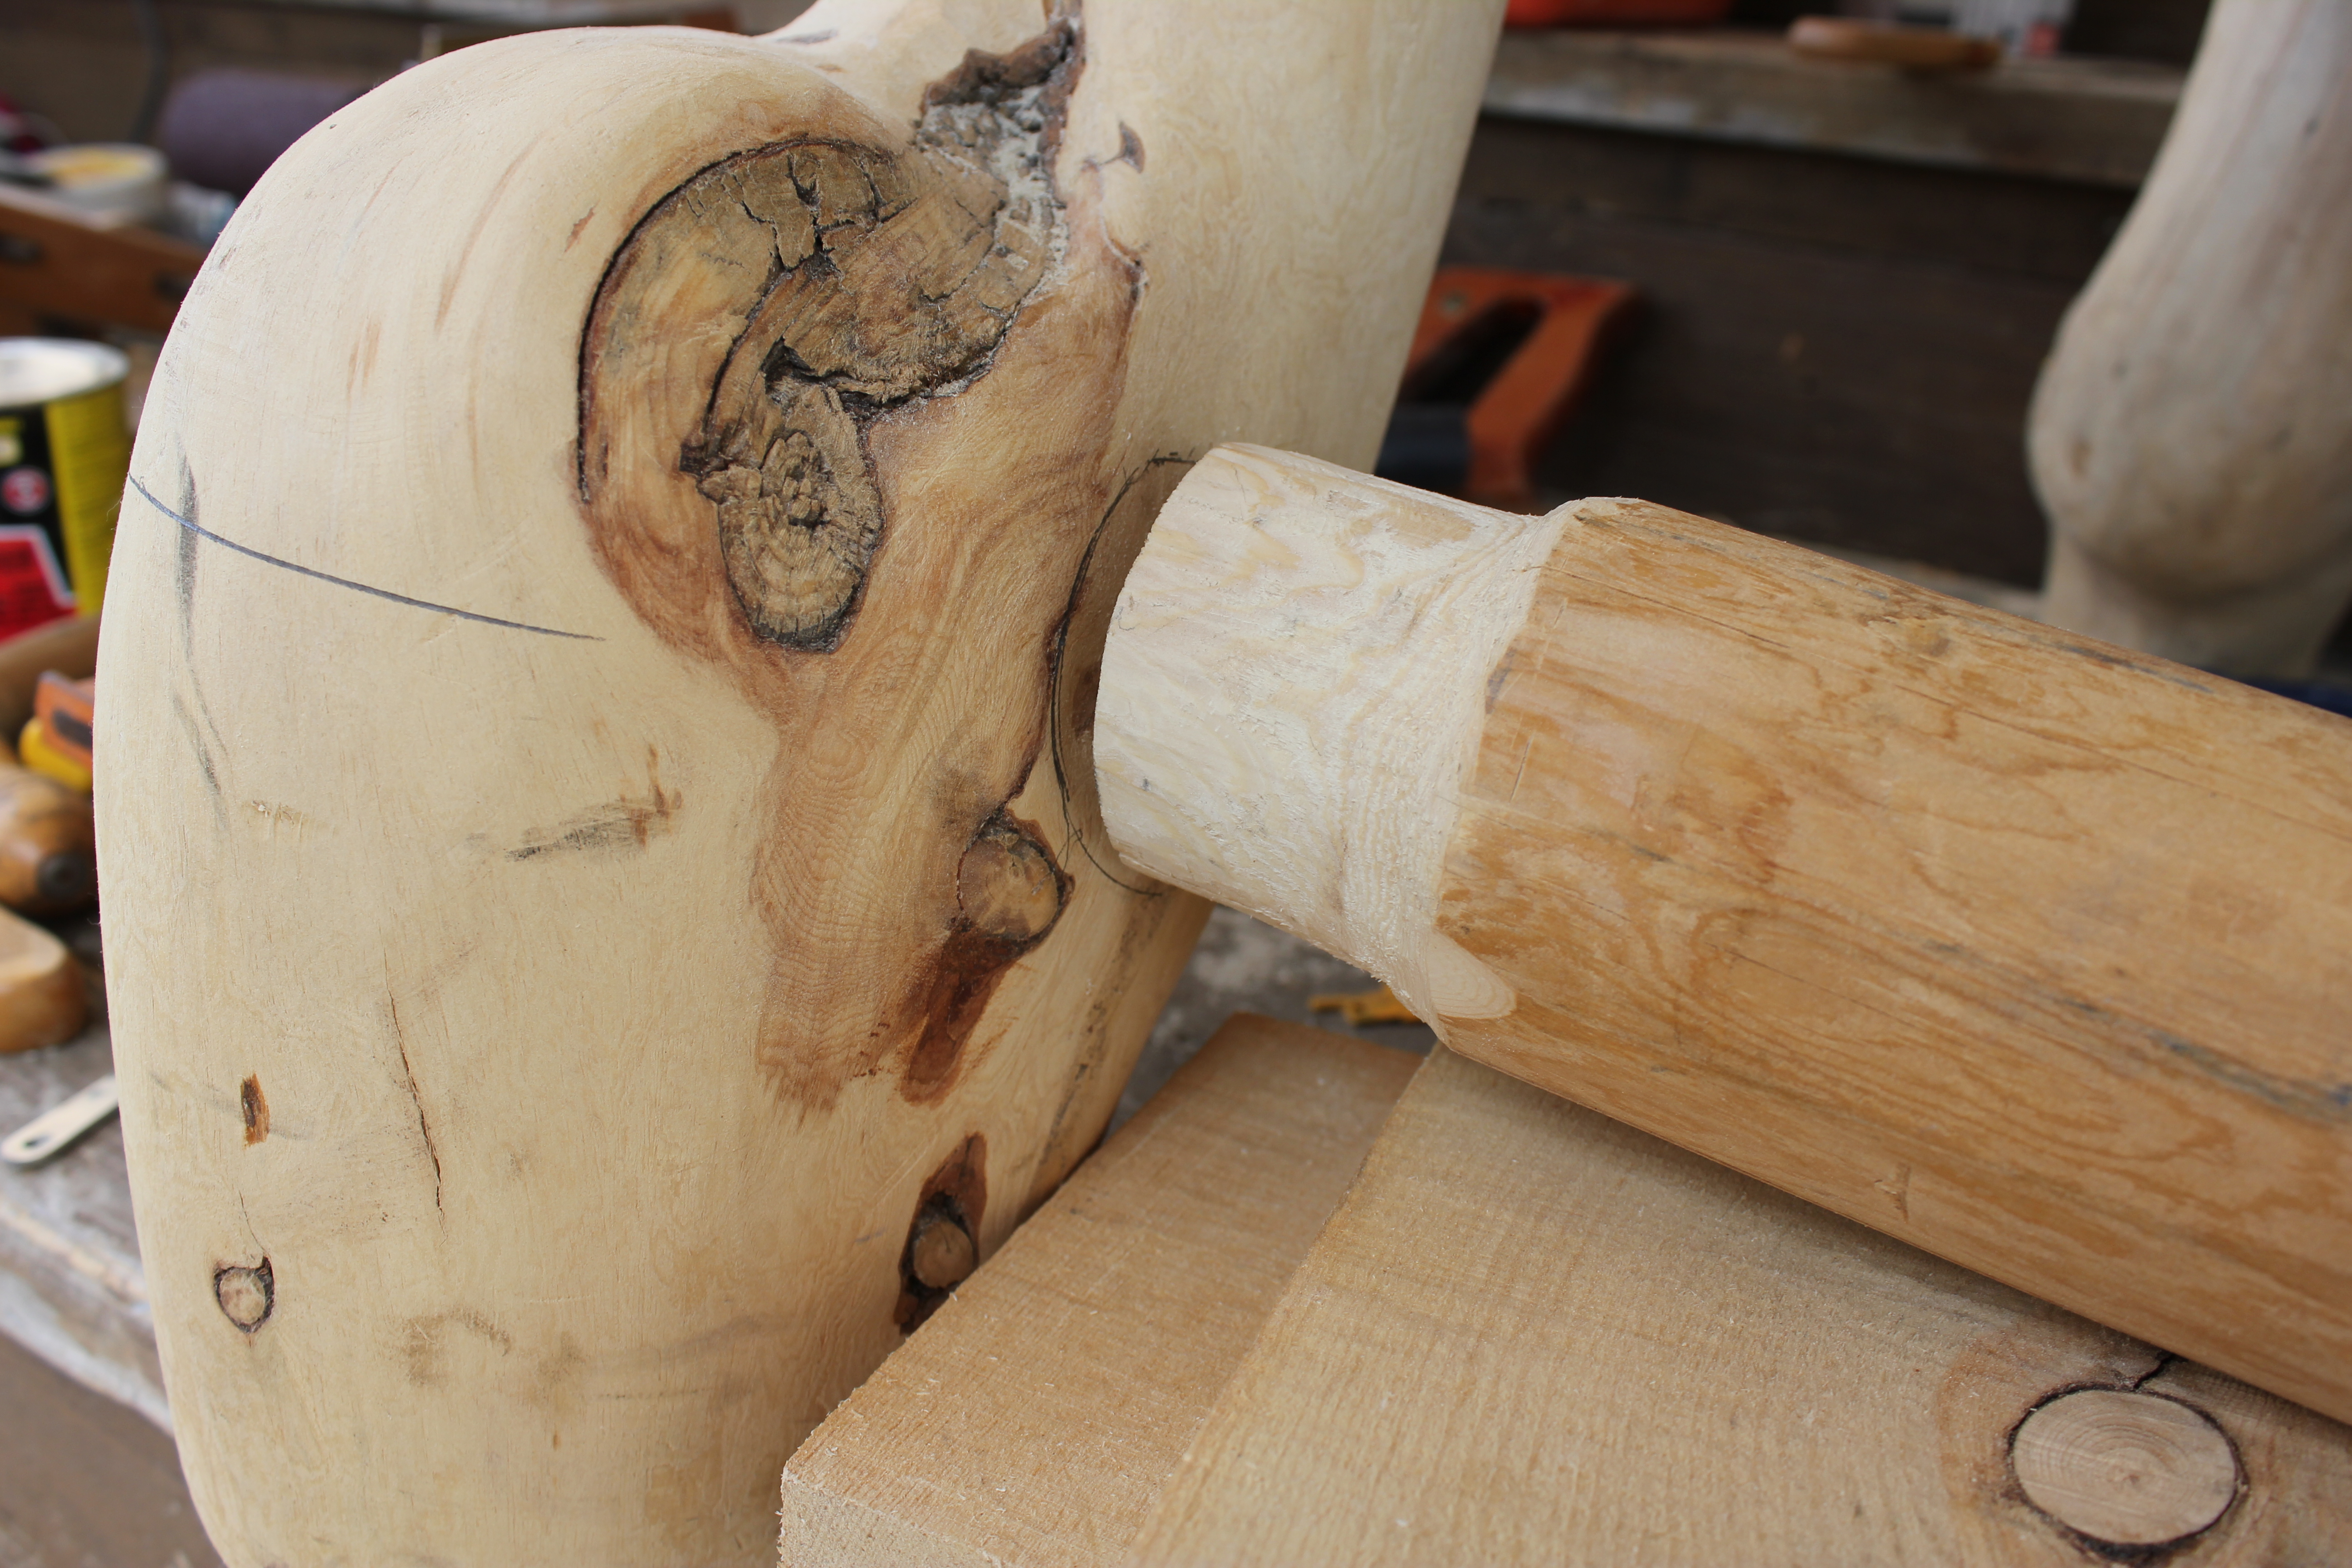
The position of the lower mortise is marked for drilling a 2 9/16″ hole. The straight line on the leg is a guideline for the drilling angle, because the tenon will enter at angle lower than level. I’ve used two boards under the stretcher to support it at a height the keeps the entire stretcher in the desired position.

The opposite end of the stretcher required a saddle notch, because of the difference in the heights of the two ends. The end of the stretcher was left in its full diameter.

The 2 9/16 inch hole is located in a solid part of the leg. The appearance of the location was also a design consideration.
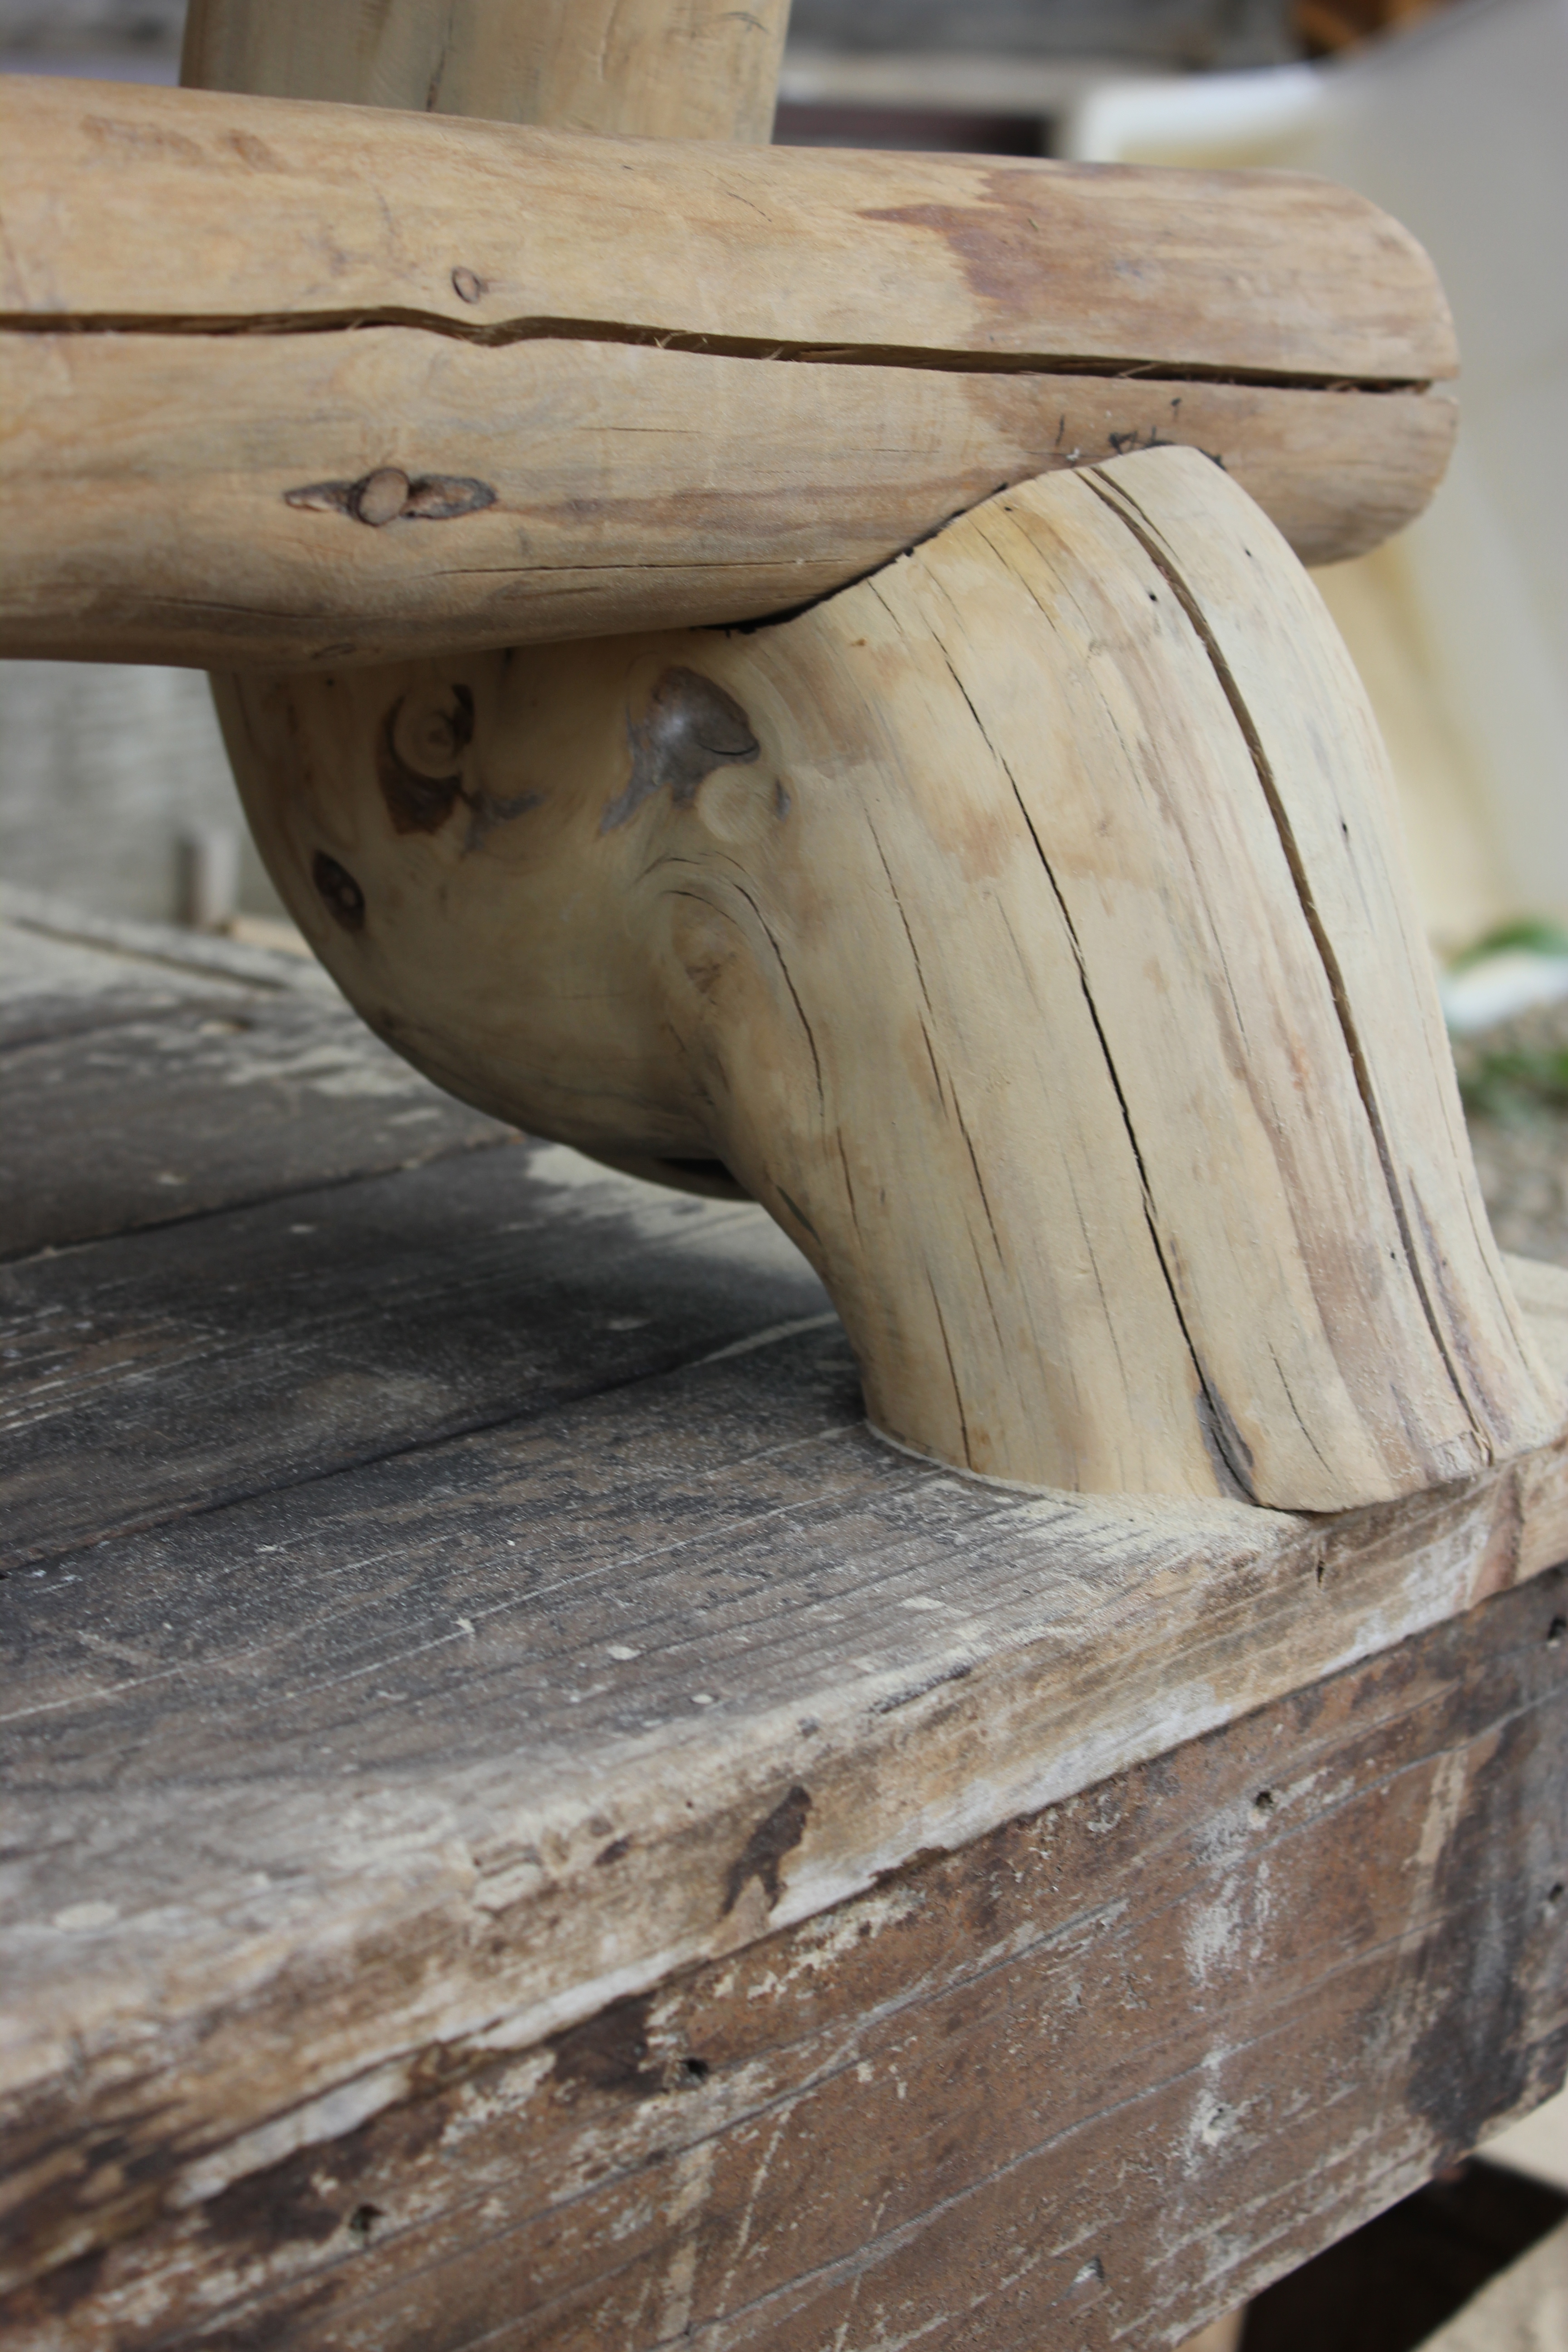
This end has a solid saddle notch fit, that I’ll secure with two countersunk 3/8″ lag screws.
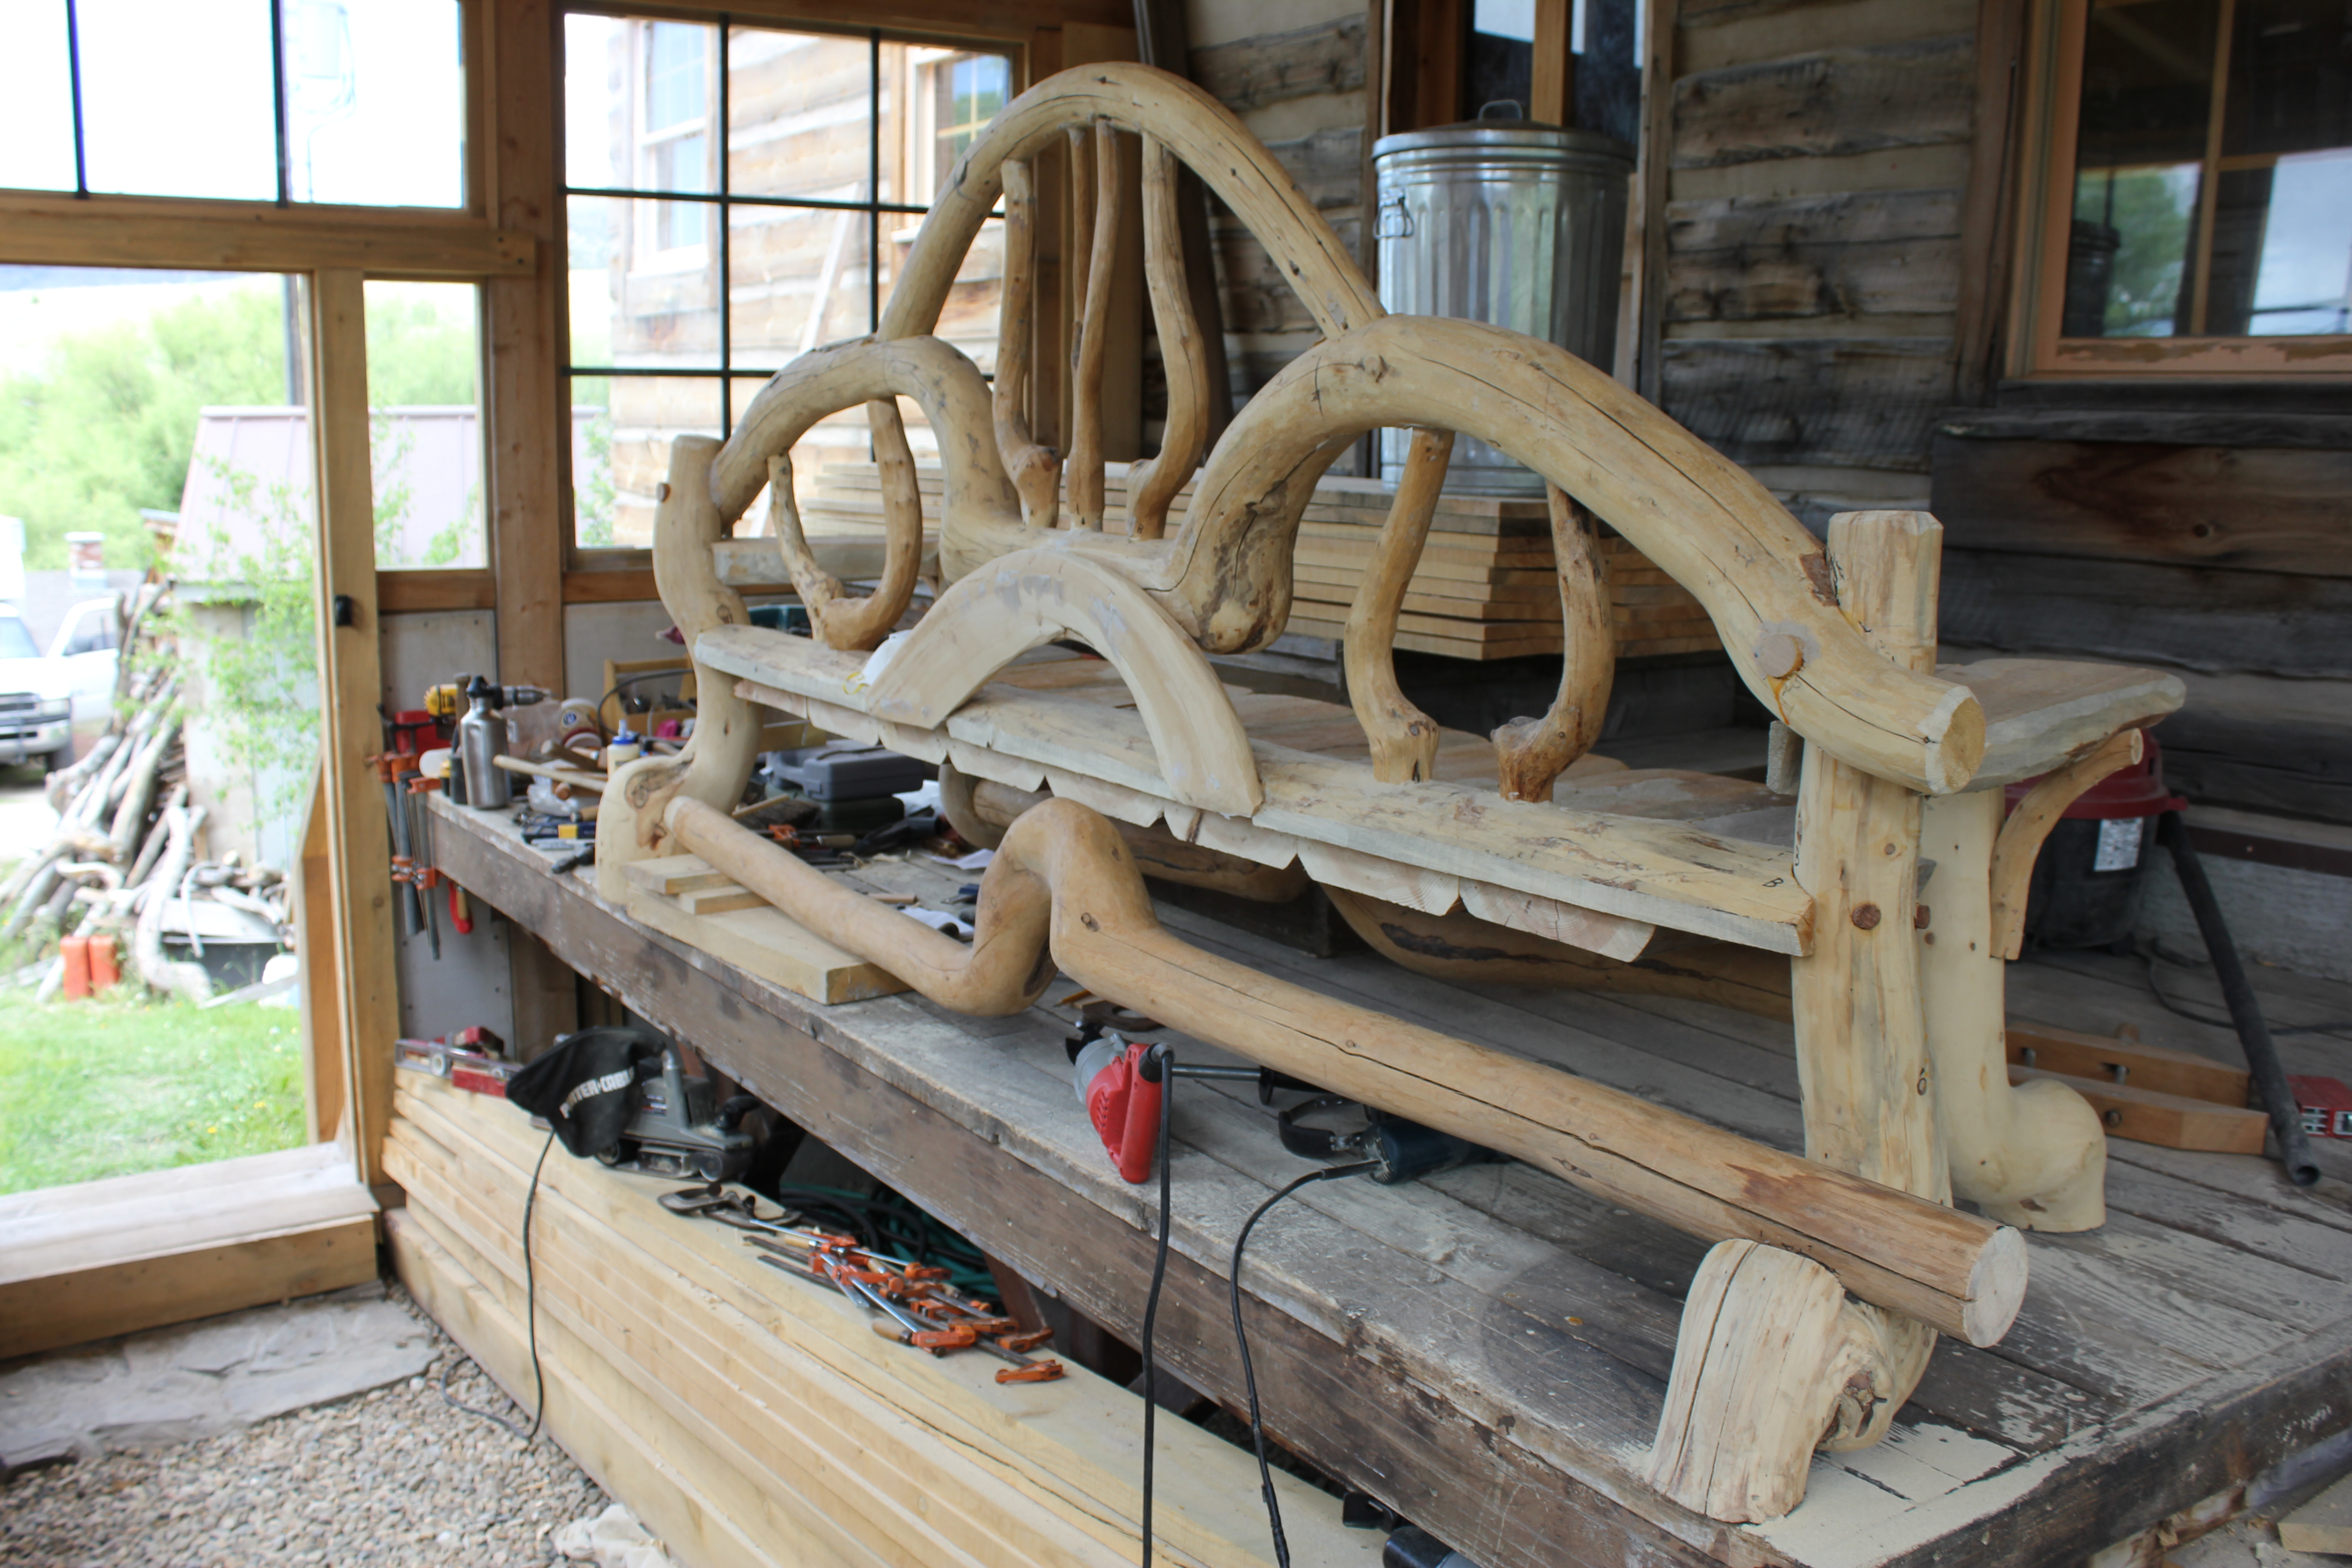
This is the overall look of the rear ox-bow stretcher.

Leave a comment