Thirty-one. Joining the front legs with an “ox-bow” stretcher
Throughout the designing and making of this bench, I’ve used trees prepared for use, but not used, in other furniture projects. The “ox-bow” is a tree art motif I identified many years ago, and the ones in these photos were drawknifed and sanded long ago. I brought a selection of them up from the workshop. I’ll use two as stretchers, one between the two front legs and one between the two back legs.

The one I selected for the front stretcher is laid in place for marking its length. The one on the bench seat will probably be used in the back. The front legs are temporarily screwed in place.
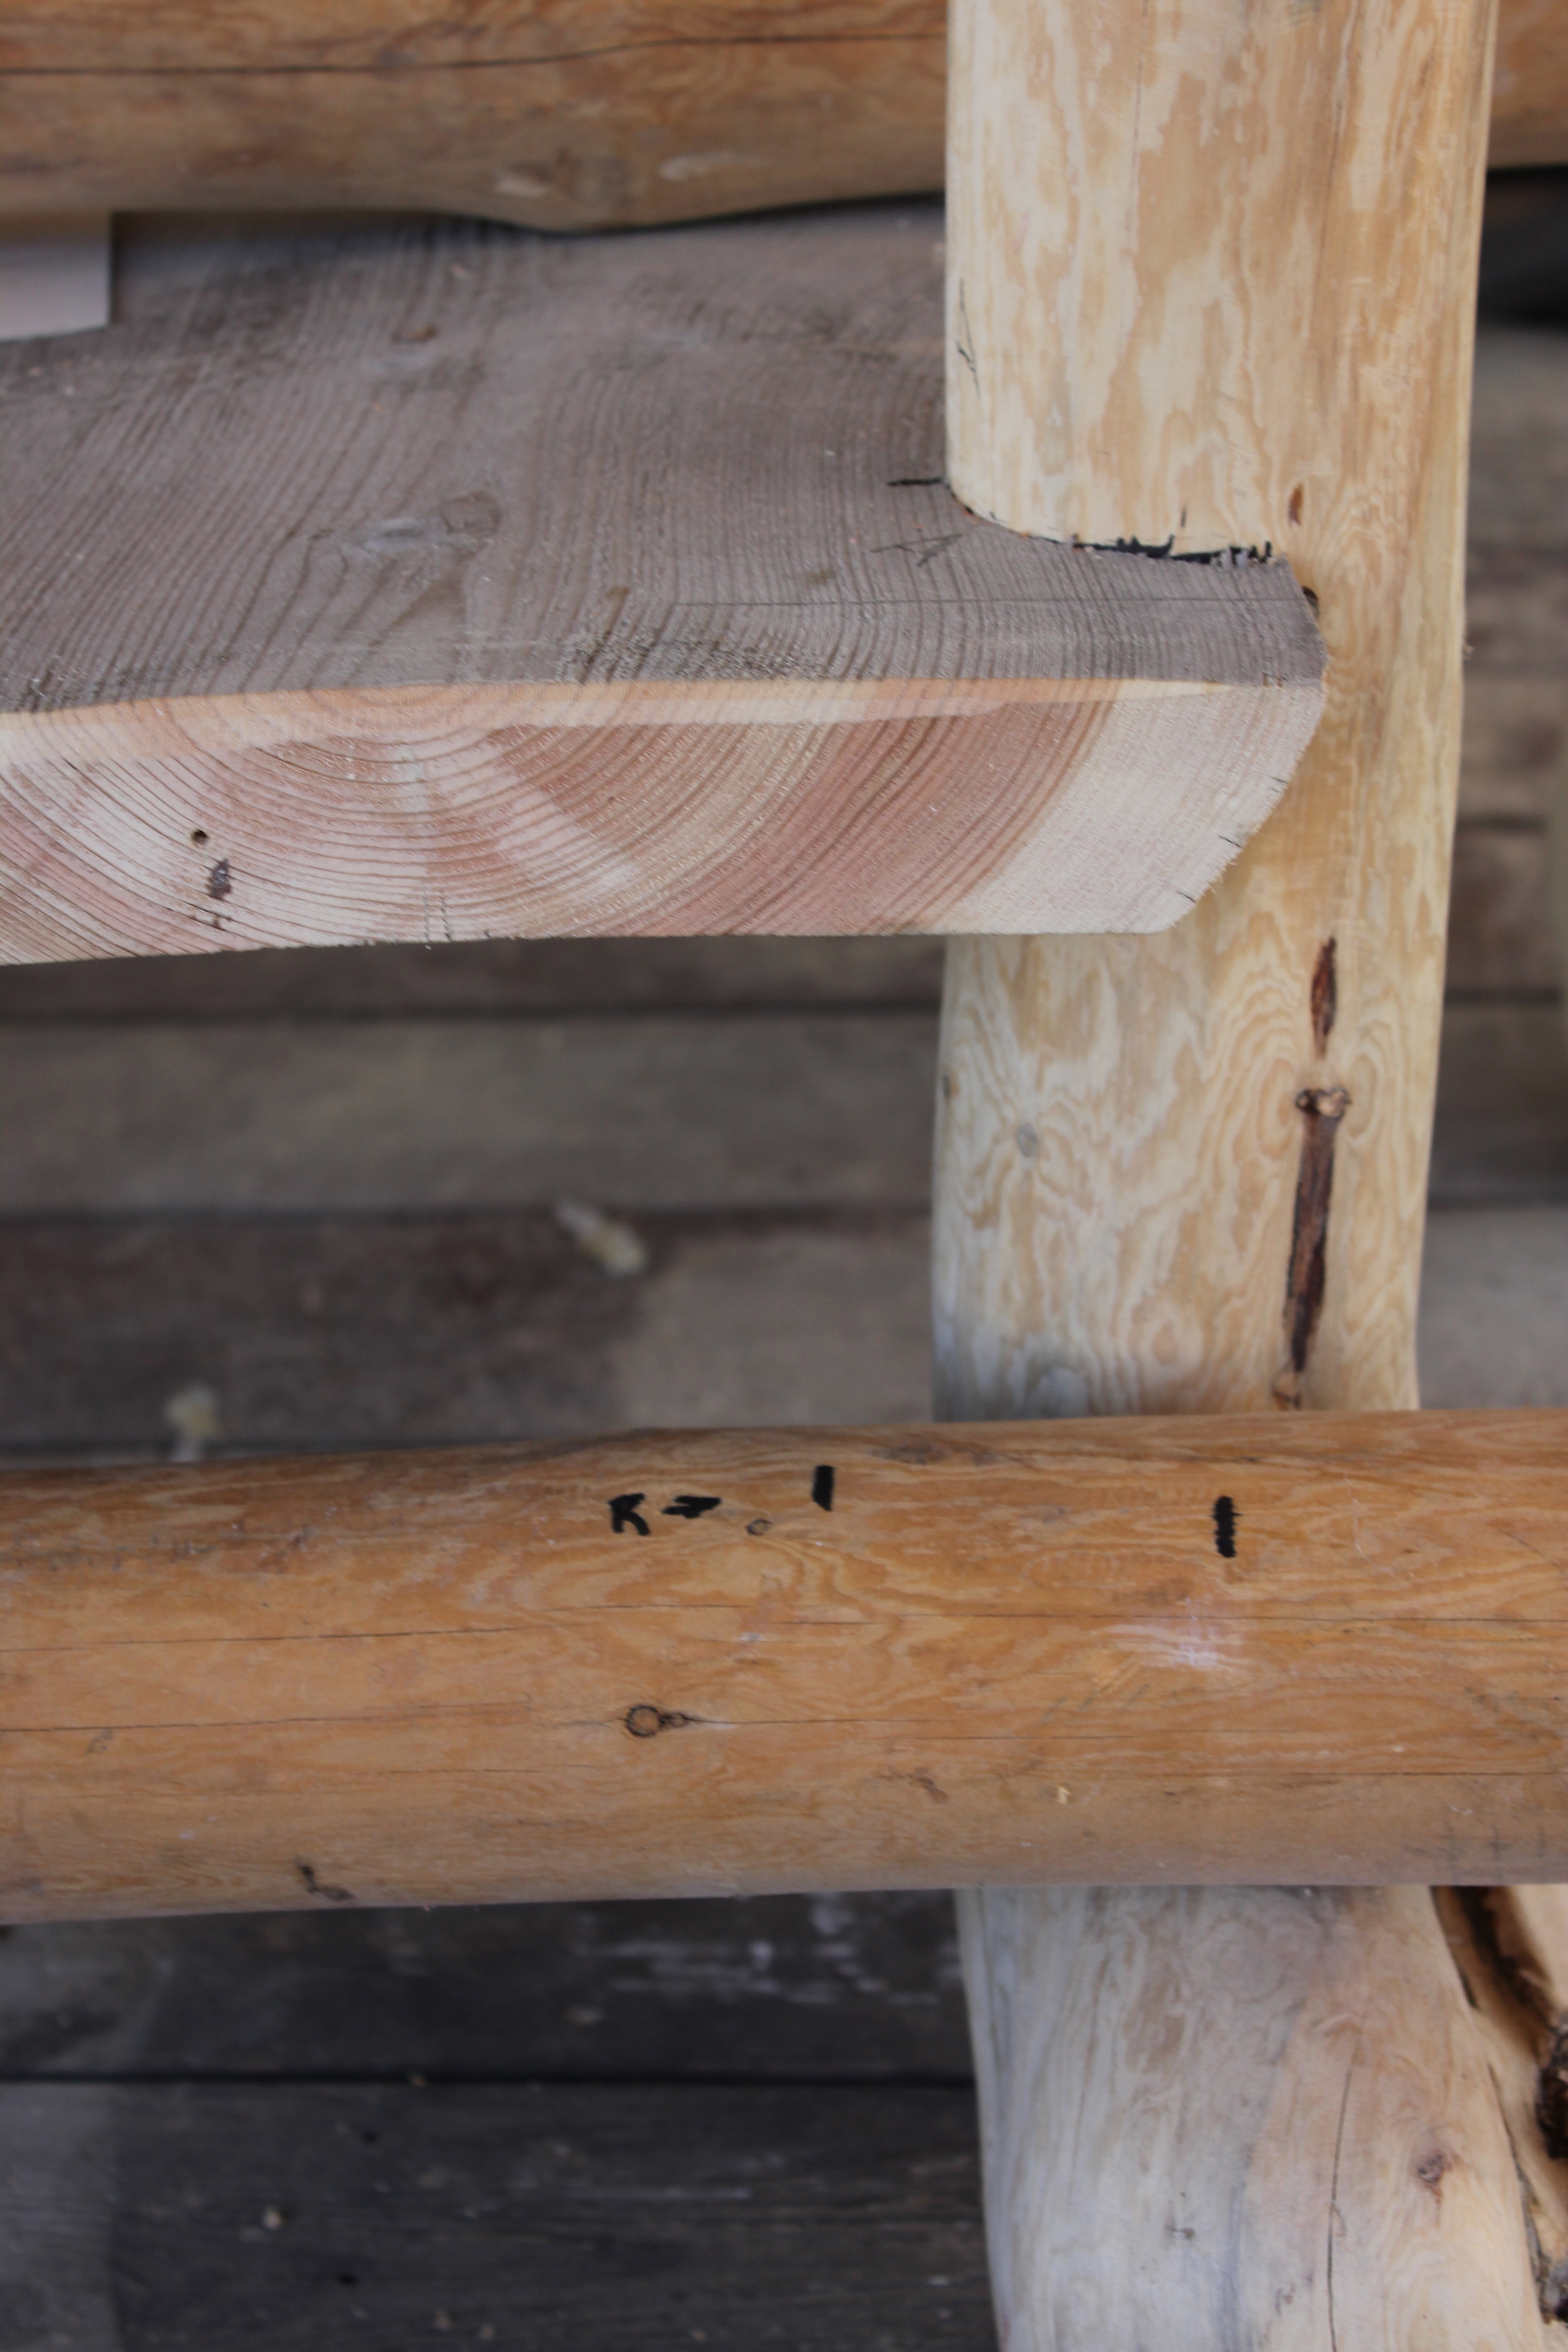
The stretcher is marked twice. One mark is for overall length and the other for the shoulder cut of the tenon. The”R” is to label the right end the stretcher.

I’ve taken the stretcher down to the shop, placed it in the shaving horse, and marked both the diameter and length of the tenon.
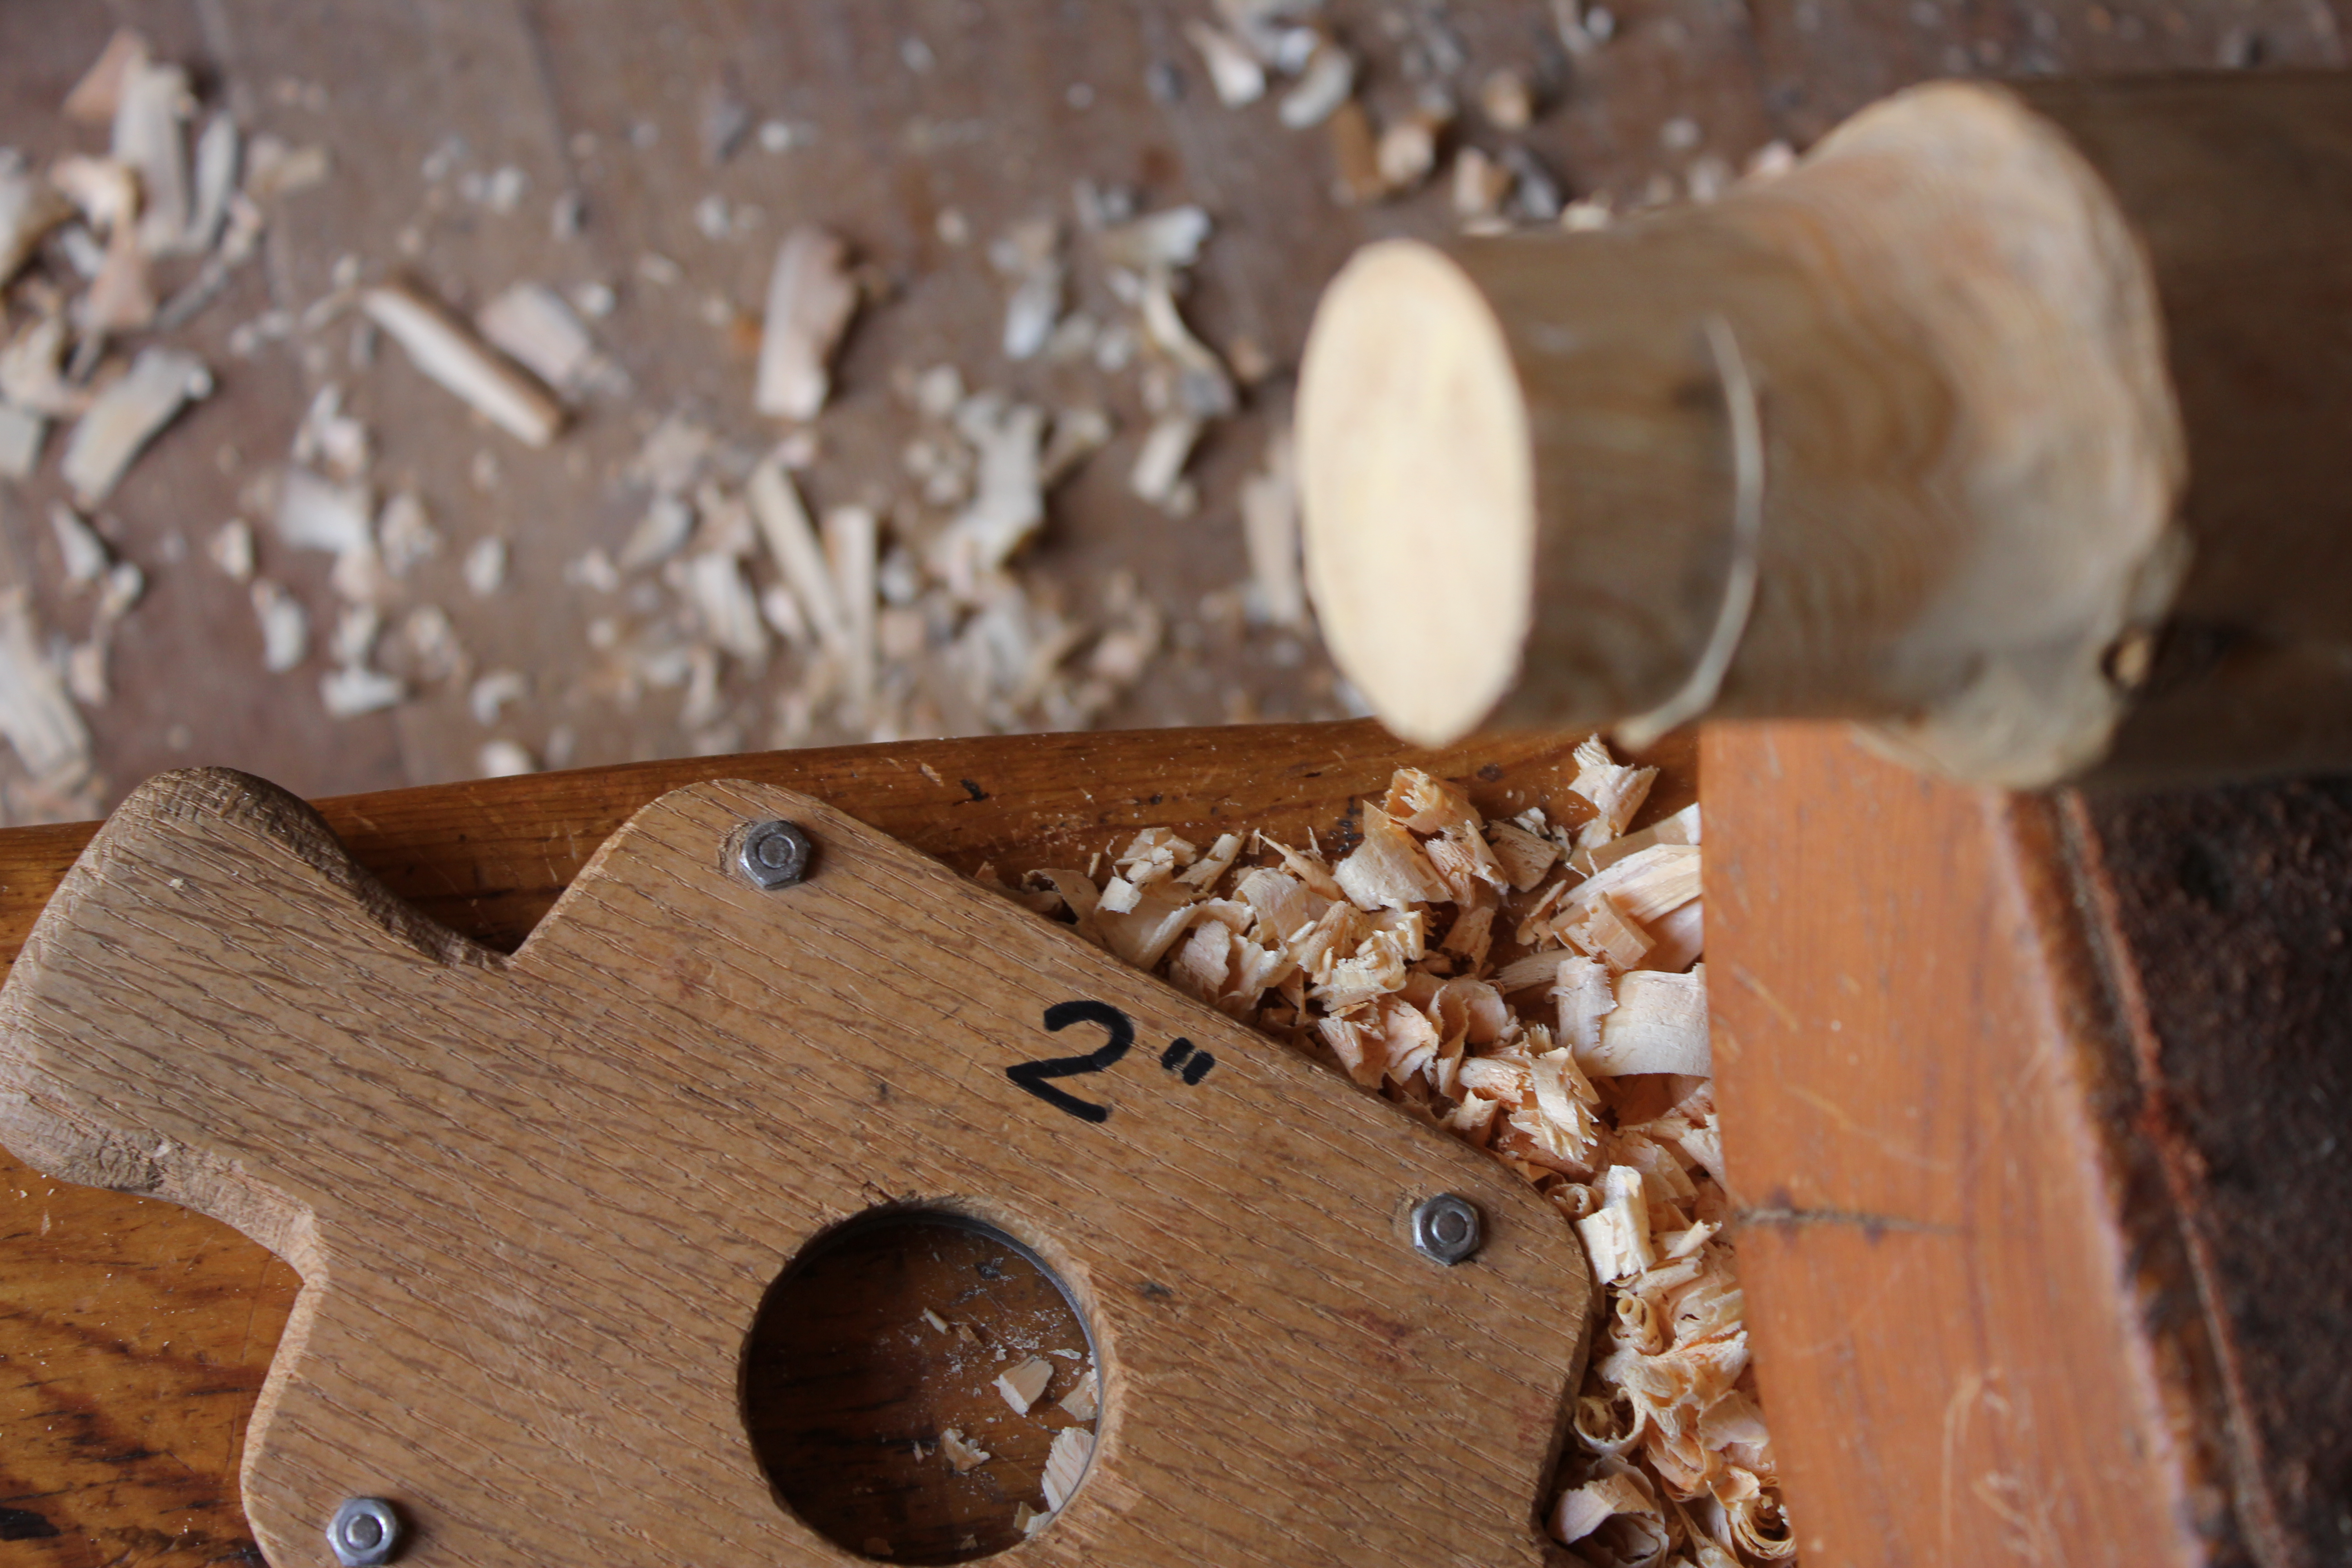
In 1992, I made a set of sizers of my own design, with different diameters, as an important part of hand-cutting tenons. Here I’m using a 2″ diameter sizer. I start the sizing by cutting the end down to the circle guideline with a drawknife. As the sizer starts to fit over the end and is rotated back and forth, its steel plate leaves a ridge on the tenon to show where more drawknifing is needed. The ridge shows in this photo. The goal is to make a truly round and cylindrical tenon all the way up to its shoulder. I have never used any kind of power tool, “production” tenon cutter.

It’s tricky to get the right horizontal alignment on the drilling angle of the mortises. Because the ox-bow stretcher is not straight, the heights of the holes and the drilling angles have to matched to each end the ox-bow and to its overall shape. One mortise is 2′ in diameter; the other is 2 1/2″. I drilled them using a combination of a Forstner bit and a hole cutter.
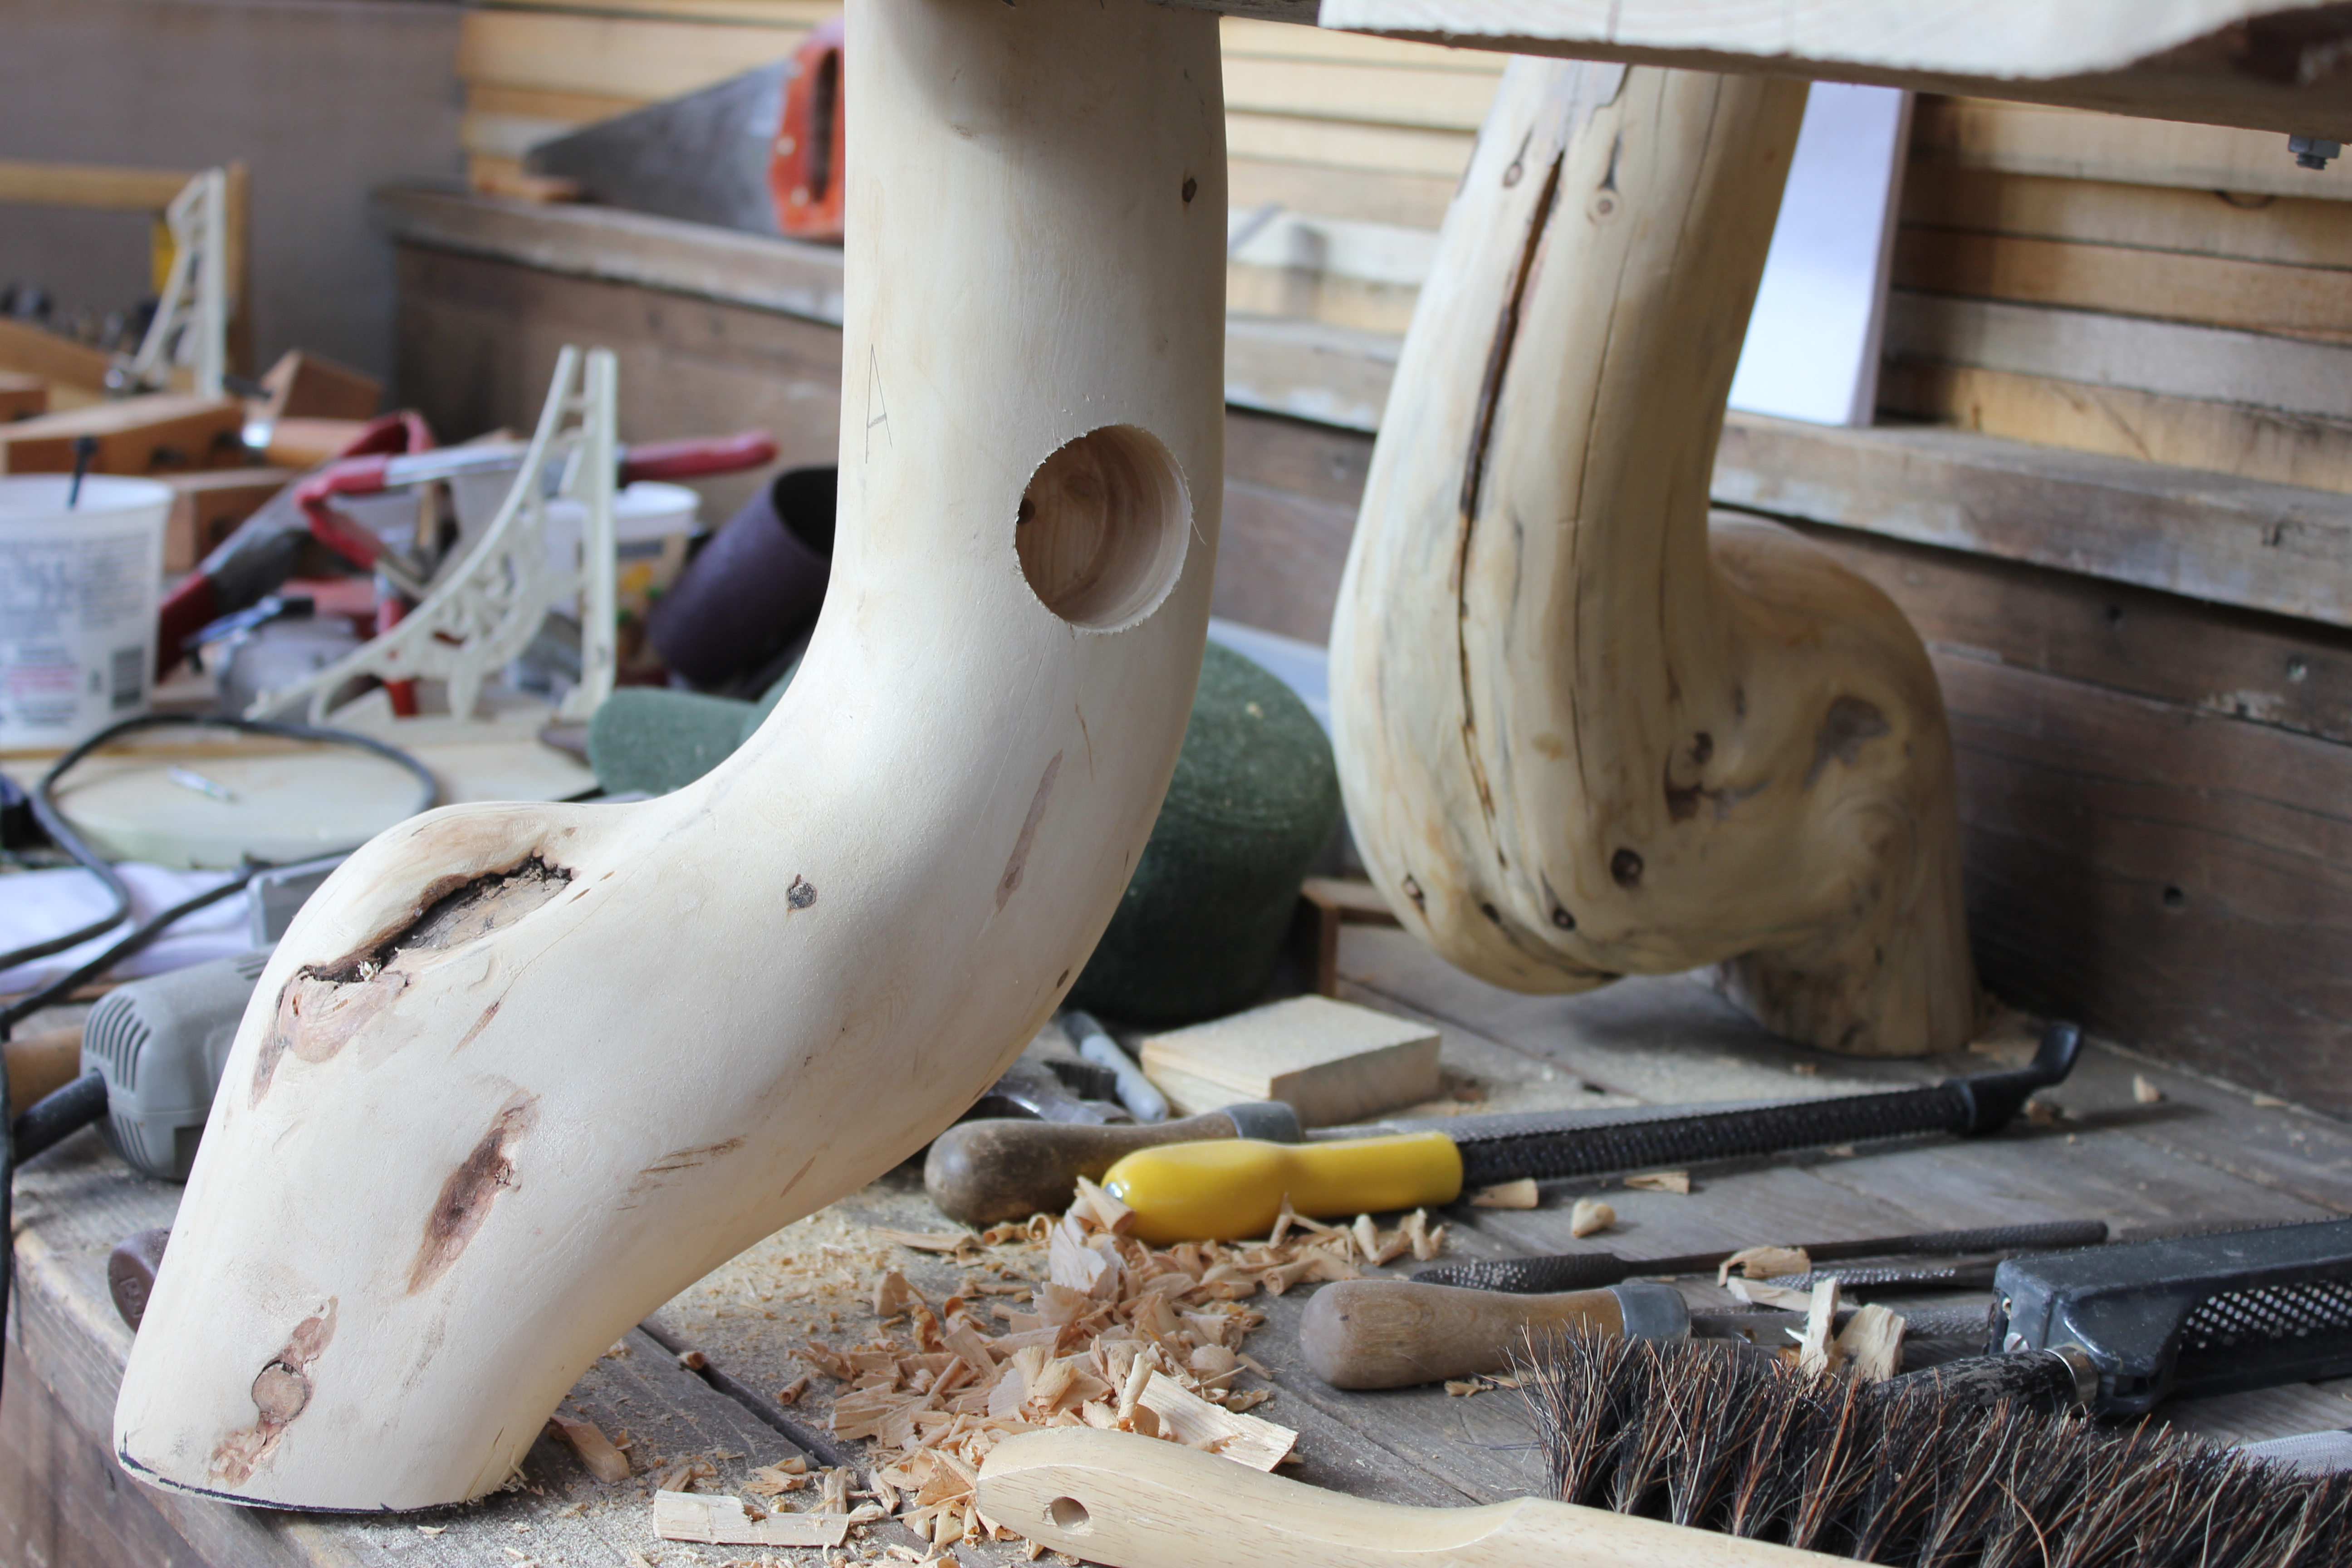
This is the left front leg. Its mortise is 1 3/4 inches higher than the right leg’s mortise, so that the stretcher will be, overall, level and parallel to the bench seat and the floor.

The right leg, with both the mortise and tenon finished, is ready for gluing, clamping, and assembly.

I visually test the shoulder fit and depth of the tenons on each leg.

Because of the number–four–and size of the joints, I appreciated Kristin’s assistance (including taking photos.) I first apply a sizing coat of glue, and then a generous follow-up coat, that actually serves as a lubricant during assembly.

The first step in gluing is to have wet rags ready for clean up. I use my fingers a lot, along with a dowel and glue brush. There’s stress in this phase, so the more preparation (and anticipation of what can go wrong) the better.

It was challenging to use a correct sequence of assembly, and to use the web clamps in a way that pulled the joints in tightly and yet maintained the desired vertical alignment and visual flare of the legs. Kristin prevented a huge problem by pointing out the the ox-bow was not vertical and needed to be twisted upright.

Leave a comment