Twenty-nine. Bench backrest attachments & front legs
This post is about (1) attaching an arched support to stiffen the backrest, (2) connecting the backrest to the bench seat in a way that allows the backrest and seat to be disassembled, and (3) the start of attaching the front legs. (My captions for the photos are not as detailed and informative as they could be.)
I have two more posts in draft status that I’ll publish asap (the date today is May 26, 2013).
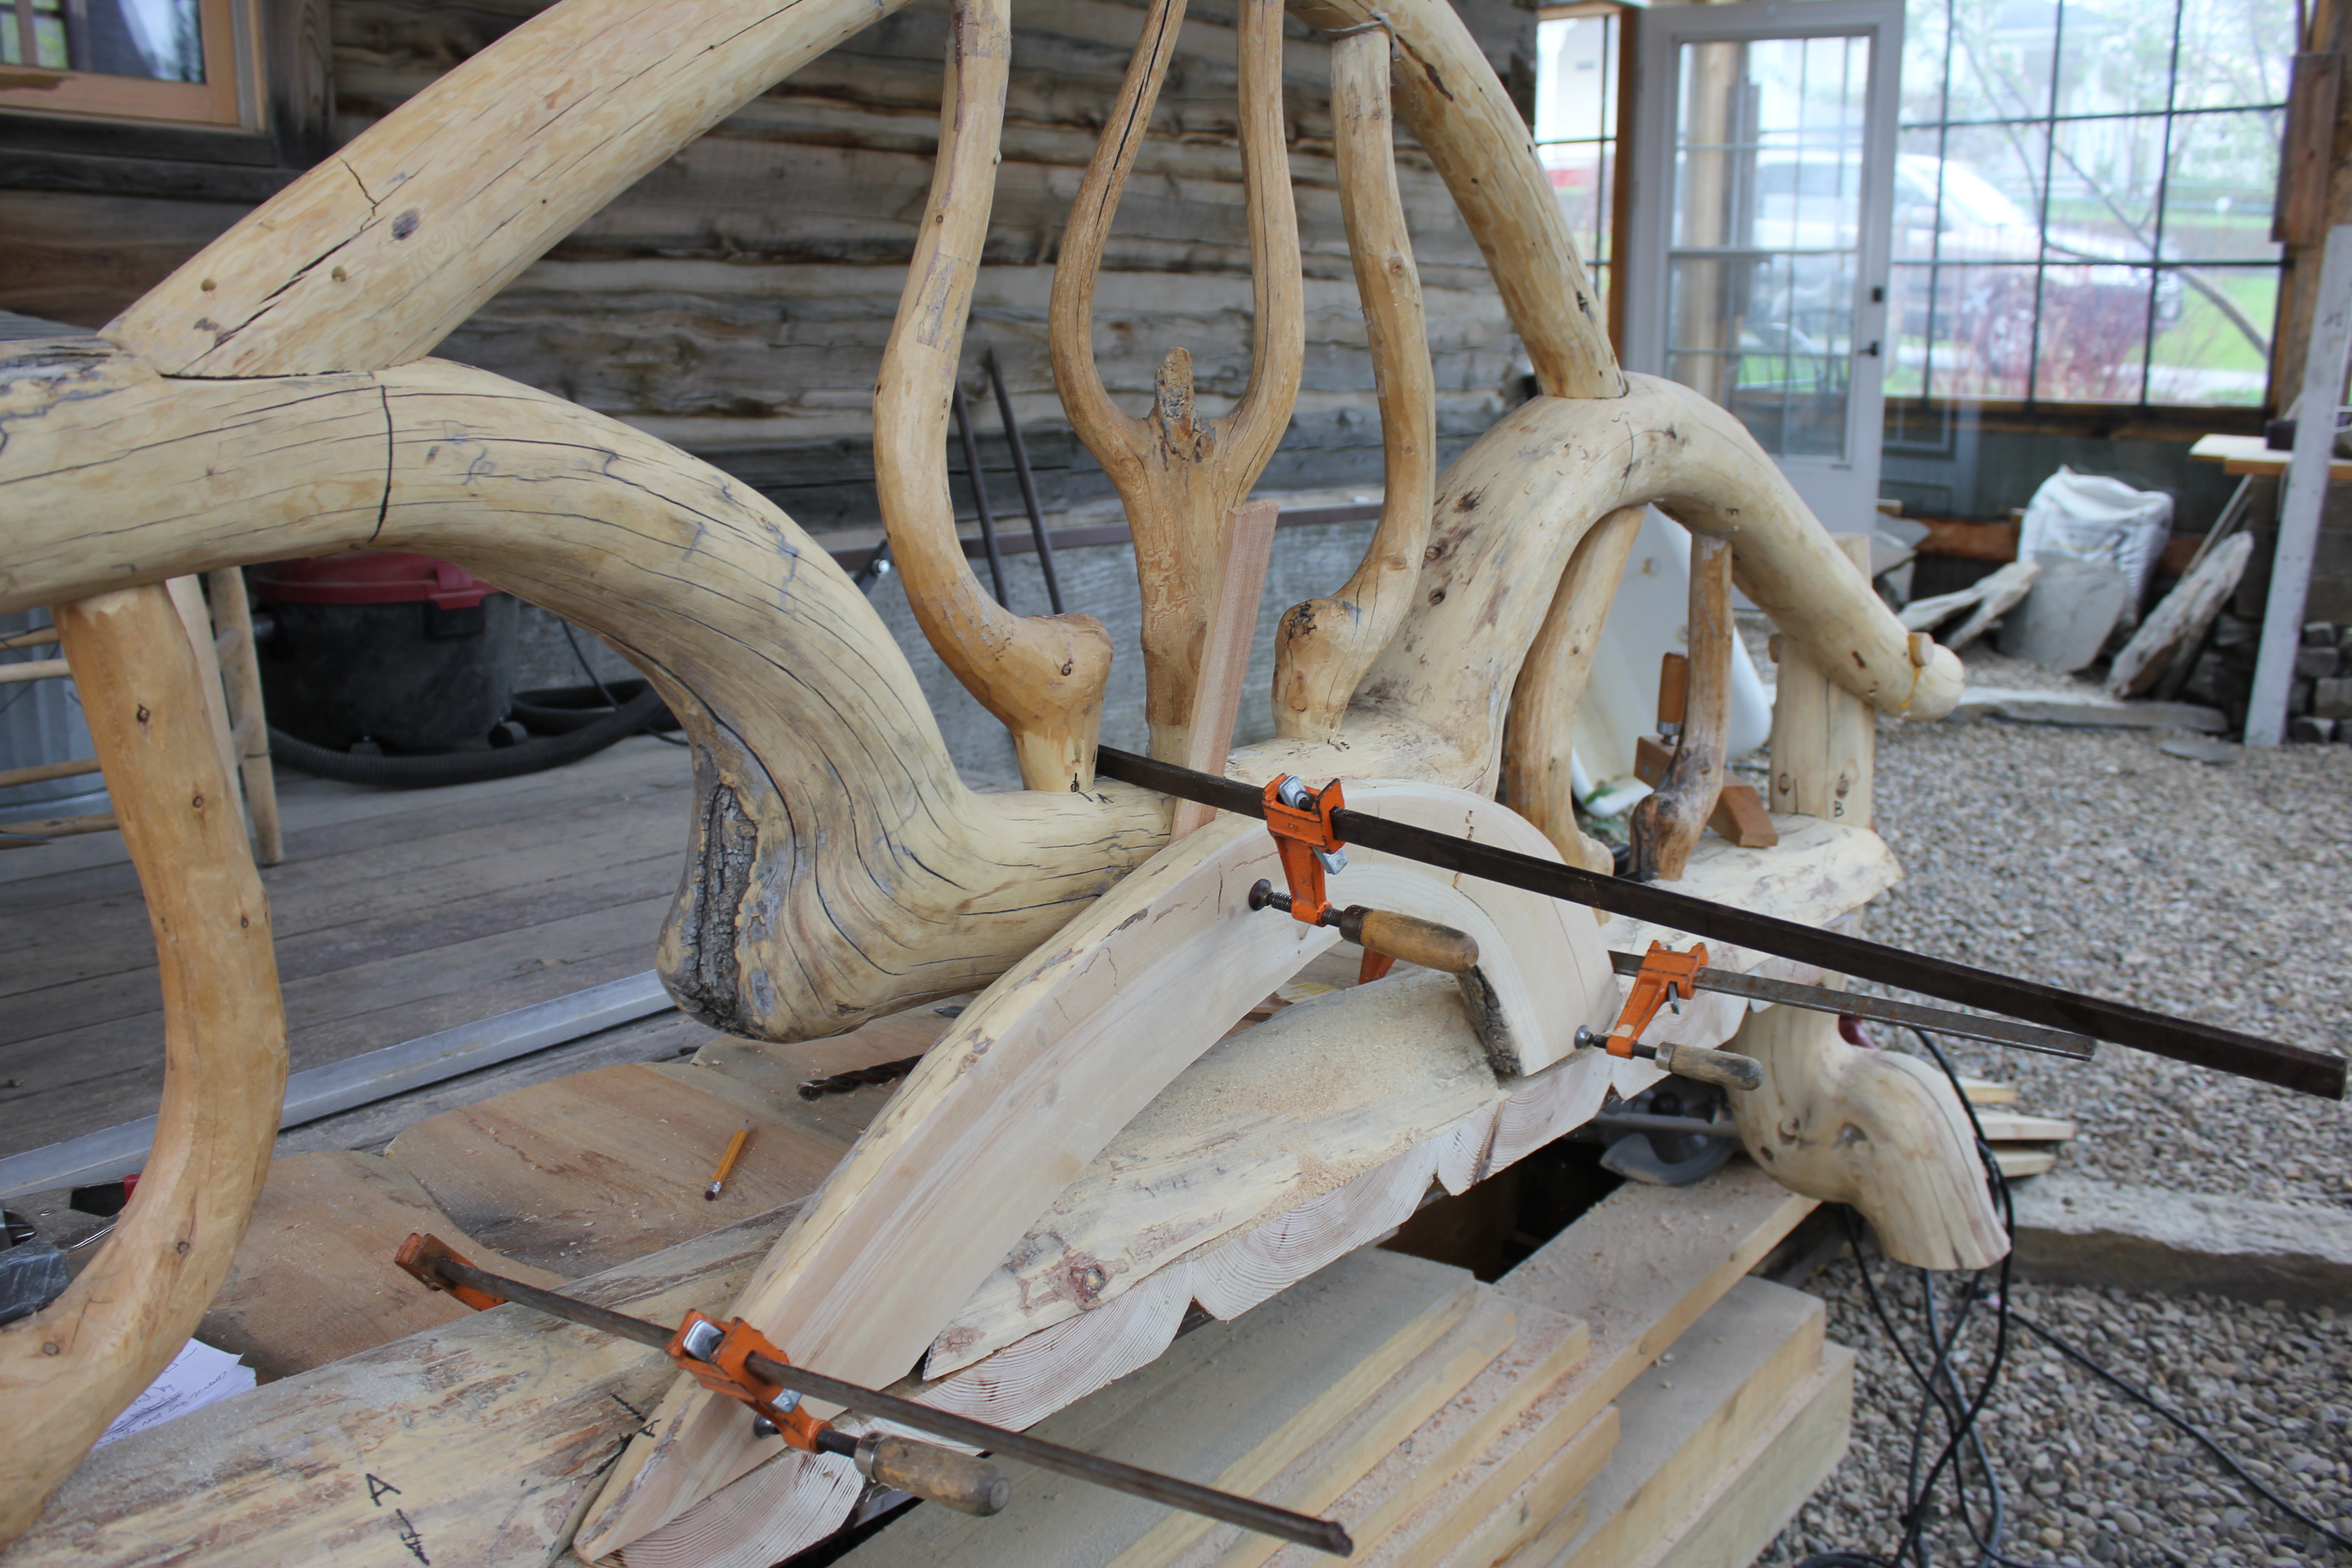
The arch is a naturally grown shape, a small lodgepole tree trunk. I flattened it with a hand adze after cutting a series of saw kerfs. The rounded side had to be inset in three places, each of which were clamped as shown here.

This photo shows the mate-cutting in progress, with the top of the arch clamped in place. The saw is cutting both pieces at once. The kerf is prevented from closing, and pinching the saw blade, by the shim shingle.

With the backrest laid flat and the seat clamped to it, I had access to the underside of the seat. I wanted to attach the seat to the backrest in a way that allowed for disassembly because of the increasing weight of the bench. I also wanted the attachment to allow for expansion and contraction of the slabs in the seat.

Here’s the underside with slotted holes, one in each of the slab pieces.
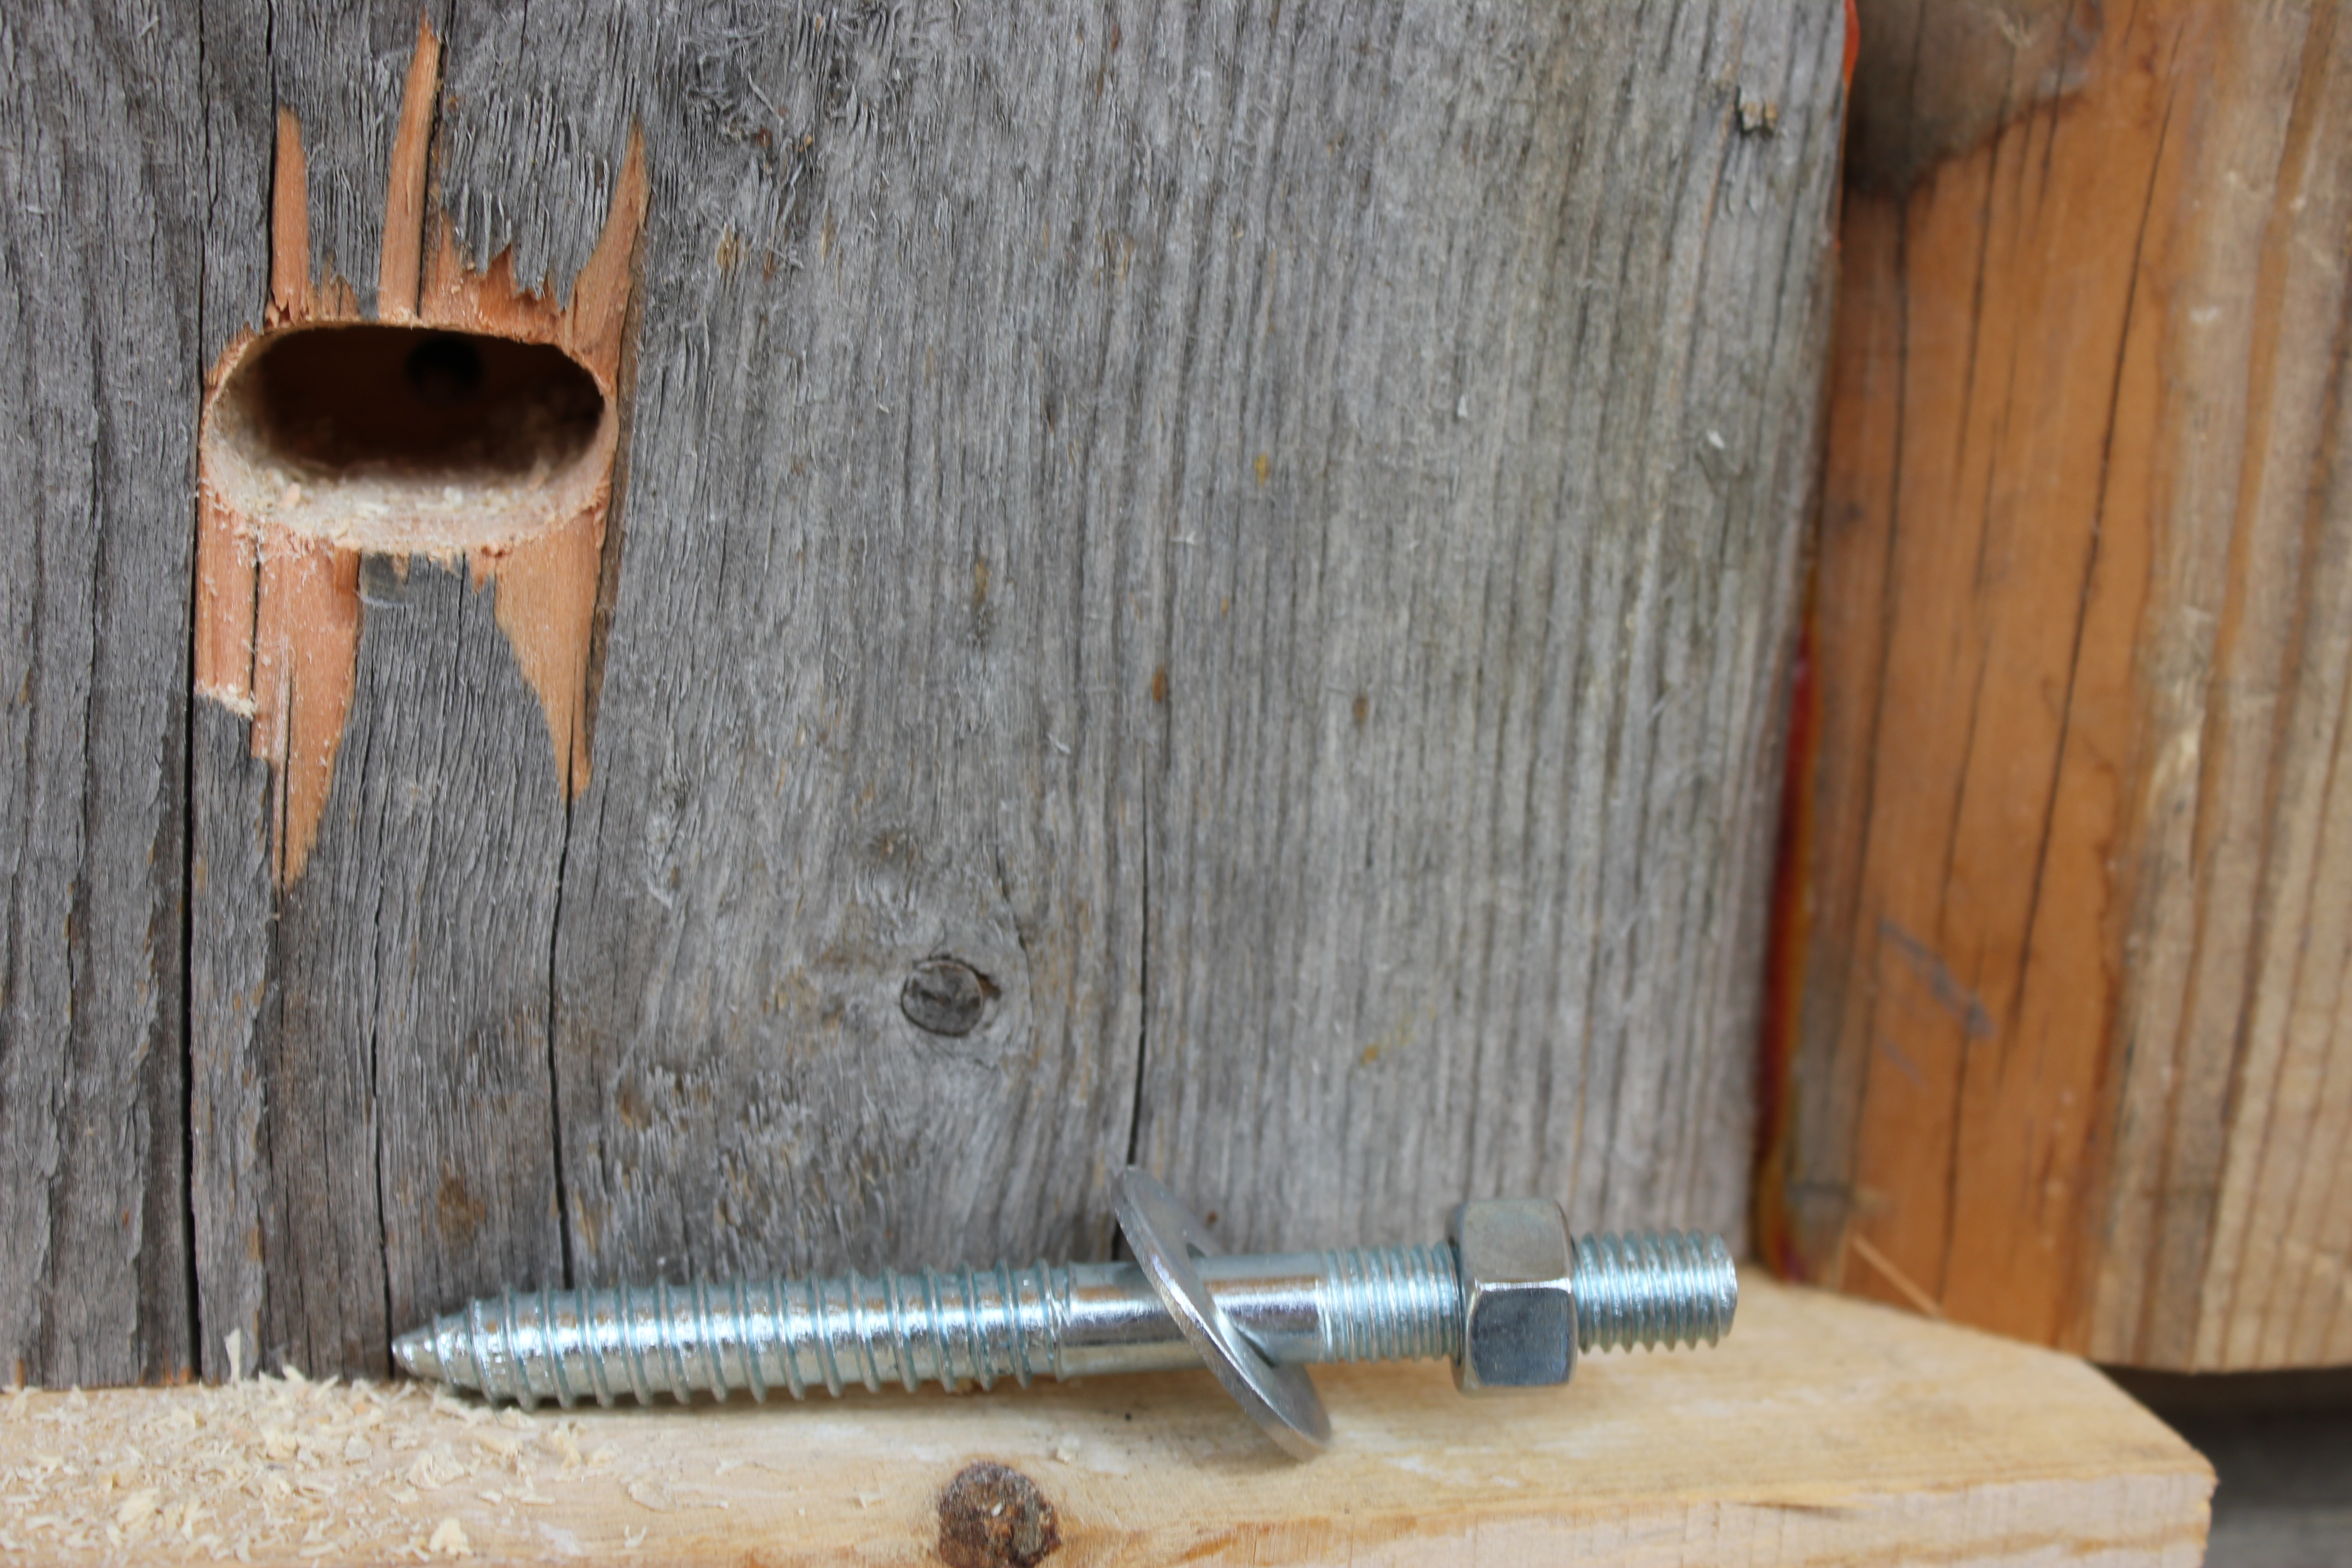
A close up of a slotted hole, this one and one at the other end of the row, are for hanger bolts to make assembly and reassembly easier. The remaining holes are for lag screws. (The drilling tear-out will be removed later with sanding.)

The hanger bolts and lag screws, with two flat washers each, are tightened securely but loose enough to allow the wood to expand and contract.

To establish a front seat height that approximately matches the back, I added a temporary board to each end of the bench. A spacer board was placed on the bench seat, and the front leg was leaned against the seat for its vertical alignment. This photo was taken after I had marked and cut the bottom of the leg for a flush fit to the deck surface.

This is the second front leg with the marking block and pen. The sequence is important. The cut is approximate, but once made the leg is dropped and that changes the fitting of the joint in the seat above.

Here’s the finished cut, with the leg vertically aligned, with a slight flare from from to back and side to side.

Both front legs are now ready to be attached, which will require cutouts in the bench seat at each end. That will be the subject of my next post.

Leave a comment