Architectural Tree Art: A Handrail Project
October 29, 2016
INTRODUCTORY REMARKS …
After two years of not adding a post to this blog, I felt a need to return to it, to document the tree art railing project. But I also had a sense of digital intimidation and resulting stress. I also felt an uneasy concern about justifying all the time and energy it takes both to prepare and to publish so many photos and so much text. Then I found myself questioning the worth of doing it.
But, I appreciate the opportunity to practice my writing skills, in preparation for the possibility of someday completing a book-length manuscript about the remarkably contorted lodgepole pines, and my making of tree art.
(I want to add the fact that I had already completed a version of this post–many photos and 500 well-written words–a few days ago I was pleased with the process until, when I pushed the “publish” button, the post vanished into cyberspace, and no amount of technical support could find it.)
Finally, following some general comments on design, materials, and workmanship, this post features a lengthy series of annotated photos.
DESIGN …
The handrail project is an example of what I call “architectural tree art,” as distinguished from “tree art furniture and sculpture.” I first made that distinction out of an appreciation of the Old Faithful Inn’s architectural use of contorted lodgepoles. (I have published an essay on my admiration for the inn’s architect, Robert Reamer, and the carpenters/tree artists who implemented his designs.)
Our house in Virginia City, Montana, has a wraparound greenhouse/glassed-in porch, with an interior deck and staircases, in need of handrails for over ten years. Since it had been a couple of years since I made any tree art, I decided to design handrails both out of necessity and an urge to add a feature of architectural tree art.
MATERIALS …
As some of the accompanying photos show, the unfinished greenhouse is also serving as a storage space for a variety of contorted lodgepole pine tree trunks. From them, I selected certain “motifs”– “swan neck”, “loop-around”, “spiral “, “forked 4”–for use as posts and lower rails. All of these tree trunk shapes are naturally grown as each tree has outgrown adversity of some sort, and regained its original uprightness, straightness, and center of gravity!
For the top rails I used salvaged pieces of the original 1871 log house wood chinking, which had been removed in 2004 when the lap siding was taken off to reveal the log structure. I liked the idea of combining the historic lumber with the contorted trees.
CRAFTSMANSHIP/WORKMANSHIP …
As with the making of tree art furniture and sculpture, an essential challenge comes with choosing types of joinery that accomplish both structural strength and an overall, flowing sculptural unity.
I used the following five types of joinery: cylindrical mortise and tenon; post and socket; mate-cut butt joint; scribed notch; and half-lap. Each of the joints were reinforced with log screws.
Some of the photos show matching pairs of “position-key marks” on each of the joint’s components. These marks are necessary to guide the repositioning of pieces that have been separated during fitting. (See photo below.)
A special note of thanks to my quasi-apprentice, Drew Xanthopoulos, for serving as a human railing clamp, and a supple ratchet operator inserting the long lag screws.
The project will remain unfinished for awhile. At some point I will complete the cosmetic work, including filling, shaping, sanding, and staining.
ANNOTATED PHOTOGRAPHS:

This view shows the entire deck and handrails, as approached from the front, inside of the greenhouse. The log house’s exterior door opens to the deck’s upper landing, and the greenhouse exit door is on the left below the deck.

The bottom staircase edge is off-set from the main deck surface, presenting a safety concern. Selecting the three posts and two handrails to make a curved and descending handrail was a structural, design, and joinery challenge.

This view is from the back (north) end of the greenhouse, showing the repeated “motifs” of the posts (swan neck) and of the lower rails (loop around). The stacks of contorted lodgepole pine tree trunks in the background provided the inventory to select the handrail components.

The deck framing and surface are salvaged redwood. The top handrail is made of two pieces of lumber that served as original wood chinking between the house logs (built in 1871.) All of the posts appear to be sitting on top of the deck (which they are), but they also are penetrating through the deck surface and are secured underneath with 1/2″ x 7″ lag screws to the deck’s substructure. (See photo below).

This short handrail section makes it easier and safer to descend from the upper landing. I like its freestanding simplicity and strength. The bottom of the “forked 4” post extends down six inches into a cylindrical socket drilled into a pair of staircase joists–a variation of the cylindrical mortise and tenon joinery.

The bottom of each deck perimeter post was shaped into a cylindrical tenon–three inches in diameter, one and one-half inches long–with a square (not tapered) tenon shoulder. The shoulder sits flat on the deck surface, so that the outside circumference of the post also covers the three inch mortise (i.e., the hole or socket). The above photo shows the joists and blocking underneath the deck, and how the post is secured tightly to a framing block by a seven inch lag screw that penetrates deeply into the bottom end grain of the post (also seen above the deck in this photo.)

After cross-cutting the posts to a uniform height, and plumbing and aligning them in a row, I laid the flat side of the top rail on the row of post tops and scribed an outline circumscribing the circumference of each top onto the underside of the top rail. Then, using a router, I created a half inch deep socket to receive each post top. When the top rail was in place, including a half lap joint over one of the posts to connect the two pieces, I secured the rail with log screws.

The top rail length required that I use two pieces of the wood chinking, so I created this crude but strong half-lap joint over the post. The bottom half piece also has a half inch deep socket to accept the post top. The joint will be further shaped and cleaned up in the finishing process.

In this photo and the next, are examples of a “mate-cut butt joint.” This joint is named for the fact that, after many preliminary saw cuts, the saw blade actually cuts both surfaces of the joint –the end of the rail and the side of the post– with each of many strokes. Note the pair of black lines at the top of the joint. As noted above, I call them “position match marks.” The mate-cut joint will only realign correctly one way.

As part of the finishing process, the joint will be “sculpted” to flow together.
In Conclusion …
In the process of creating this post, I have realized that the essential values of doing it are intrinsic. And that is true of most of my poetry (“makings” that also include creative writing and playing guitar and harmonica). Having said that, I want to add a note of thanks to anyone (in an invisible audience) who might find something here of value.
Thank you …!
Forty-two. Exhibit at the 2014 Madison County, Montana, Fair

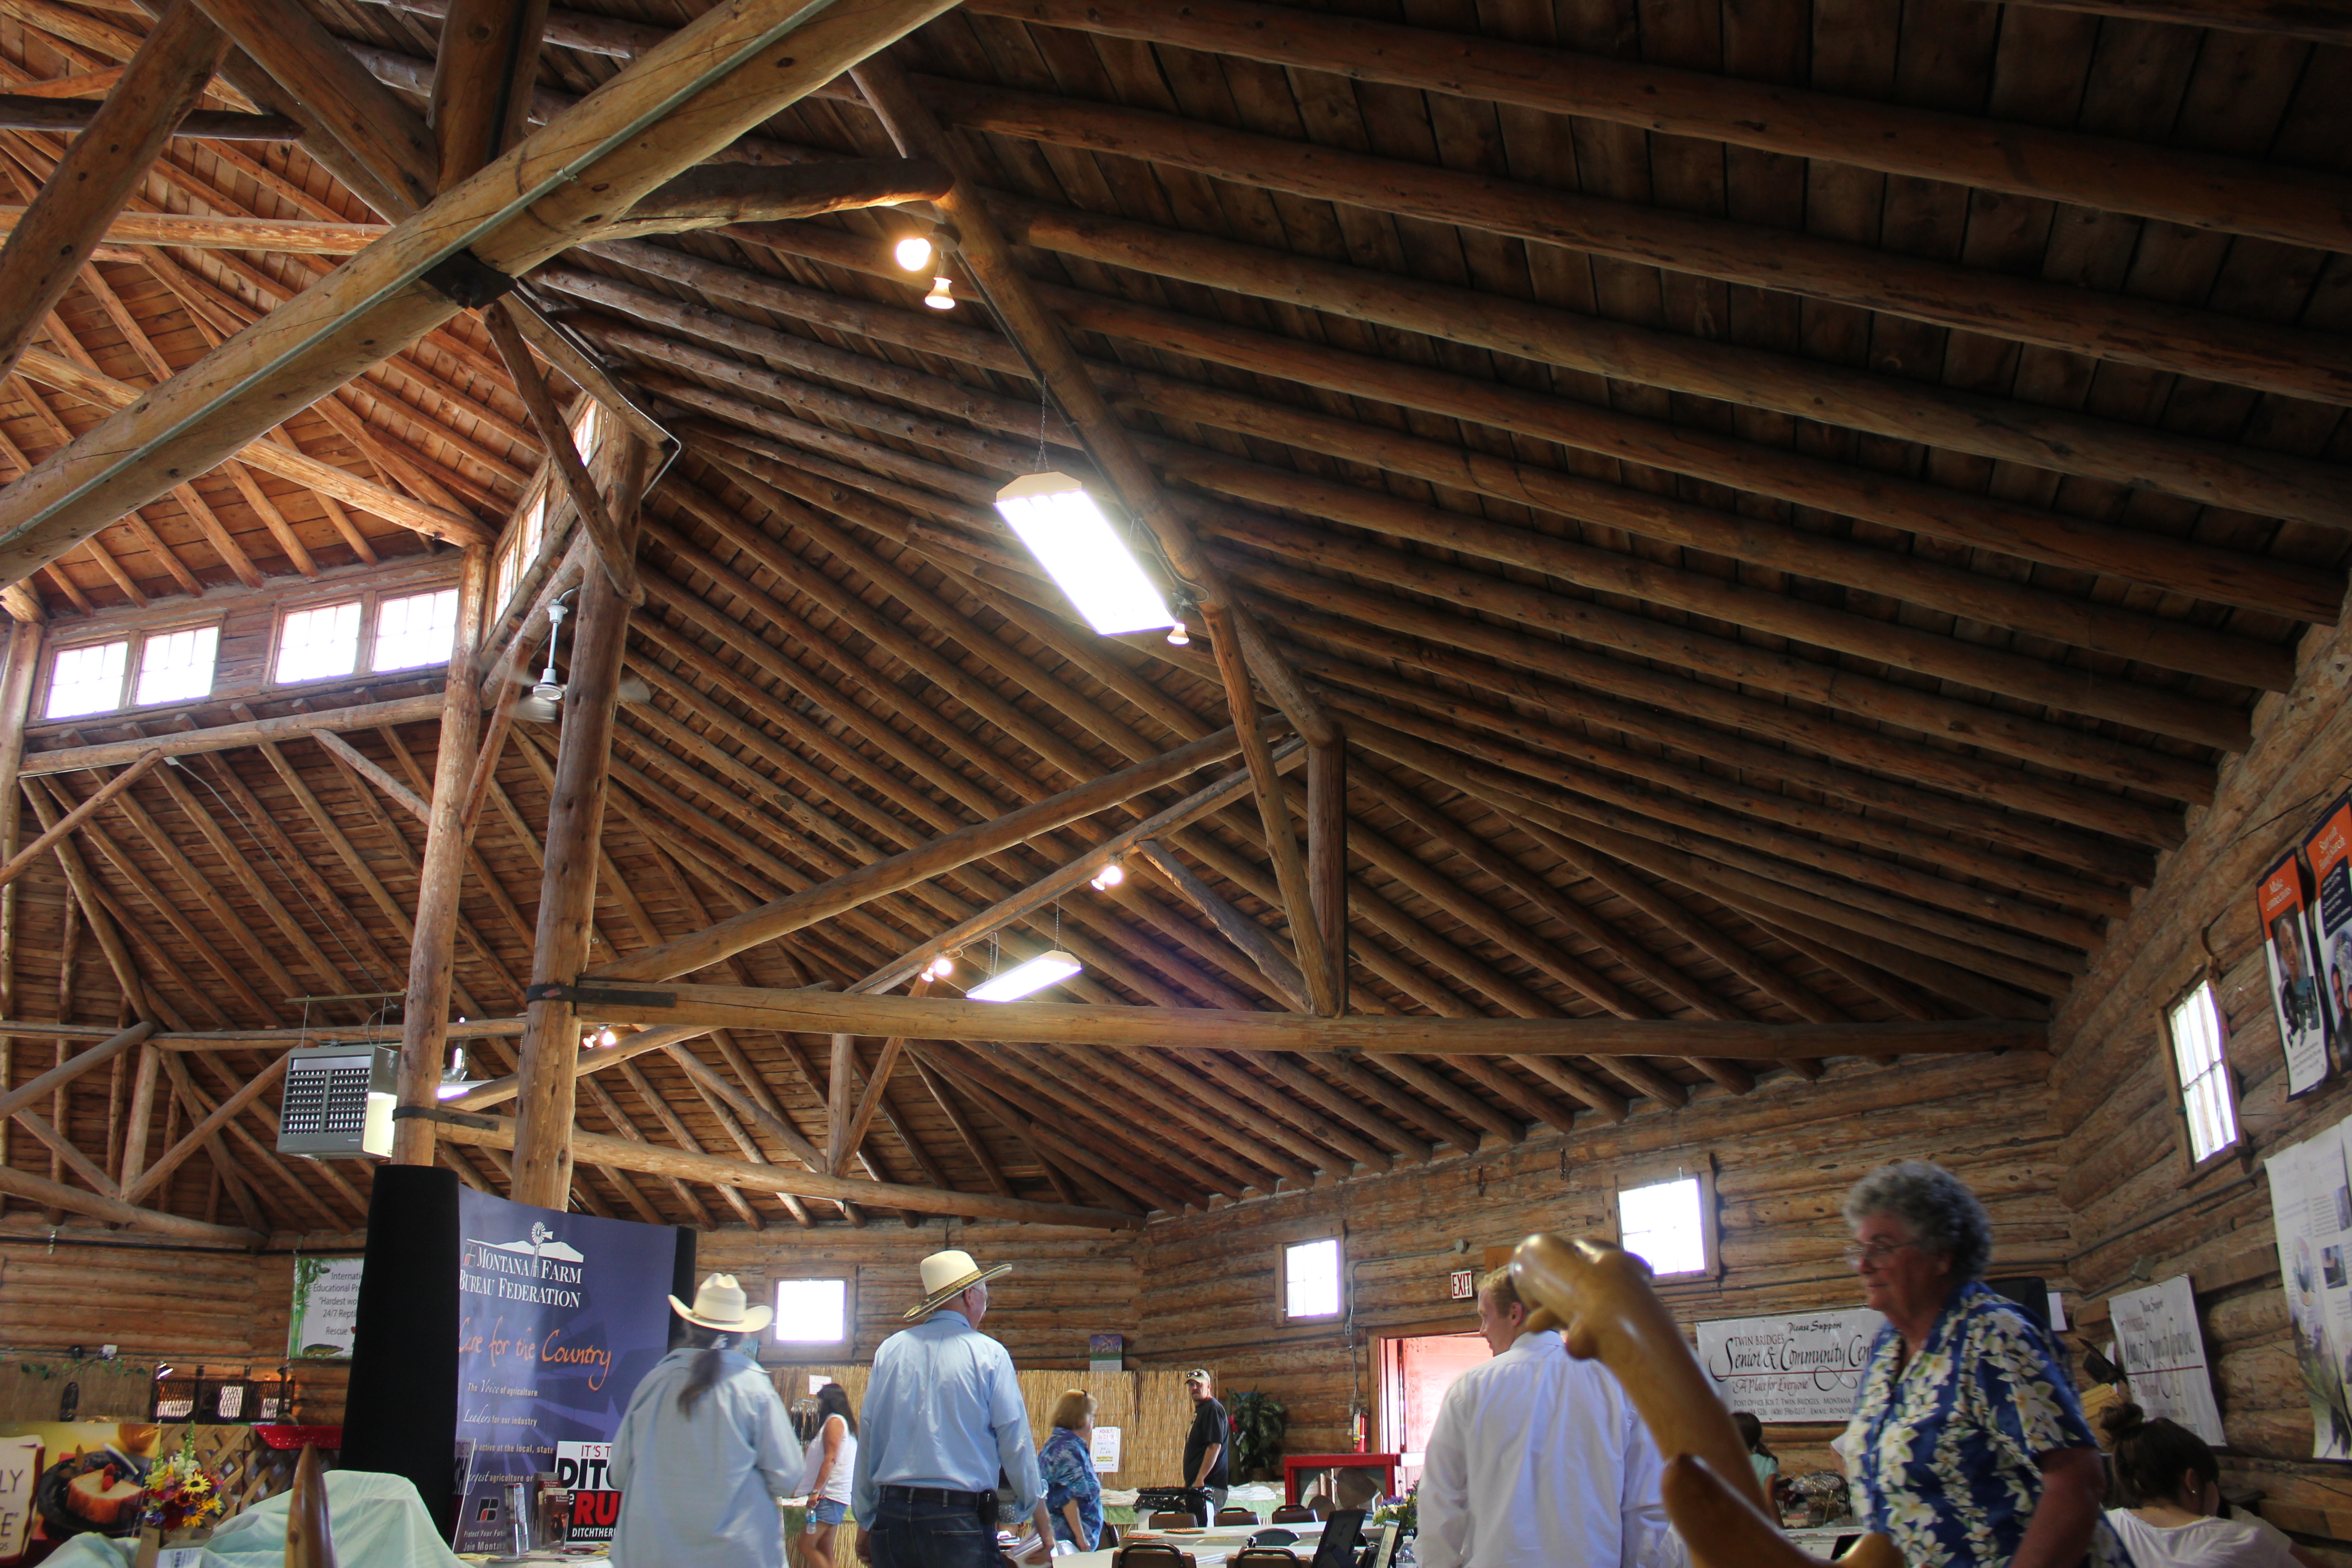
An important reason for my wanting to exhibit at the fair was/is my admiration for the octagonal log architecture of “The Pavilion.” Another reason is that our three families all live just across the Beaverhead River from the fairgrounds. Yet another reason is that the booth space was large enough to allow a collection of 11 pieces of furniture, as well as my shaving horse, tote box, and tool caddy.
I planned the exhibit as an educational display–about the trees, the designs, and the workmanship. It is yet another of my tributes to the contorted lodgepole pine trees.
It’s very likely that this will be my last public display, especially since we’re now thinking of furnishing our Virginia City home with these irreplaceable pieces of tree art furniture and sculpture.
I’m pleased that spending this time with the display has renewed our appreciation of the many artistic values embodied in each piece, and in the collection as a whole. It’s true that the pieces interact with each other, and that the whole display seems greater than the sum of its parts.
The entire collection represents thousands of hours of work–from the hunting/gathering of the trees, to the different stages of assemblage, cosmetic detailing, to the finish coats of varnish or wax–plus all the indirect labors, including storage, handling, marketing and sales.


Thirty-eight. The bench: my artist’s statement
(I originally posted this as a draft on July 22, 2013, which preceded post “Thirty-nine.” I decided today to go ahead an publish it.)
The architectural tree art of Old Faithful Inn was an original inspiration for me in the late 1980s. Since then I’ve made tree art furniture, sculpture, and architectural details, using contorted lodgepole pine trees.
From its beginning, I designed and made this bench with Old Faithful Inn in mind. As tree art furniture, its design echoes the architectural tree art of the Inn, especially that of the lobby’s log framework bracing, balconies, staircases, catwalks, and the “Crow’s Nest.”
In July of 2012, I took a private bellhop’s tour of the upper levels of the Inn’s lobby for the first time, ascending to “The Crow’s Nest,” and out onto the flat roof’s viewing platform. I repeated this privileged and inspirational tour in June of 2013.
These tours deepened my appreciation of the artistry of architect Robert Reamer’s designs and of the craftsmanship of those he employed to execute them. The tours also increased my sense of connection, as a tree art furniture maker, to the Inn’s architectural tree art and to the contorted lodgepole pine trees. And they also evoked a desire to exhibit my tree art furniture in the lobby of the Inn, for public use as seating, portrait photography, and to serve other educational values.
Lastly, the bench was made in conjunction with my writing of an essay titled “Architectural Tree Art of Old Faithful Inn”, for magazine publication and to later become a chapter in my forthcoming book length manuscript, Contorted Lodgepole Pines: A Poet’s Tribute.
“Tree working” Processes
I began the bench in December of 2012 and “finished” it in June of 2013. The various phases of the project are documented, in detail, on this blog.
Components
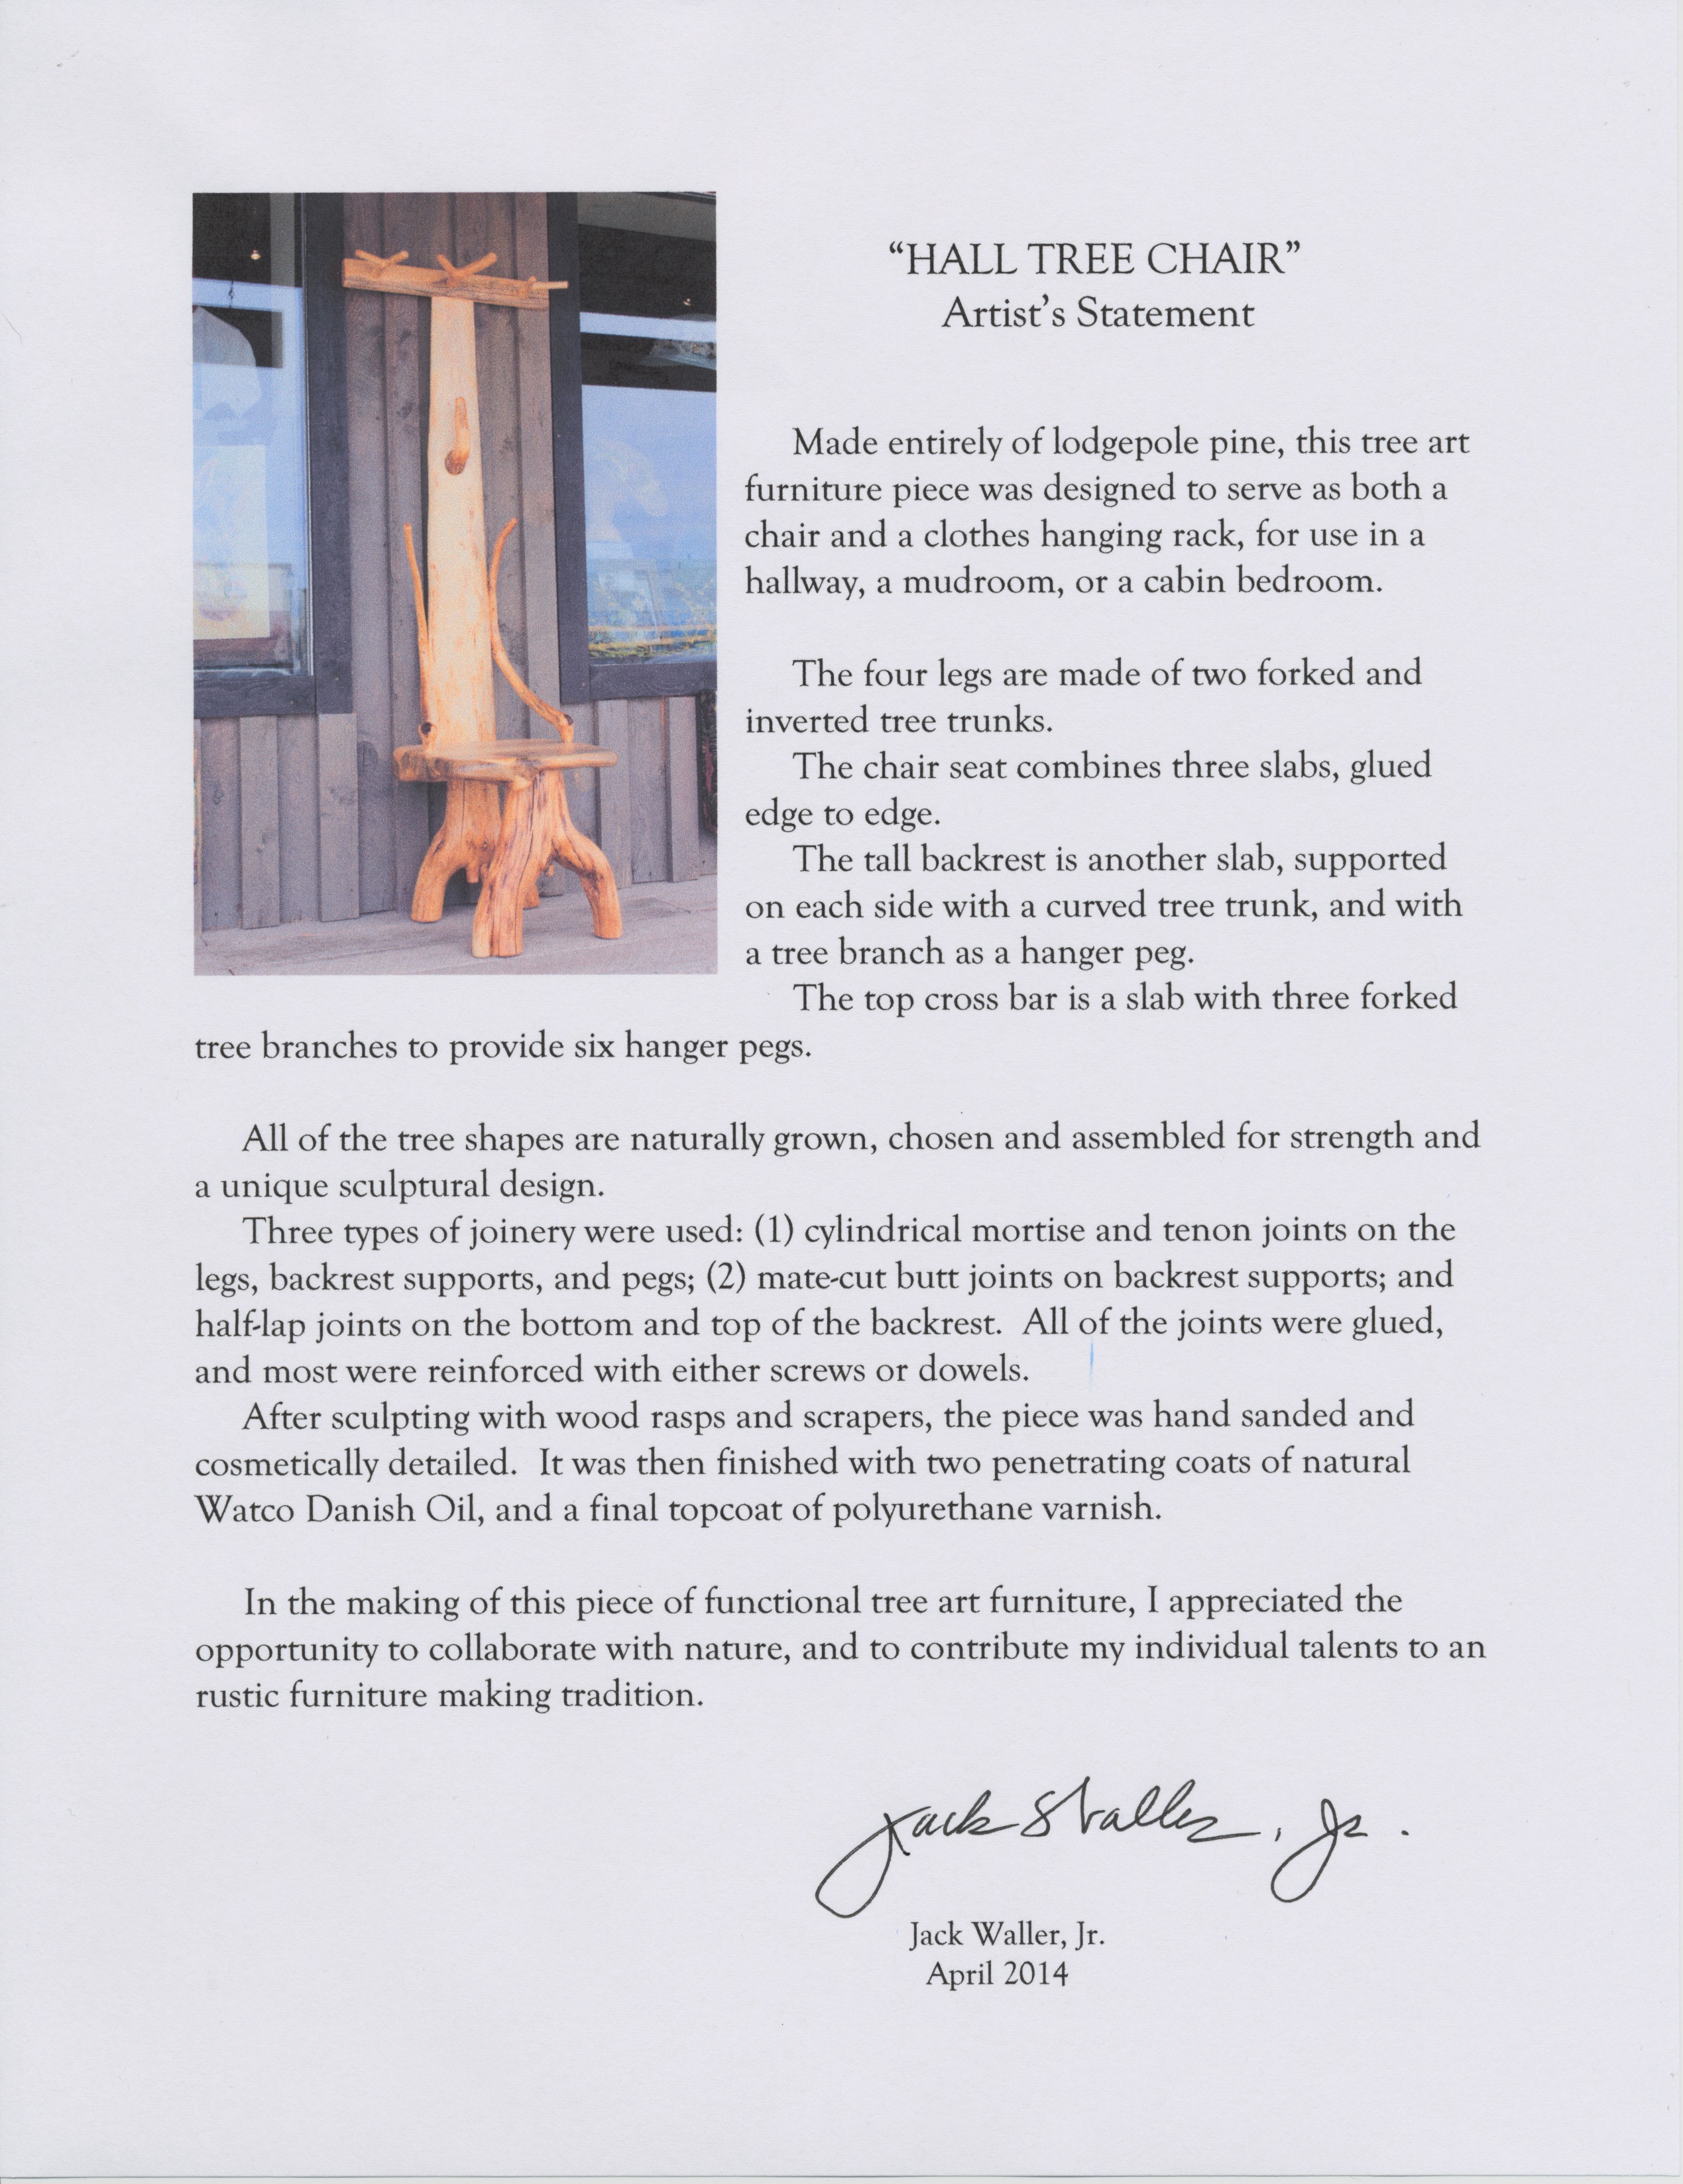
The design includes 19 individual, naturally grown, lodgepole pine tree trunks (no limbs or branches), and five tree art “motifs”: swan neck, alpenhorn, arch, ox-bow, and tuning fork.
I chose the individual trees and combined their shapes to serve both structural and decorative purposes. The overall design emphasizes the individual “character” of each tree, while also achieving a symmetrical pattern and functional unity. The natural “defects”—cracks, gnarly grain patterns, insect activity, discolorations—are essential rustic details of tree art furniture.
Joinery
The most-used joints are round mortise and tenon, saddle notch, and mate cut edge-to-edge butt joint (on the seat slabs). After gluing and clamping, most of the joints were reinforced with either wood dowels or wood screws.
Detailing and Finish
The project included tedious and time-consuming processes of cosmetic detailing: shaping of joints; chamfering of edges; filling holes and cracks; scraping and sanding away of coarse tool marks, wood filler, and excess glue. Stain pens were used to blend colors and to conceal cosmetic flaws.
I first applied two coats of penetrating natural Watco Danish Oil. The final finish is two top coats of satin polyurethane.
Specifications
The bench is 8 feet long overall, with a backrest height of 46 inches. The slab wood seating area is 71 inches wide between the armrests. I estimate its weight at about 200 pounds.
Here are front and back views of the bench as it sits in our greenhouse-to-be …
______________________________________


