Tree Art Sale
I am preparing to sell tree art pieces from my personal collection. I haven’t posted here for years, so this is a test.
The Contorted Lodgepole: A Poet’s Tribute
My poet’s tribute to this one tree and many other remarkable contorted lodgepole pine trees is twofold: it is made as both a writer and as a tree art furniture maker and sculptor. These two photos are favorites, and will be included in a book-length tribute that I’ve been working on since when these photos were taken.
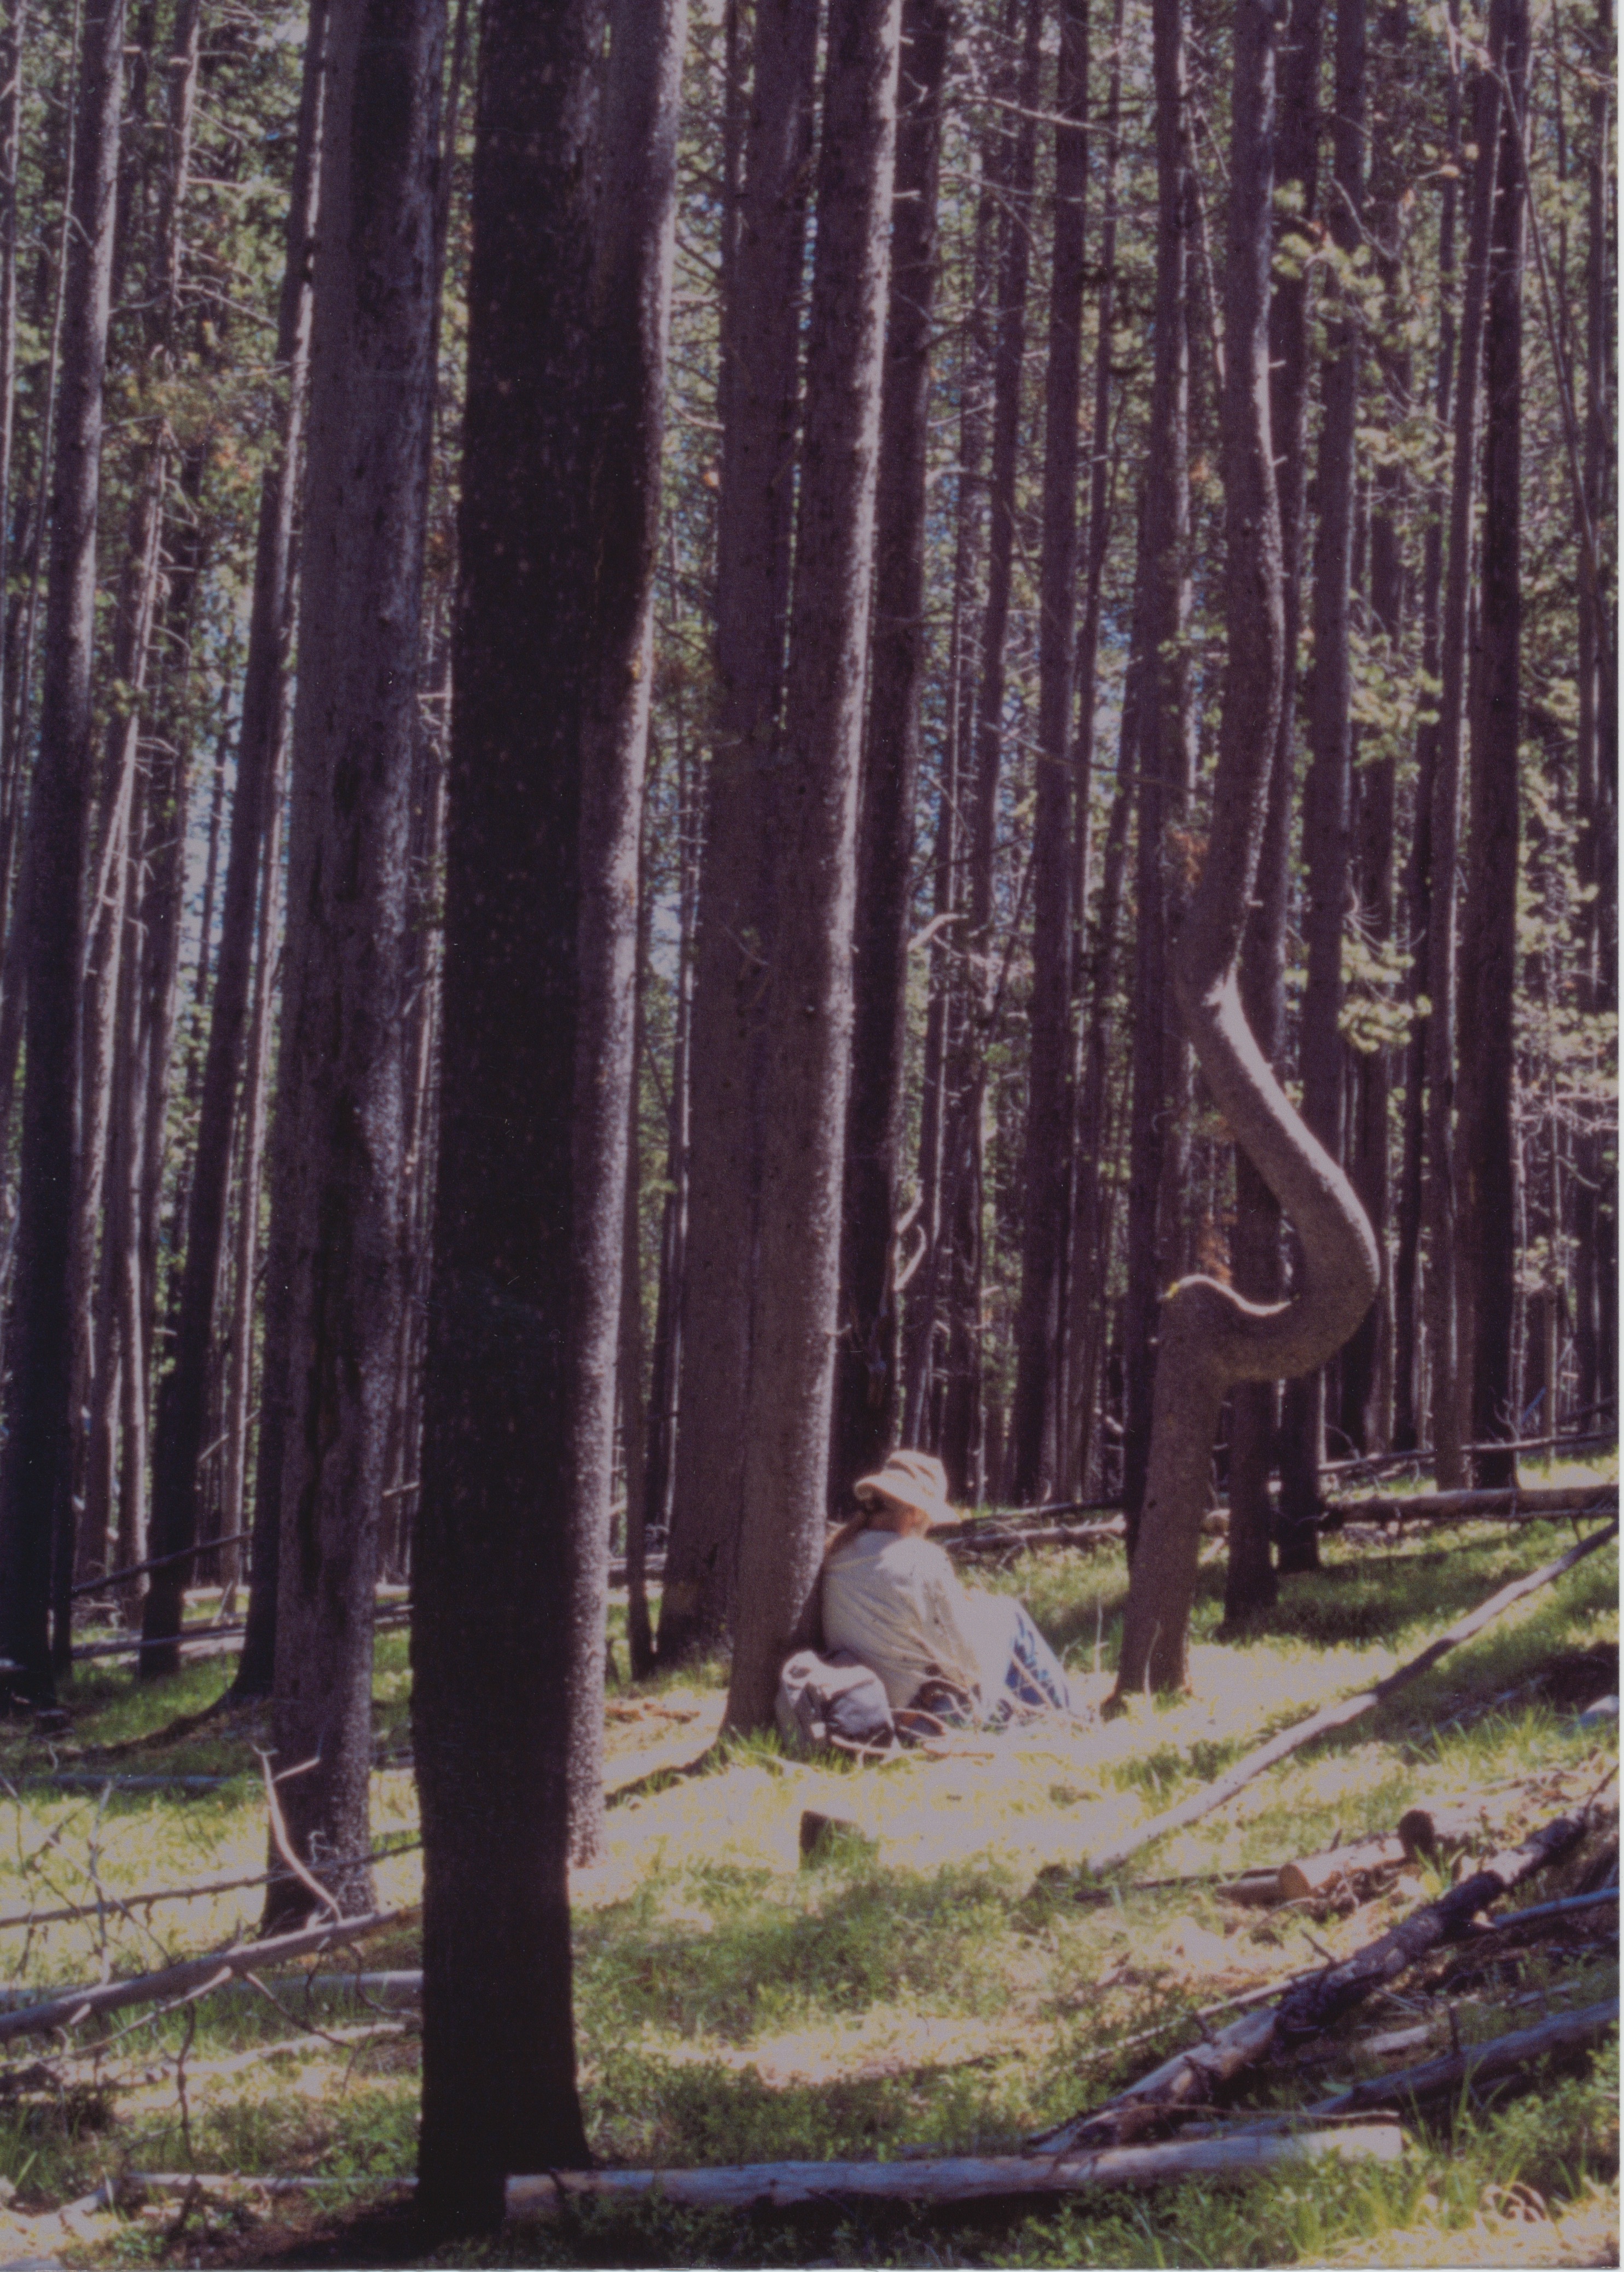
One summer afternoon in the early 1990s, sitting in a stand of lodgepole pine trees, taking notes and making sketches of this solitary and remarkable “Swan’s Neck” tree trunk.
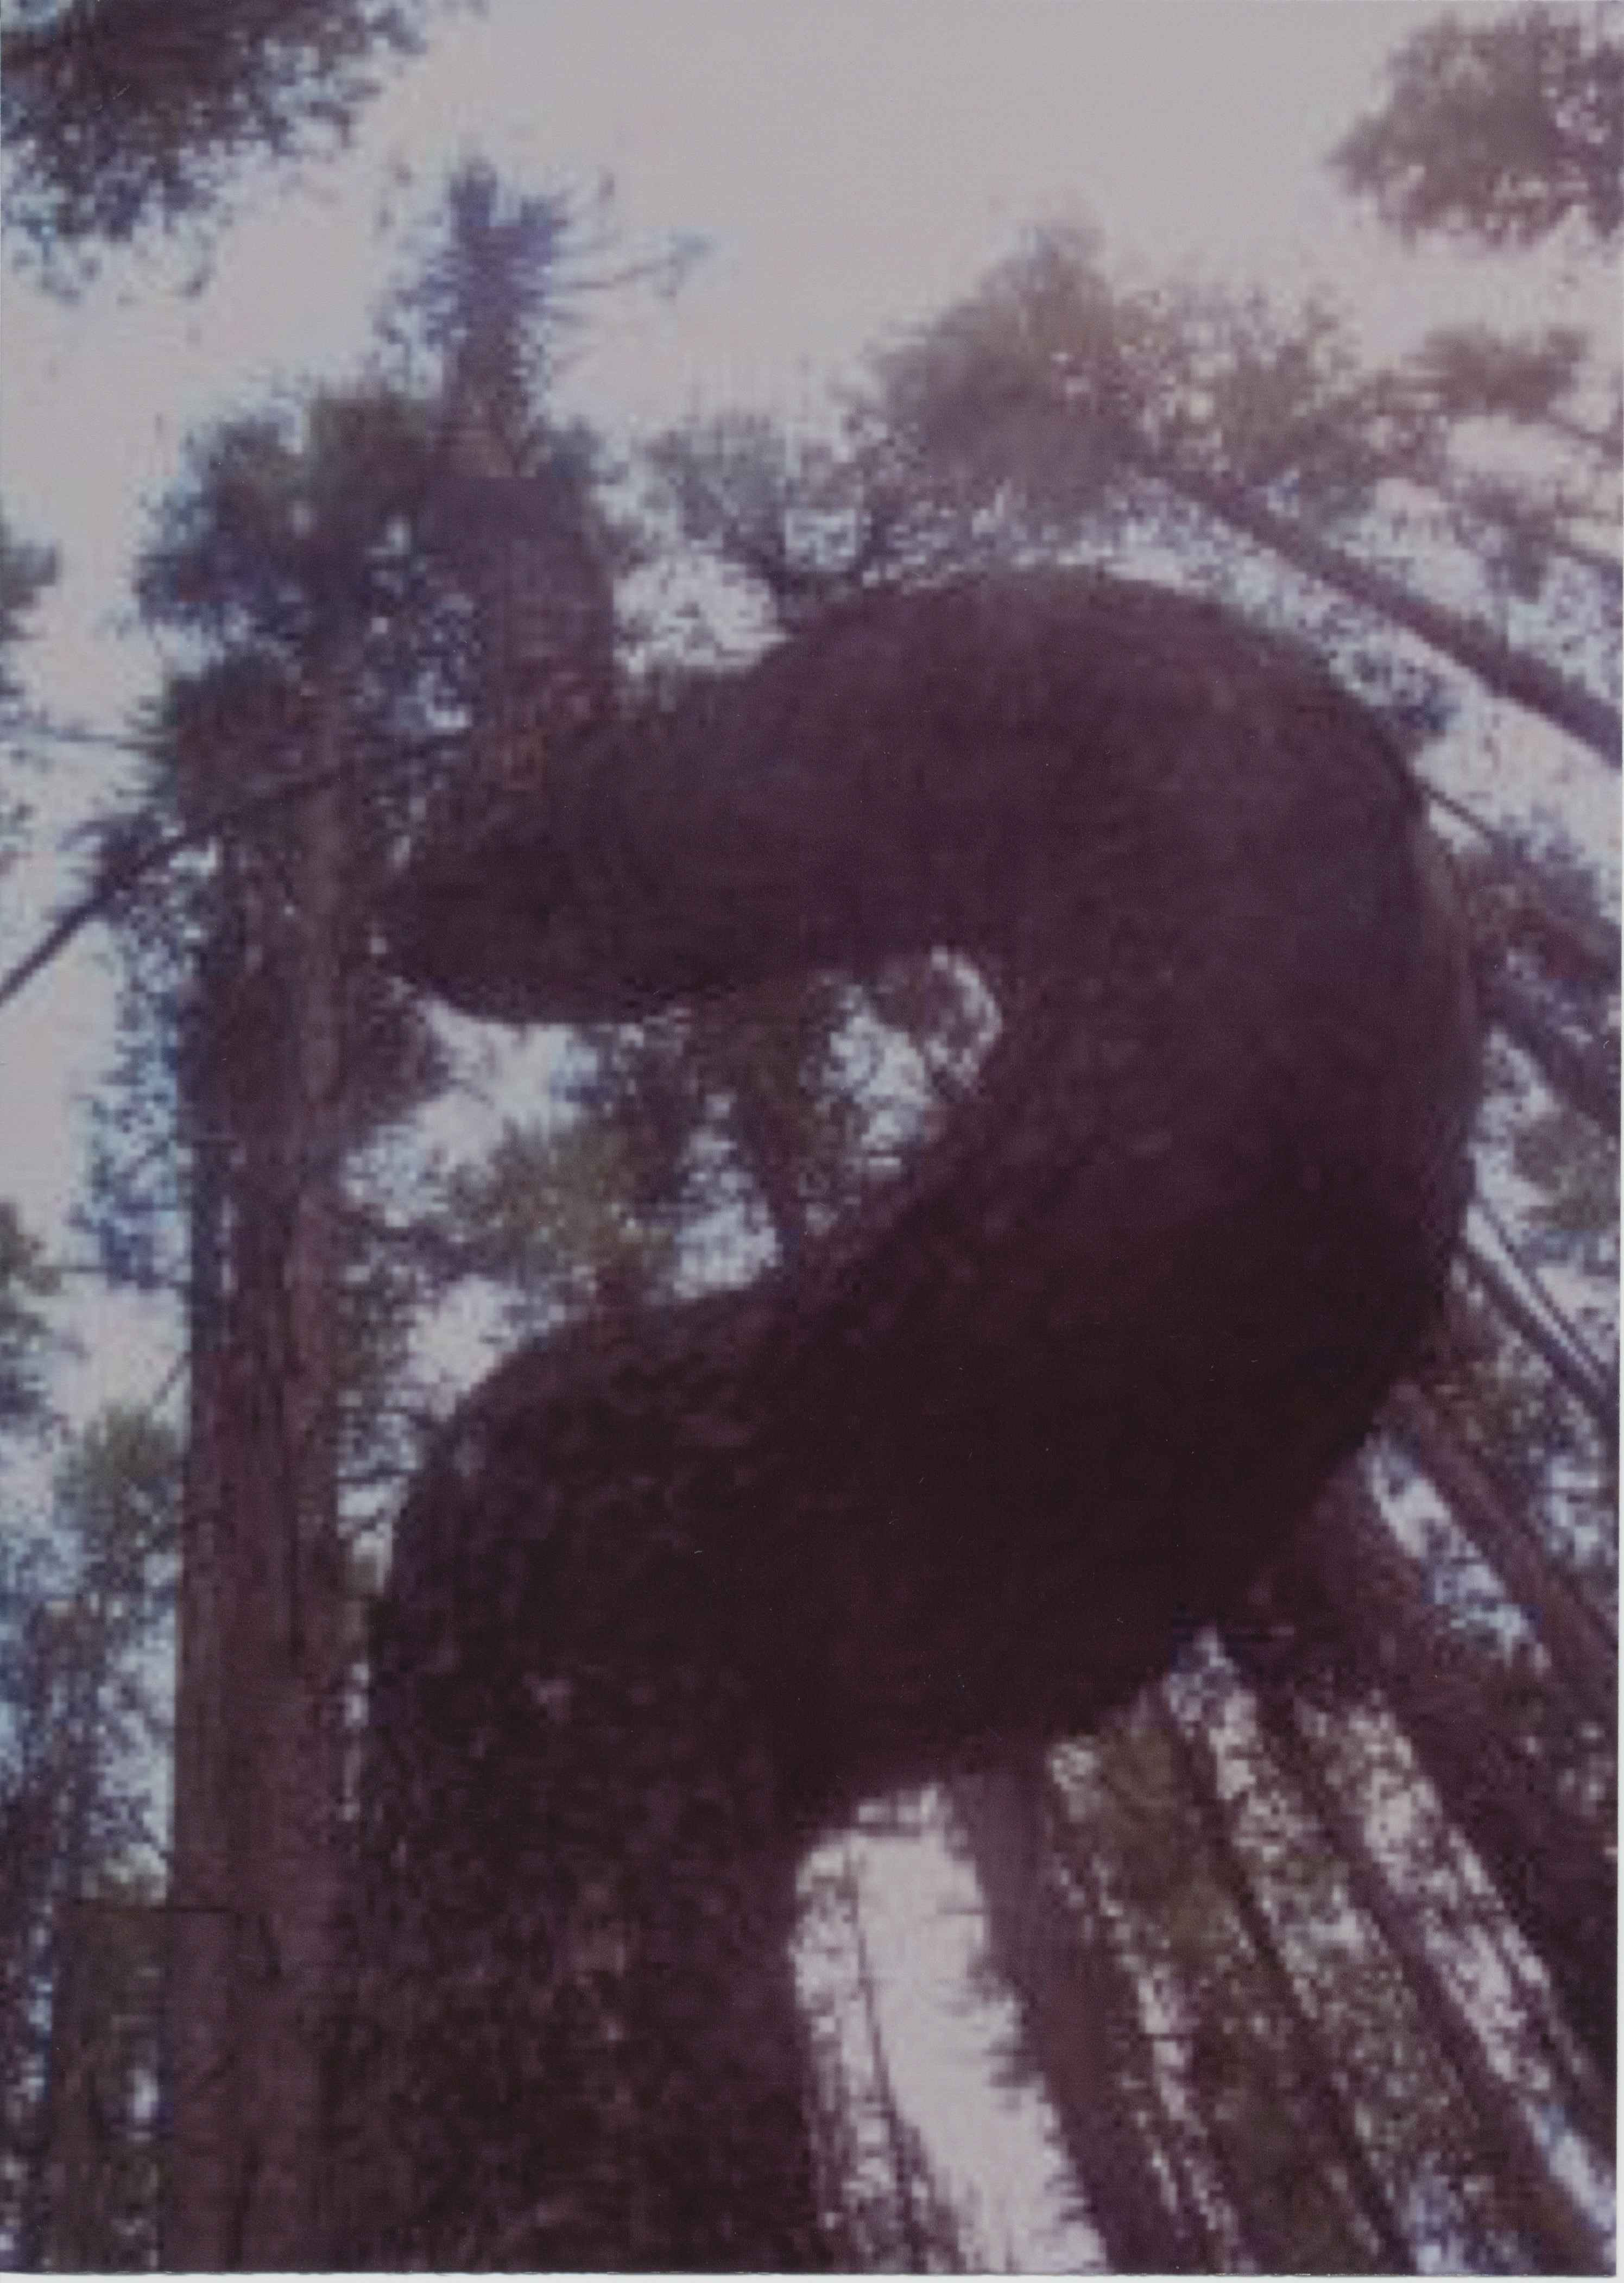
I also laid down with my camera at the base of the tree, wanting to document both the tree’s contortion and its curving return to uprightness, straightness, and centeredness over its original vertical axis–truly remarkable!
Forty-two. Exhibit at the 2014 Madison County, Montana, Fair

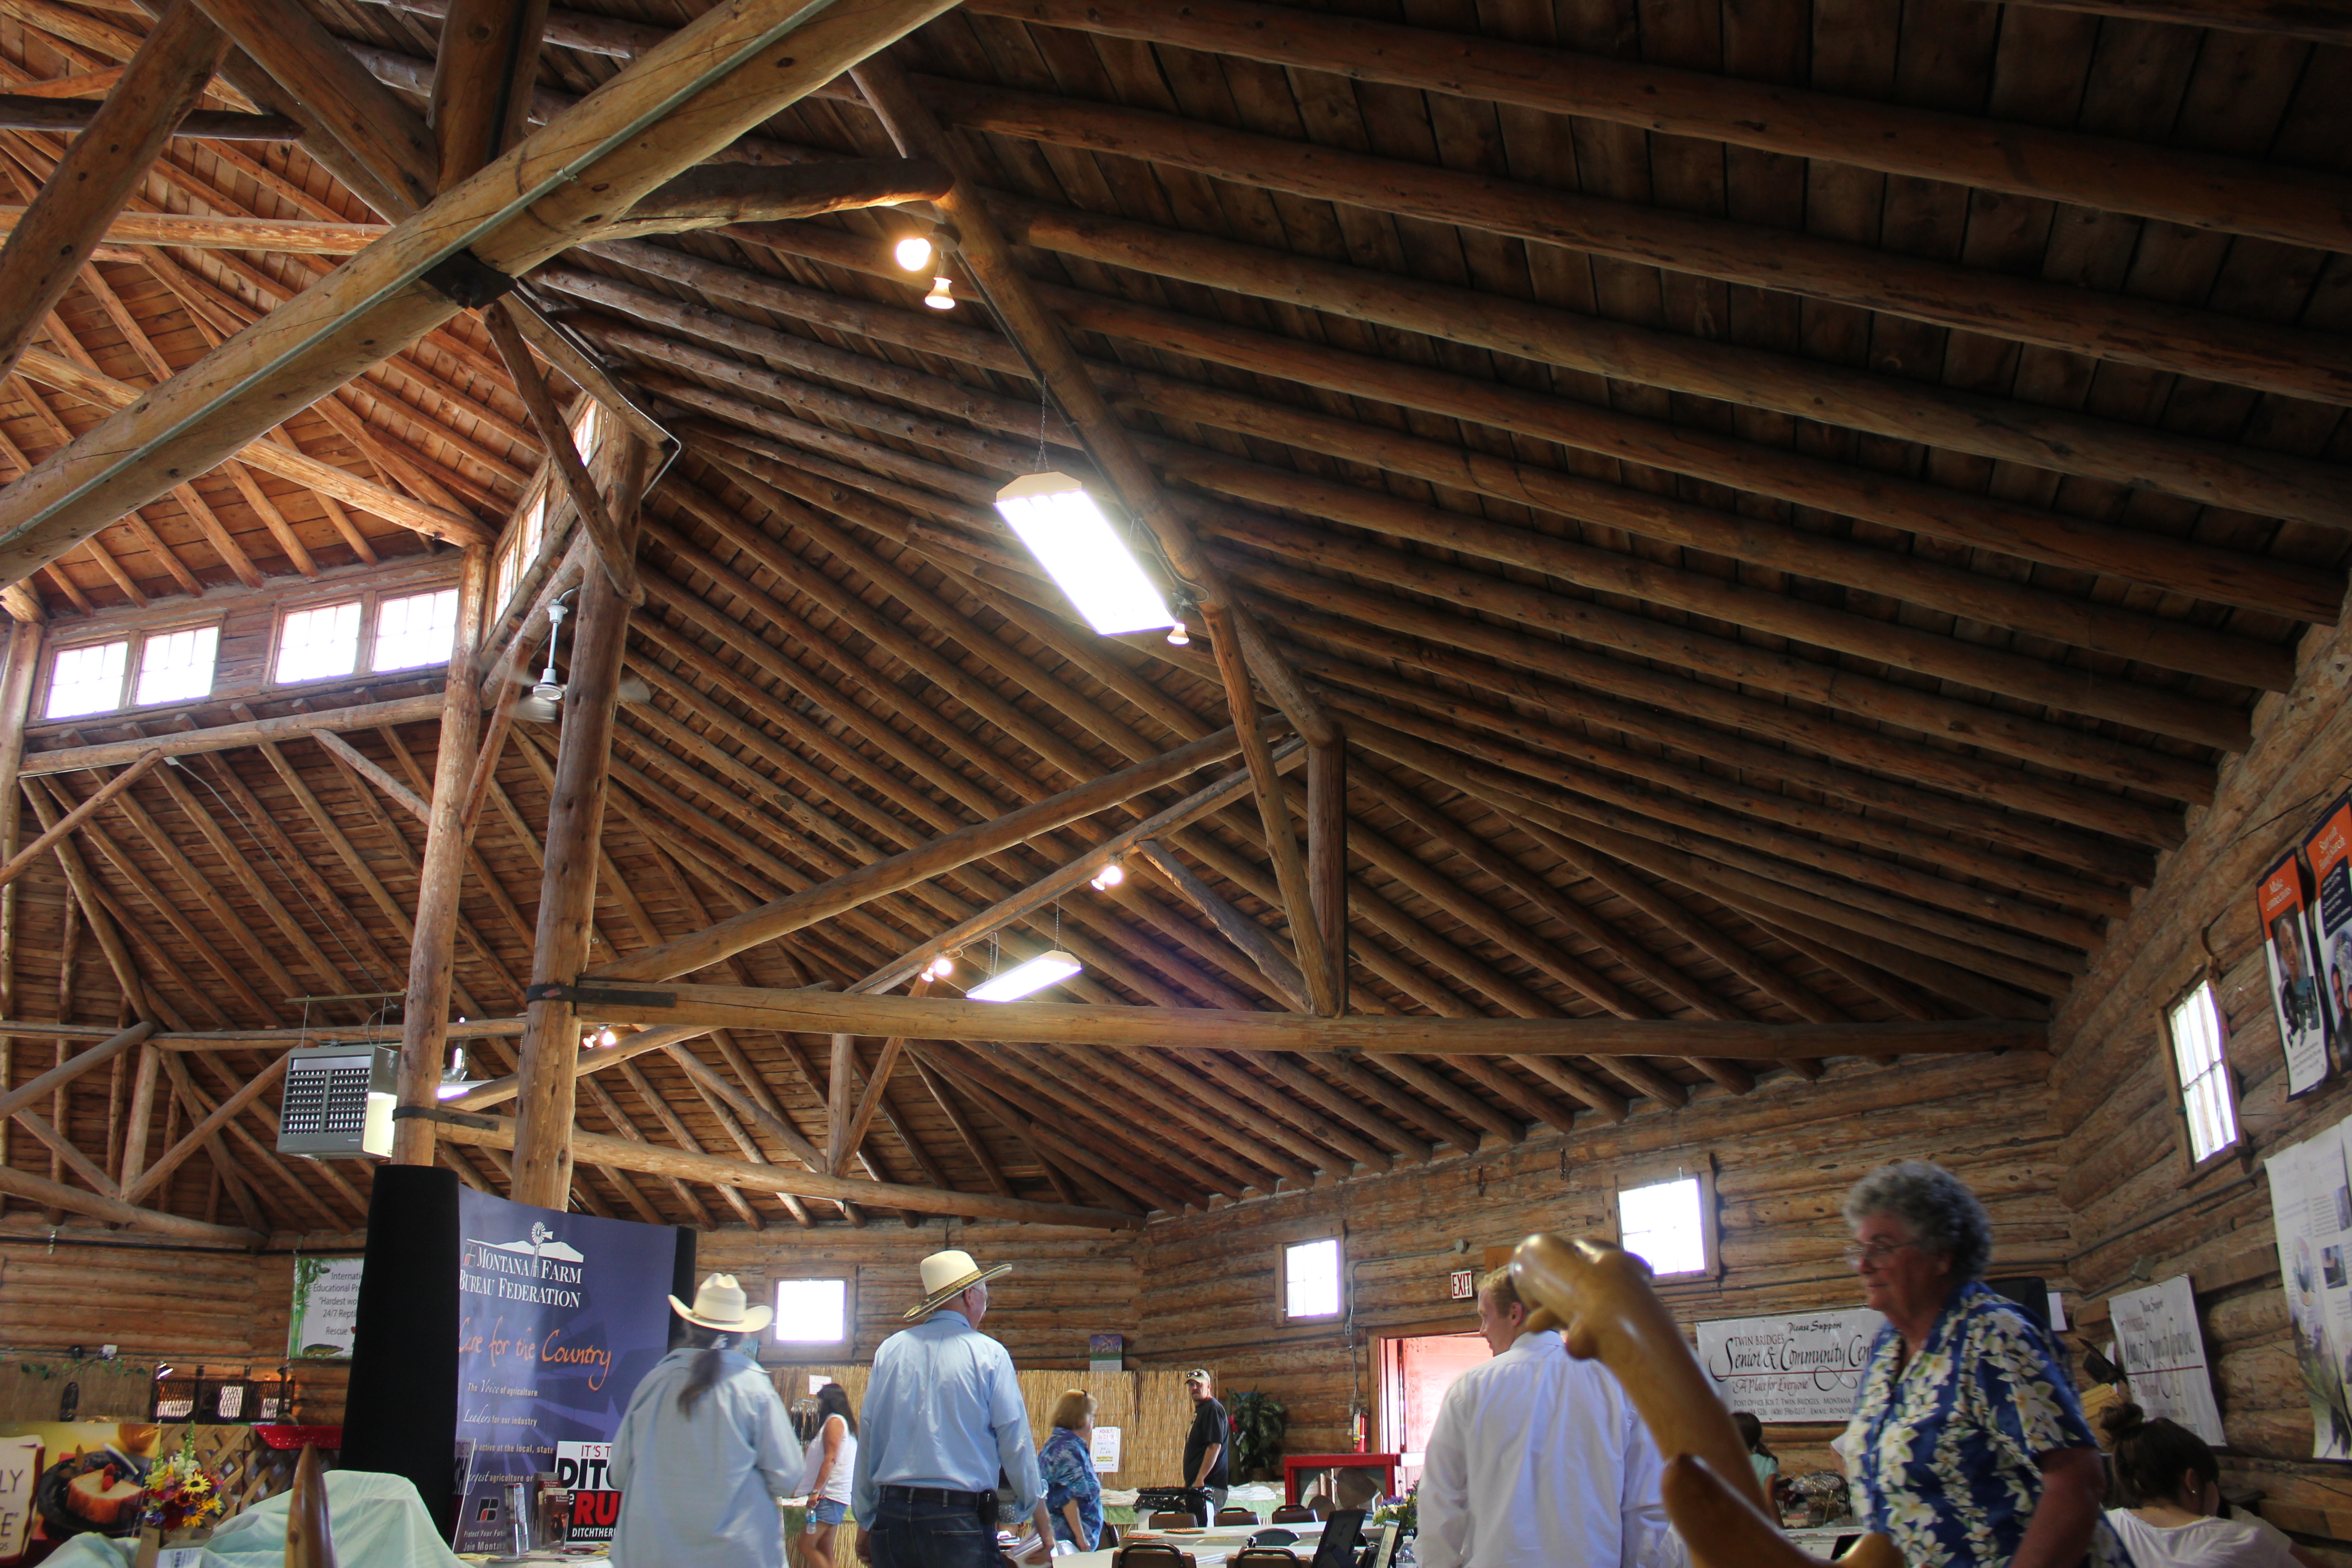
An important reason for my wanting to exhibit at the fair was/is my admiration for the octagonal log architecture of “The Pavilion.” Another reason is that our three families all live just across the Beaverhead River from the fairgrounds. Yet another reason is that the booth space was large enough to allow a collection of 11 pieces of furniture, as well as my shaving horse, tote box, and tool caddy.
I planned the exhibit as an educational display–about the trees, the designs, and the workmanship. It is yet another of my tributes to the contorted lodgepole pine trees.
It’s very likely that this will be my last public display, especially since we’re now thinking of furnishing our Virginia City home with these irreplaceable pieces of tree art furniture and sculpture.
I’m pleased that spending this time with the display has renewed our appreciation of the many artistic values embodied in each piece, and in the collection as a whole. It’s true that the pieces interact with each other, and that the whole display seems greater than the sum of its parts.
The entire collection represents thousands of hours of work–from the hunting/gathering of the trees, to the different stages of assemblage, cosmetic detailing, to the finish coats of varnish or wax–plus all the indirect labors, including storage, handling, marketing and sales.


Thirty-six. Starting the finishing.

I’m building the bench on the indoor deck of our attached greenhouse. Since I often look out from our living room at the work-in-progress, I decided to take a photo through the window.
With all of the components now in place, I’ve started the tedious and time-consuming processes of cosmetic detailing. This is strictly a matter of appearances, mostly by removing tiny areas of remaining bark or cambium; removing excessive glue, and tool marks left by coarse grinding, rasping, chiseling, sanding; filling counter-sunk screw holes and less-than-perfect joineries; shaping/sculpting joints so they flow together; and chamfering/rounding all edges.
The final stages of sanding require multiple types of electrical power and hand sanders and grit abrasives, all depending on the desired final appearance. Another cosmetic process is using stain pens of different shades to conceal the wood filler in the joints and screw holes. I try to blend differences in color with a stain that matches other colors in the tree.
I have to admit that I’ve recently arrived at the point where my desire to have the bench finished is almost as strong as my desire to do the best possible job. That includes dealing with a sense of diminishing returns.
I’m often told that I will be the only one who will notice the imperfections, that everyone else will have a general impression of the bench. That’s probably true, with the exception of other woodworkers or carpenters. That’s when I remind myself that tree art is not comparable to fine woodworking. Even the best of tree art furniture lacks the precision construction and sophisticated finish that defines fine woodworking. The trees (as unprocessed “wood”) are not comparable to the exotic hardwoods used in fine woodworking.
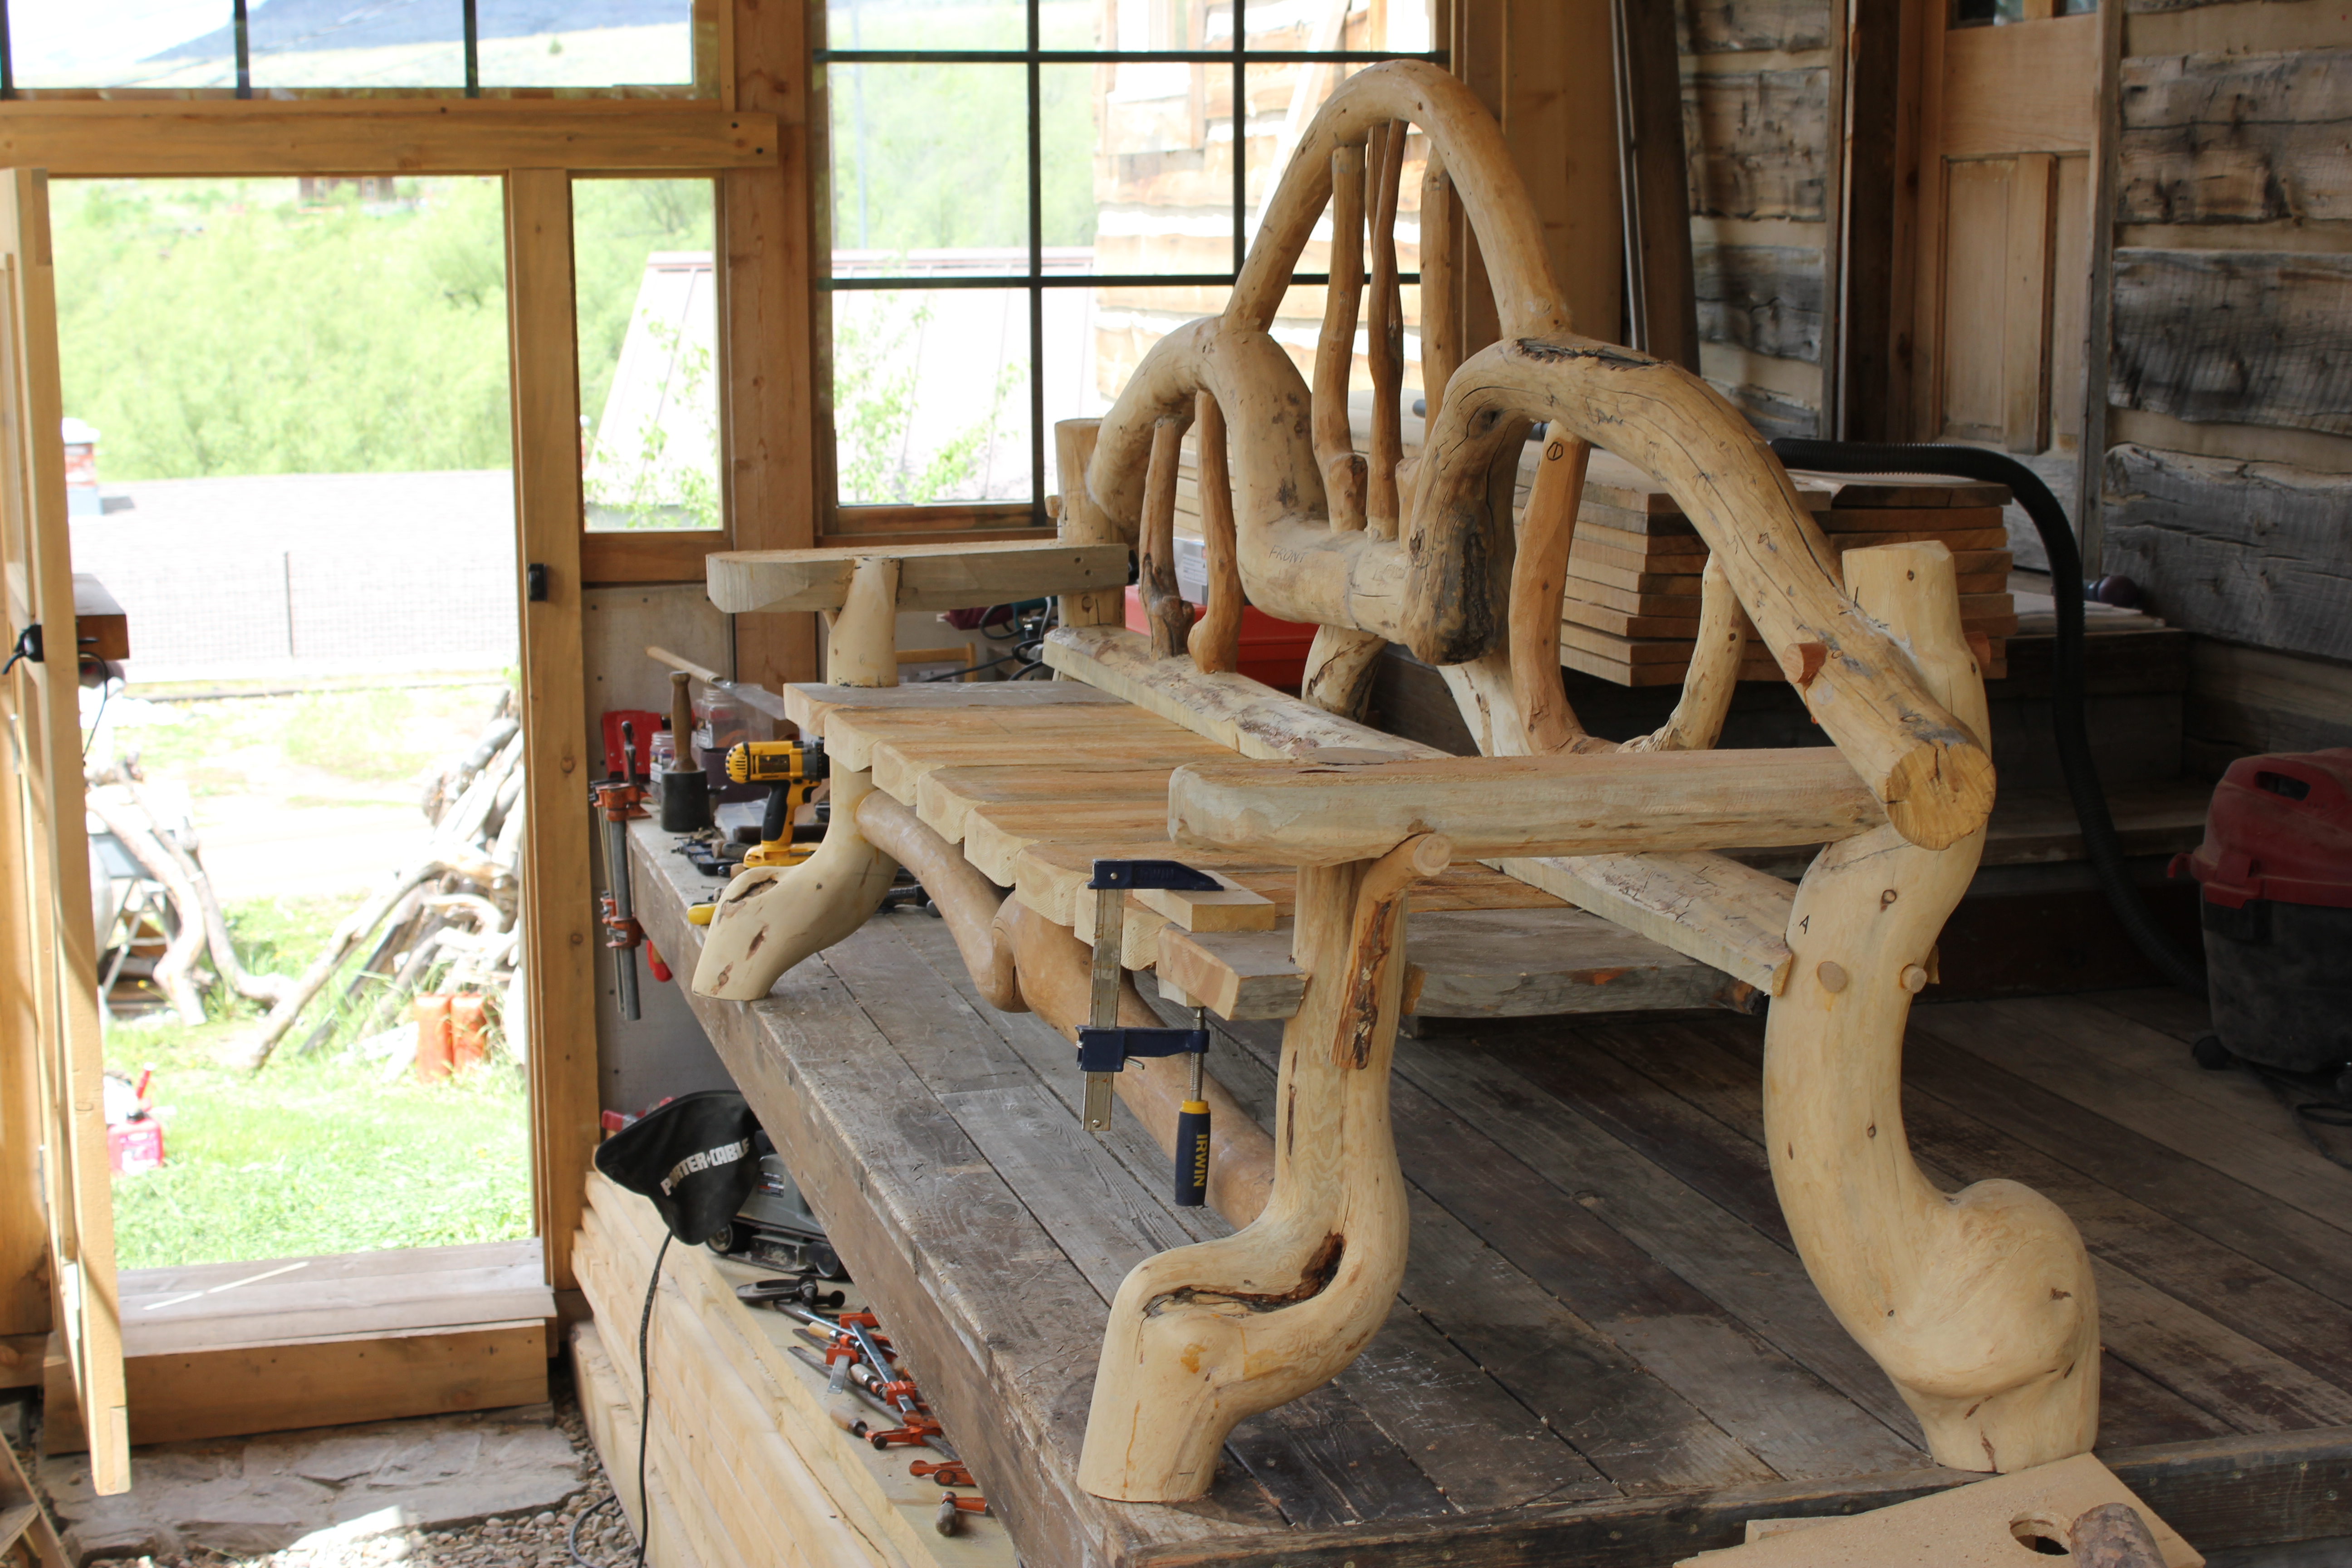
Thirty-three. Armrests for the bench
With the addition of the armrests, the bench’s components are almost completed. As the armrest design evolved, I had to give up my plan to have the bench come apart in two sections. With the armrest’s fixed connection between front and back legs, the bench can no longer be disassembled.
I still have to add an “ox-bow” tree trunk stretcher between to two back legs. I’ll also add a horizontal brace under the front of the bench seat, using the front “ox-bow” for support.

This 3/4 view from the back shows one armrest roughed-in. It also shows the growing number of the bench’s component tree trunks. There are, I think, sixteen tree trunks in this photo. When the bench is finished I’ll do an exact count.
In this 3/4 front view, both armrests show. Each is fashioned from a slab of lodgepole pine, with a curved underside and flat surface on top.
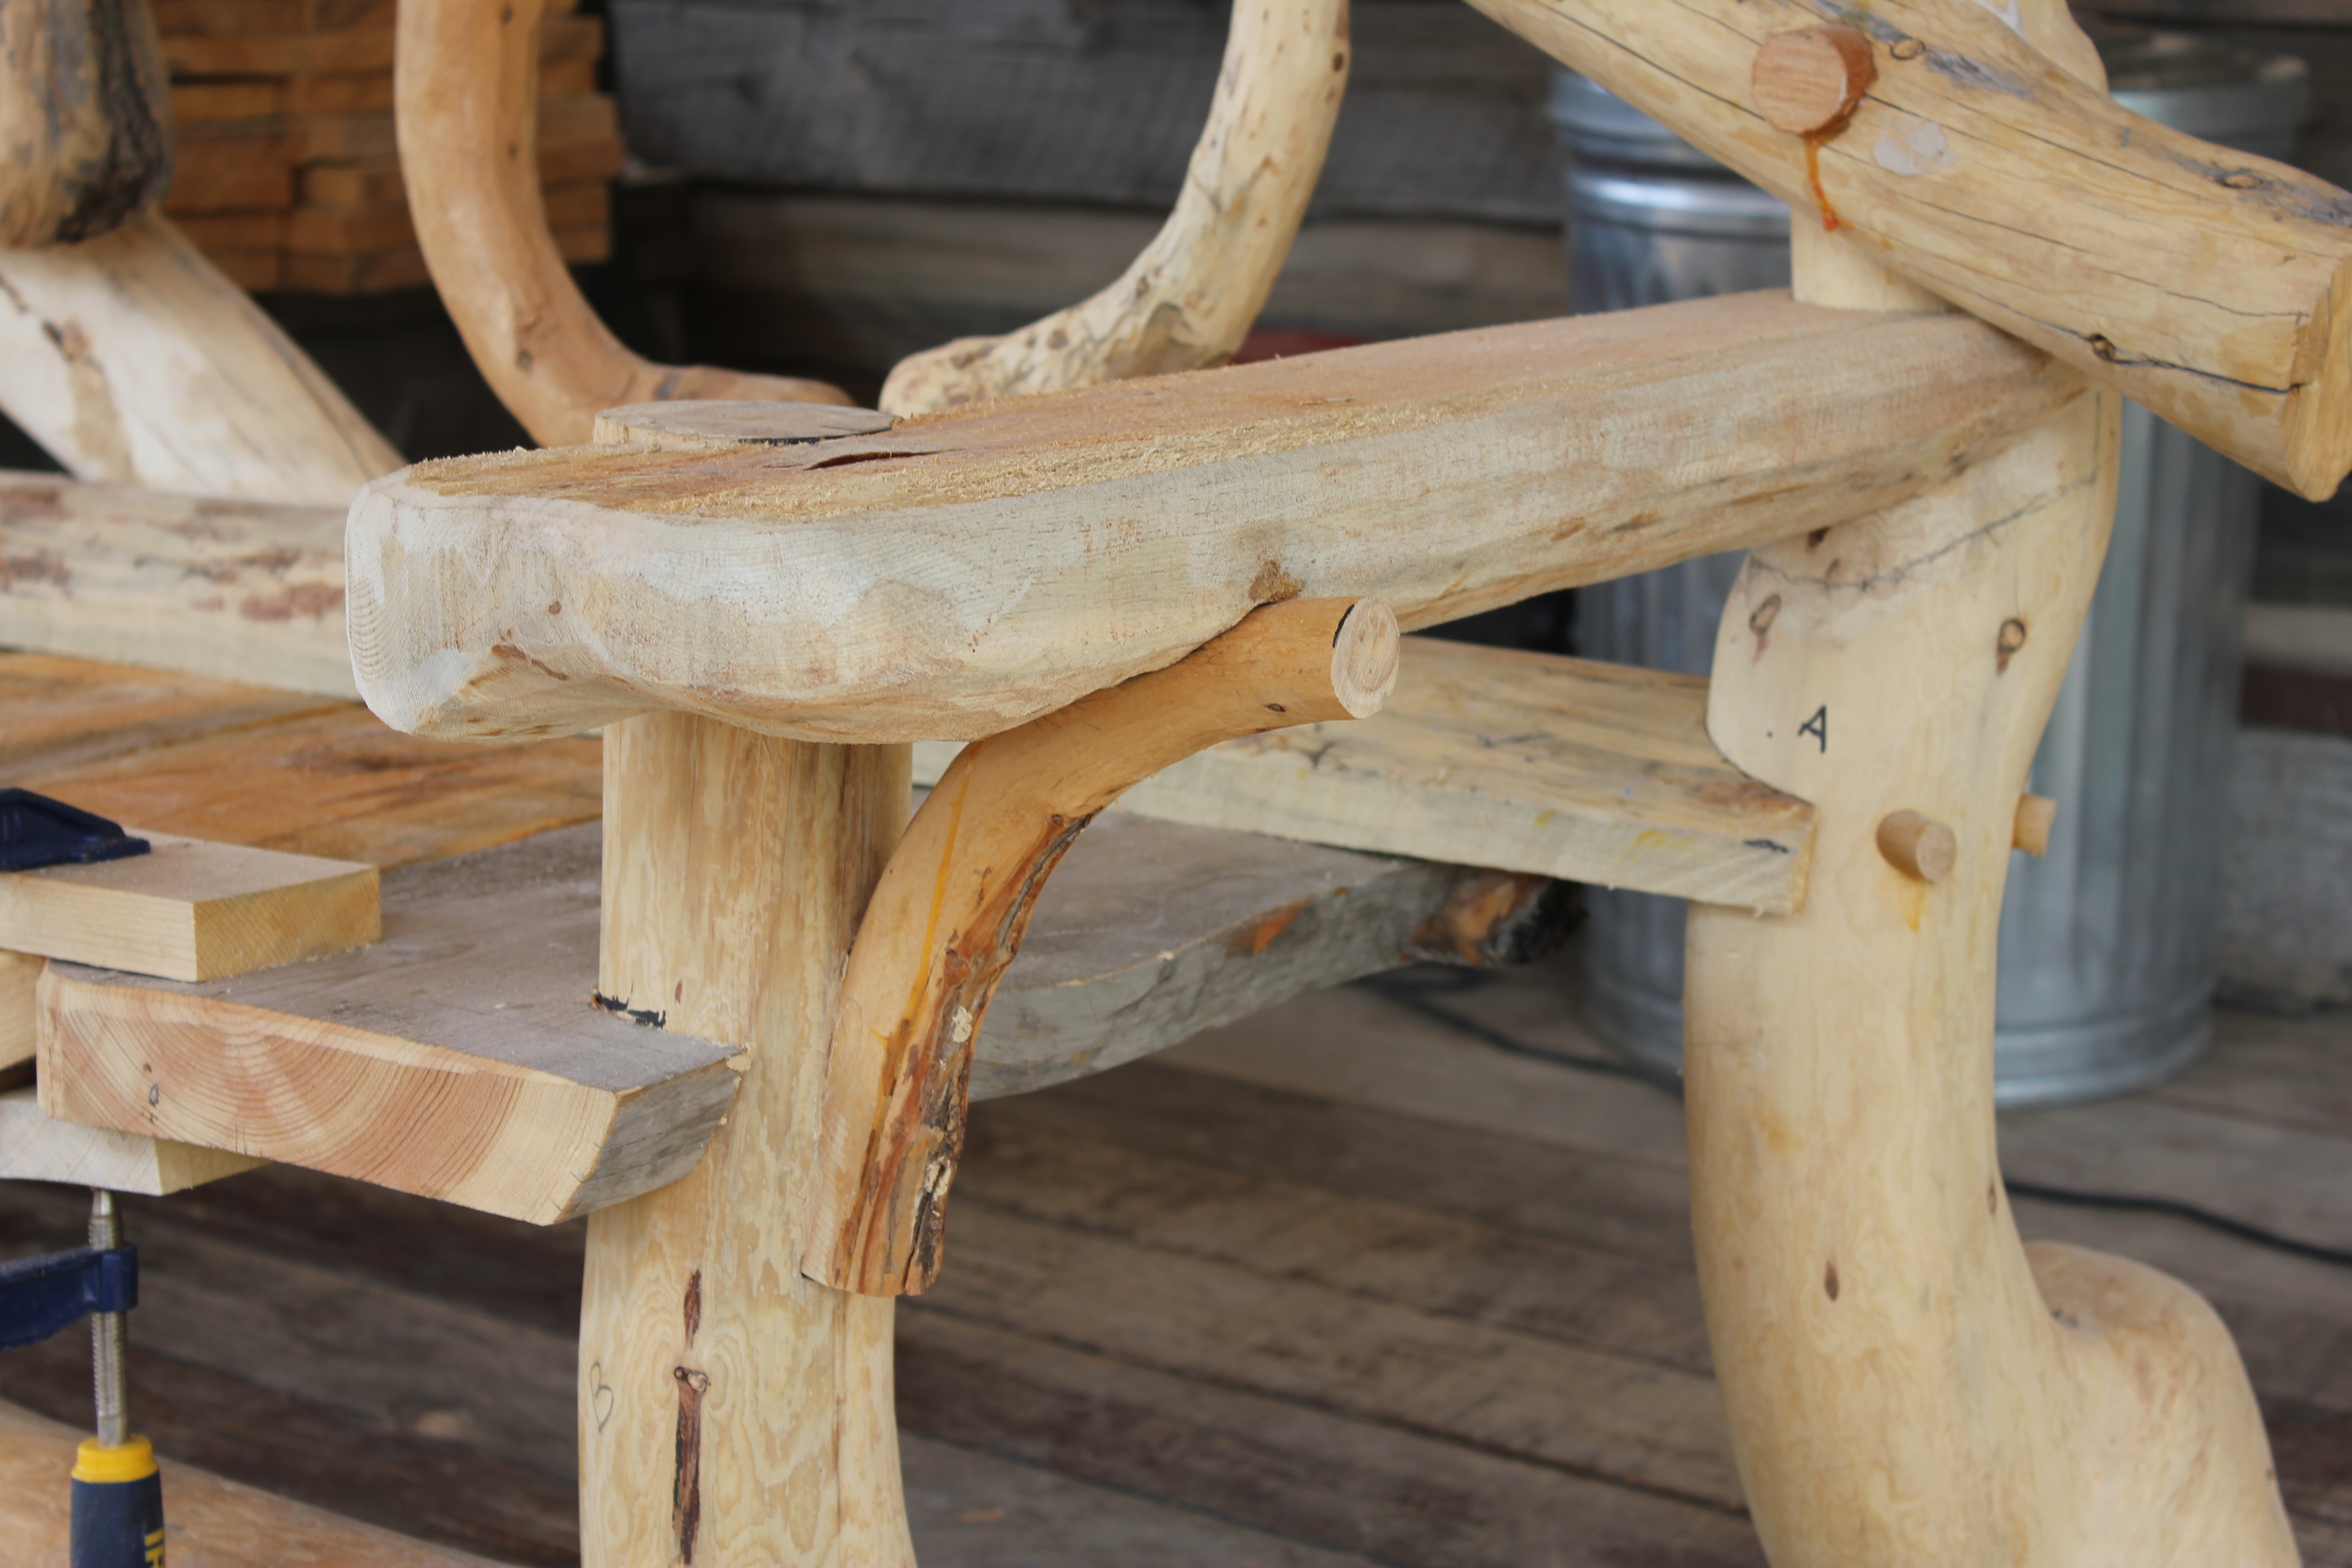
This close-up shows the armrest support brace, made of a segment cut from a little tree trunk naturally grown in an arched curve. For added strength, it is inset both into a recess in the front leg, and into a groove chiseled in the armrest. It is secured with Torx finish screws.

A view from the other end.
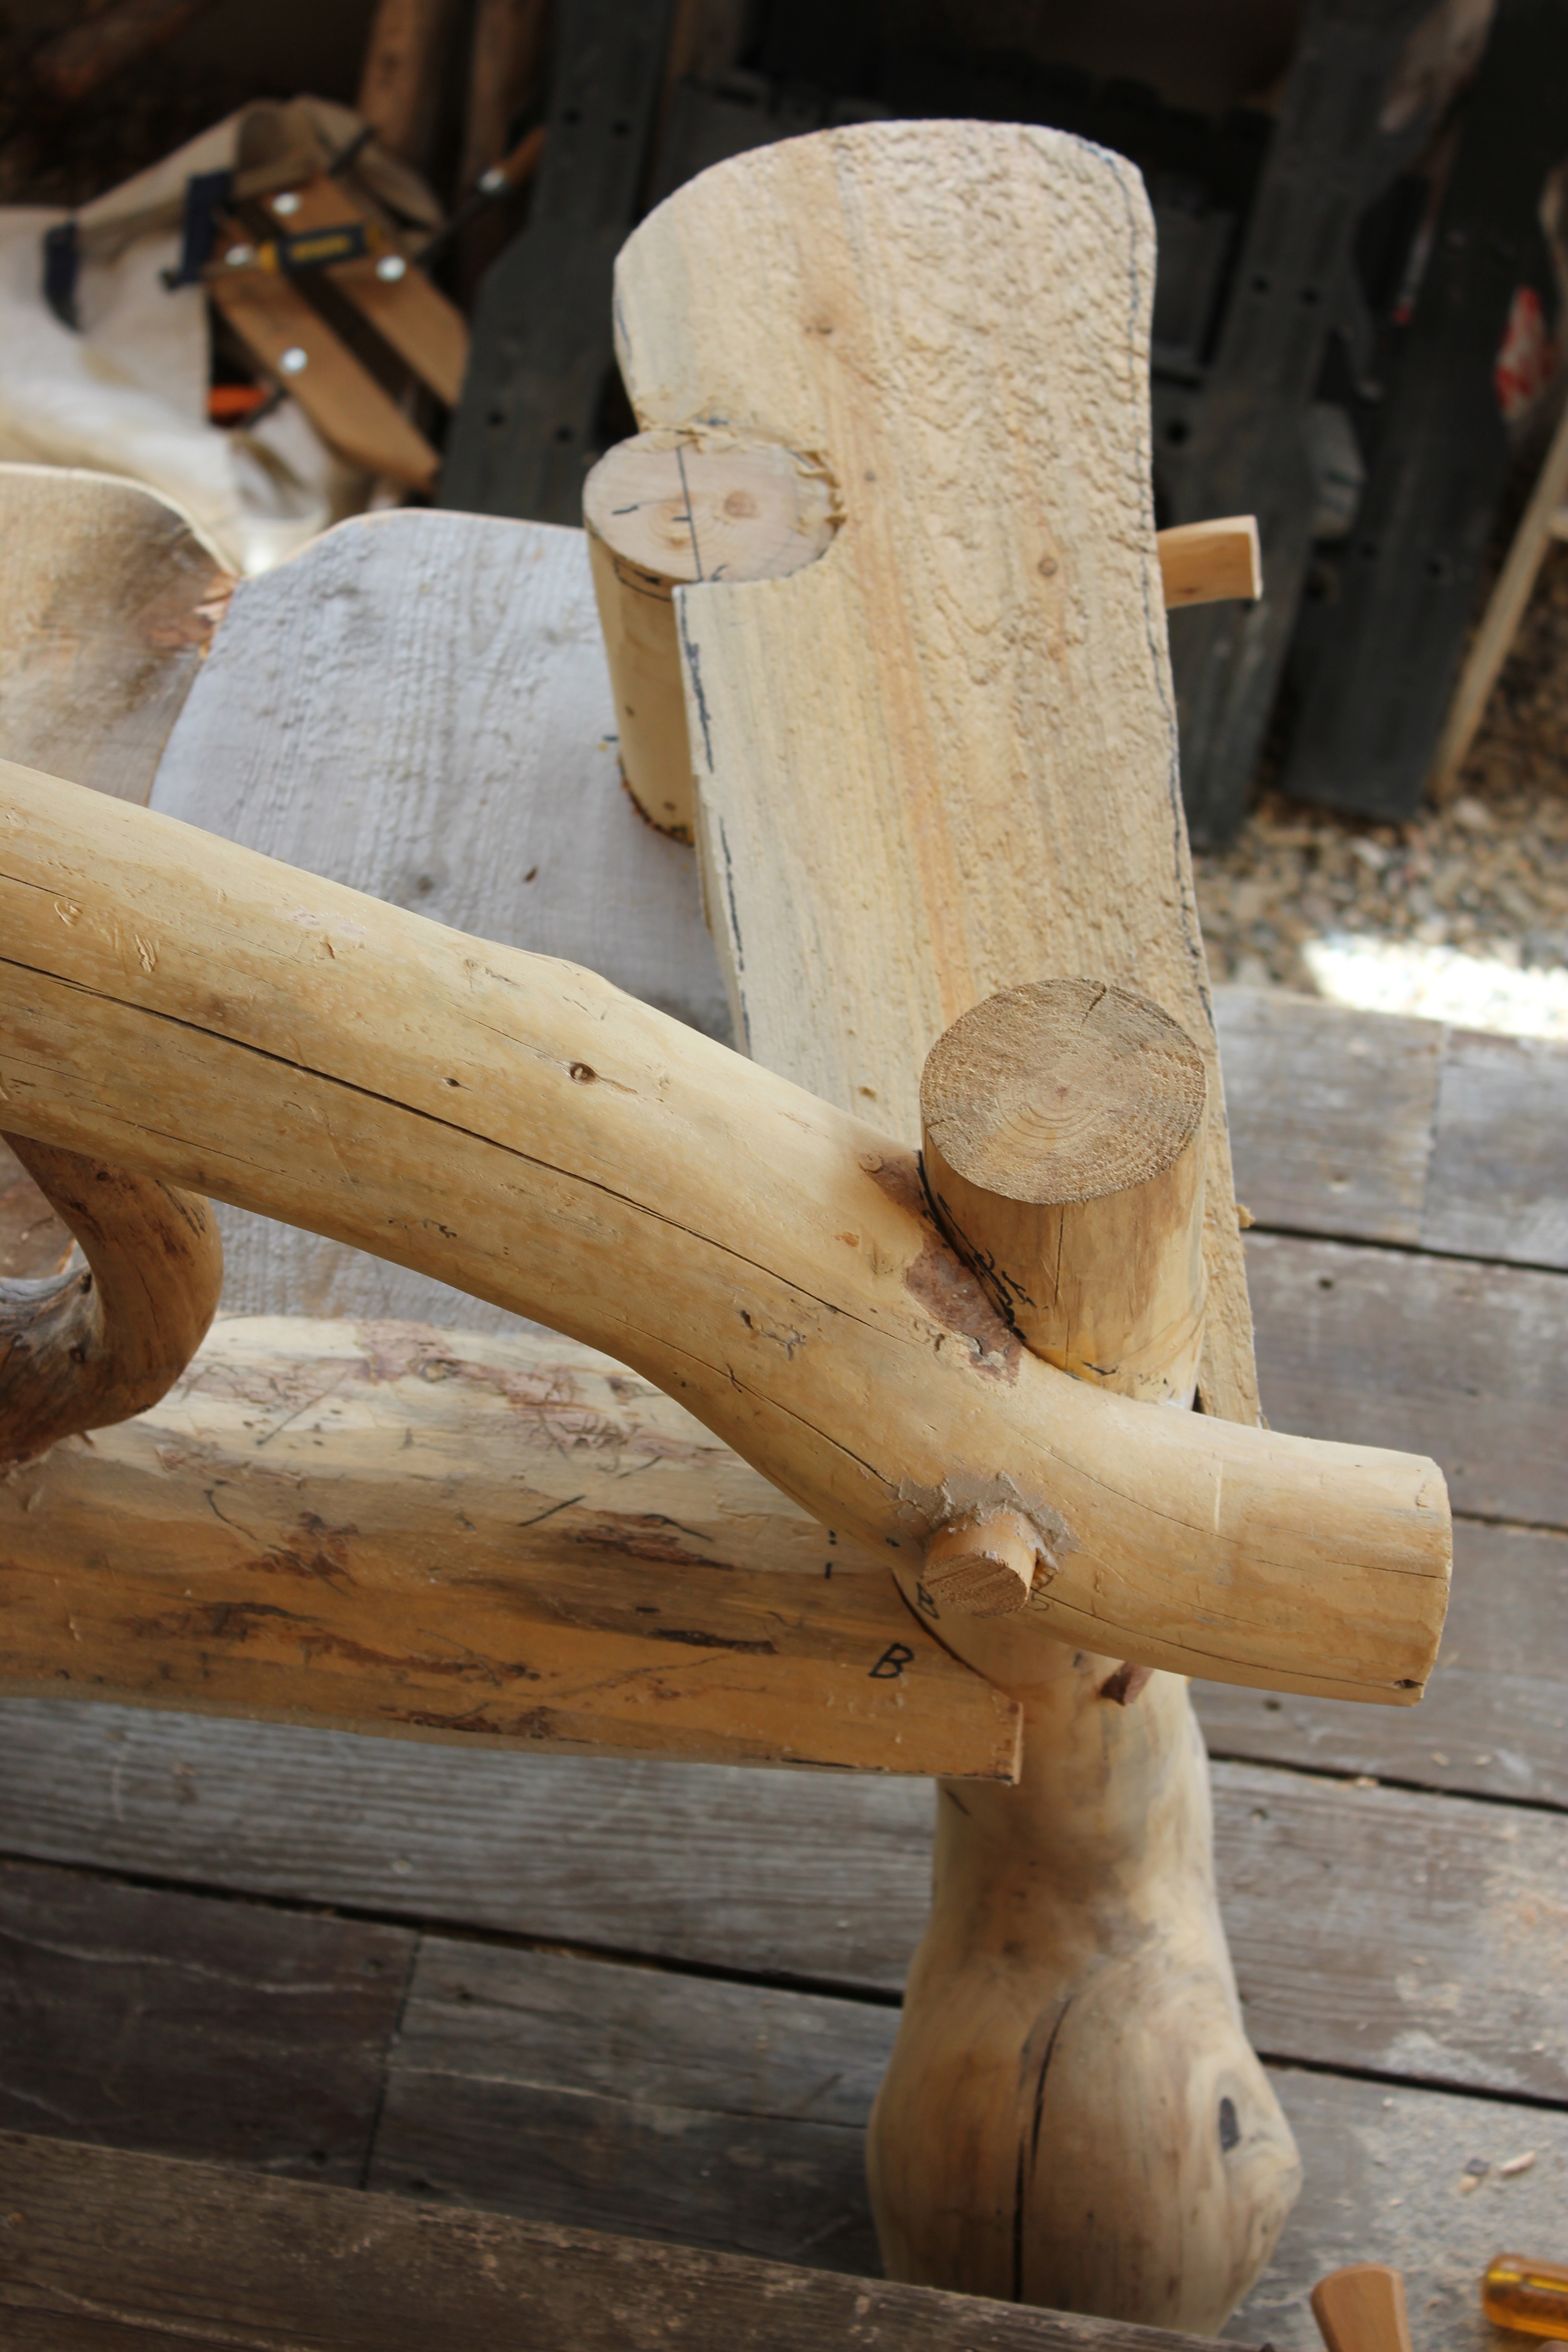
This top view at the bench’s right end shows the front leg and armrest joined by a coped saddle notch, with the arched support left “wild” for later trimming. The bottom of the photo shows more of the coped saddle joinery, four at each end of the bench, used as a key element of the bench’s design and its structural strength.

Here are the two coped saddle notches of the armrest. Sequence was critical in cutting them. The first notch had to be cut and fitted to the back leg, because the armrest moved the depth of the notch toward the back. Once the back notch was finished, I could accurately lay out the front notch. Such double joineries require multiple attempts at fittings.
Twenty-seven. Making the bench seat
The making of the bench seat with 8 pieces of 2″ thick planks.
Perhaps, since tree art is a collaboration with Nature, I tend to abhor straight lines (and square corners, etc.). In the making of edge to edge butt joints, I like the mate cut, waney edge joints as a design detail.
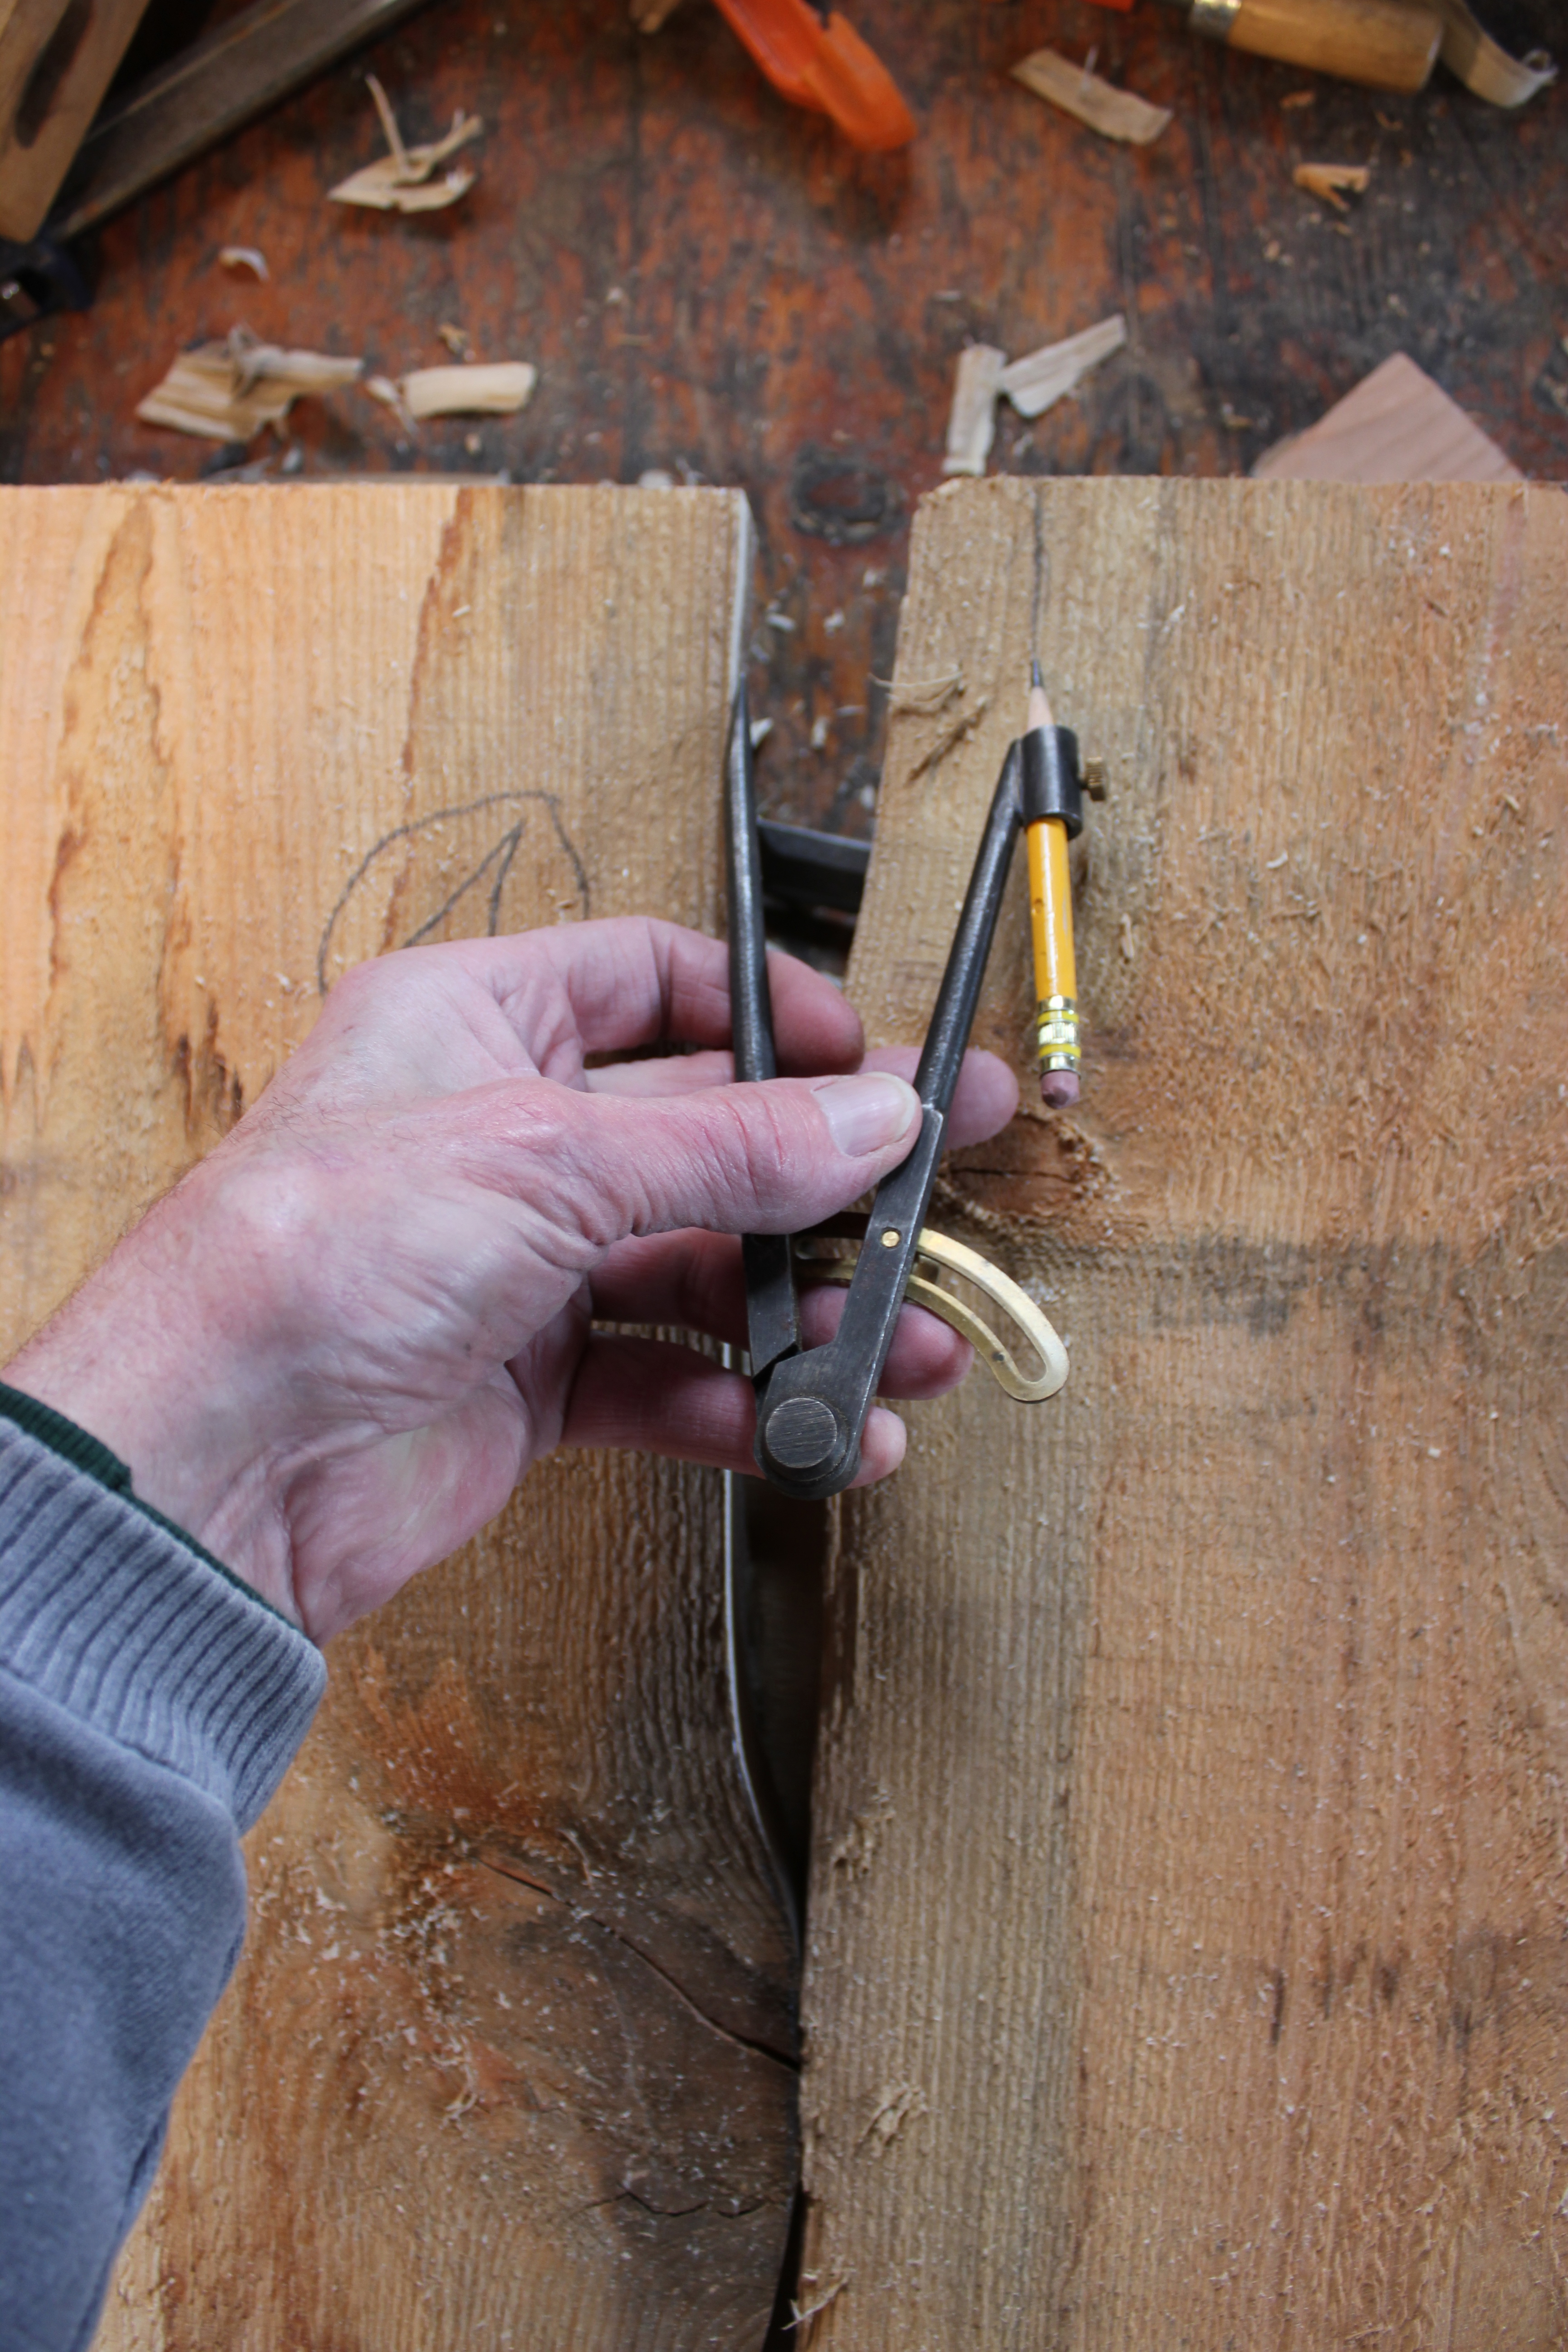
After one side of a piece has been cut on the bandsaw, the compass serves to scribe the adjoining piece, for a paired and mate cut joint. It’s important to keep the point and the pencil directly opposite to each other, closely perpendicular to the direction of the joint.

Piece number 4 will now go to the bandsaw for a cut of the second half of the paired pieces, for an approximate fit. It is important to number the paired pieces for replacement.

The edges of these pieces have all been cut on the bandsaw. Now, one joint at a time, after each end of the paired pieces has a log dog driven in, the jigsaw will mate cut the final butt joint.
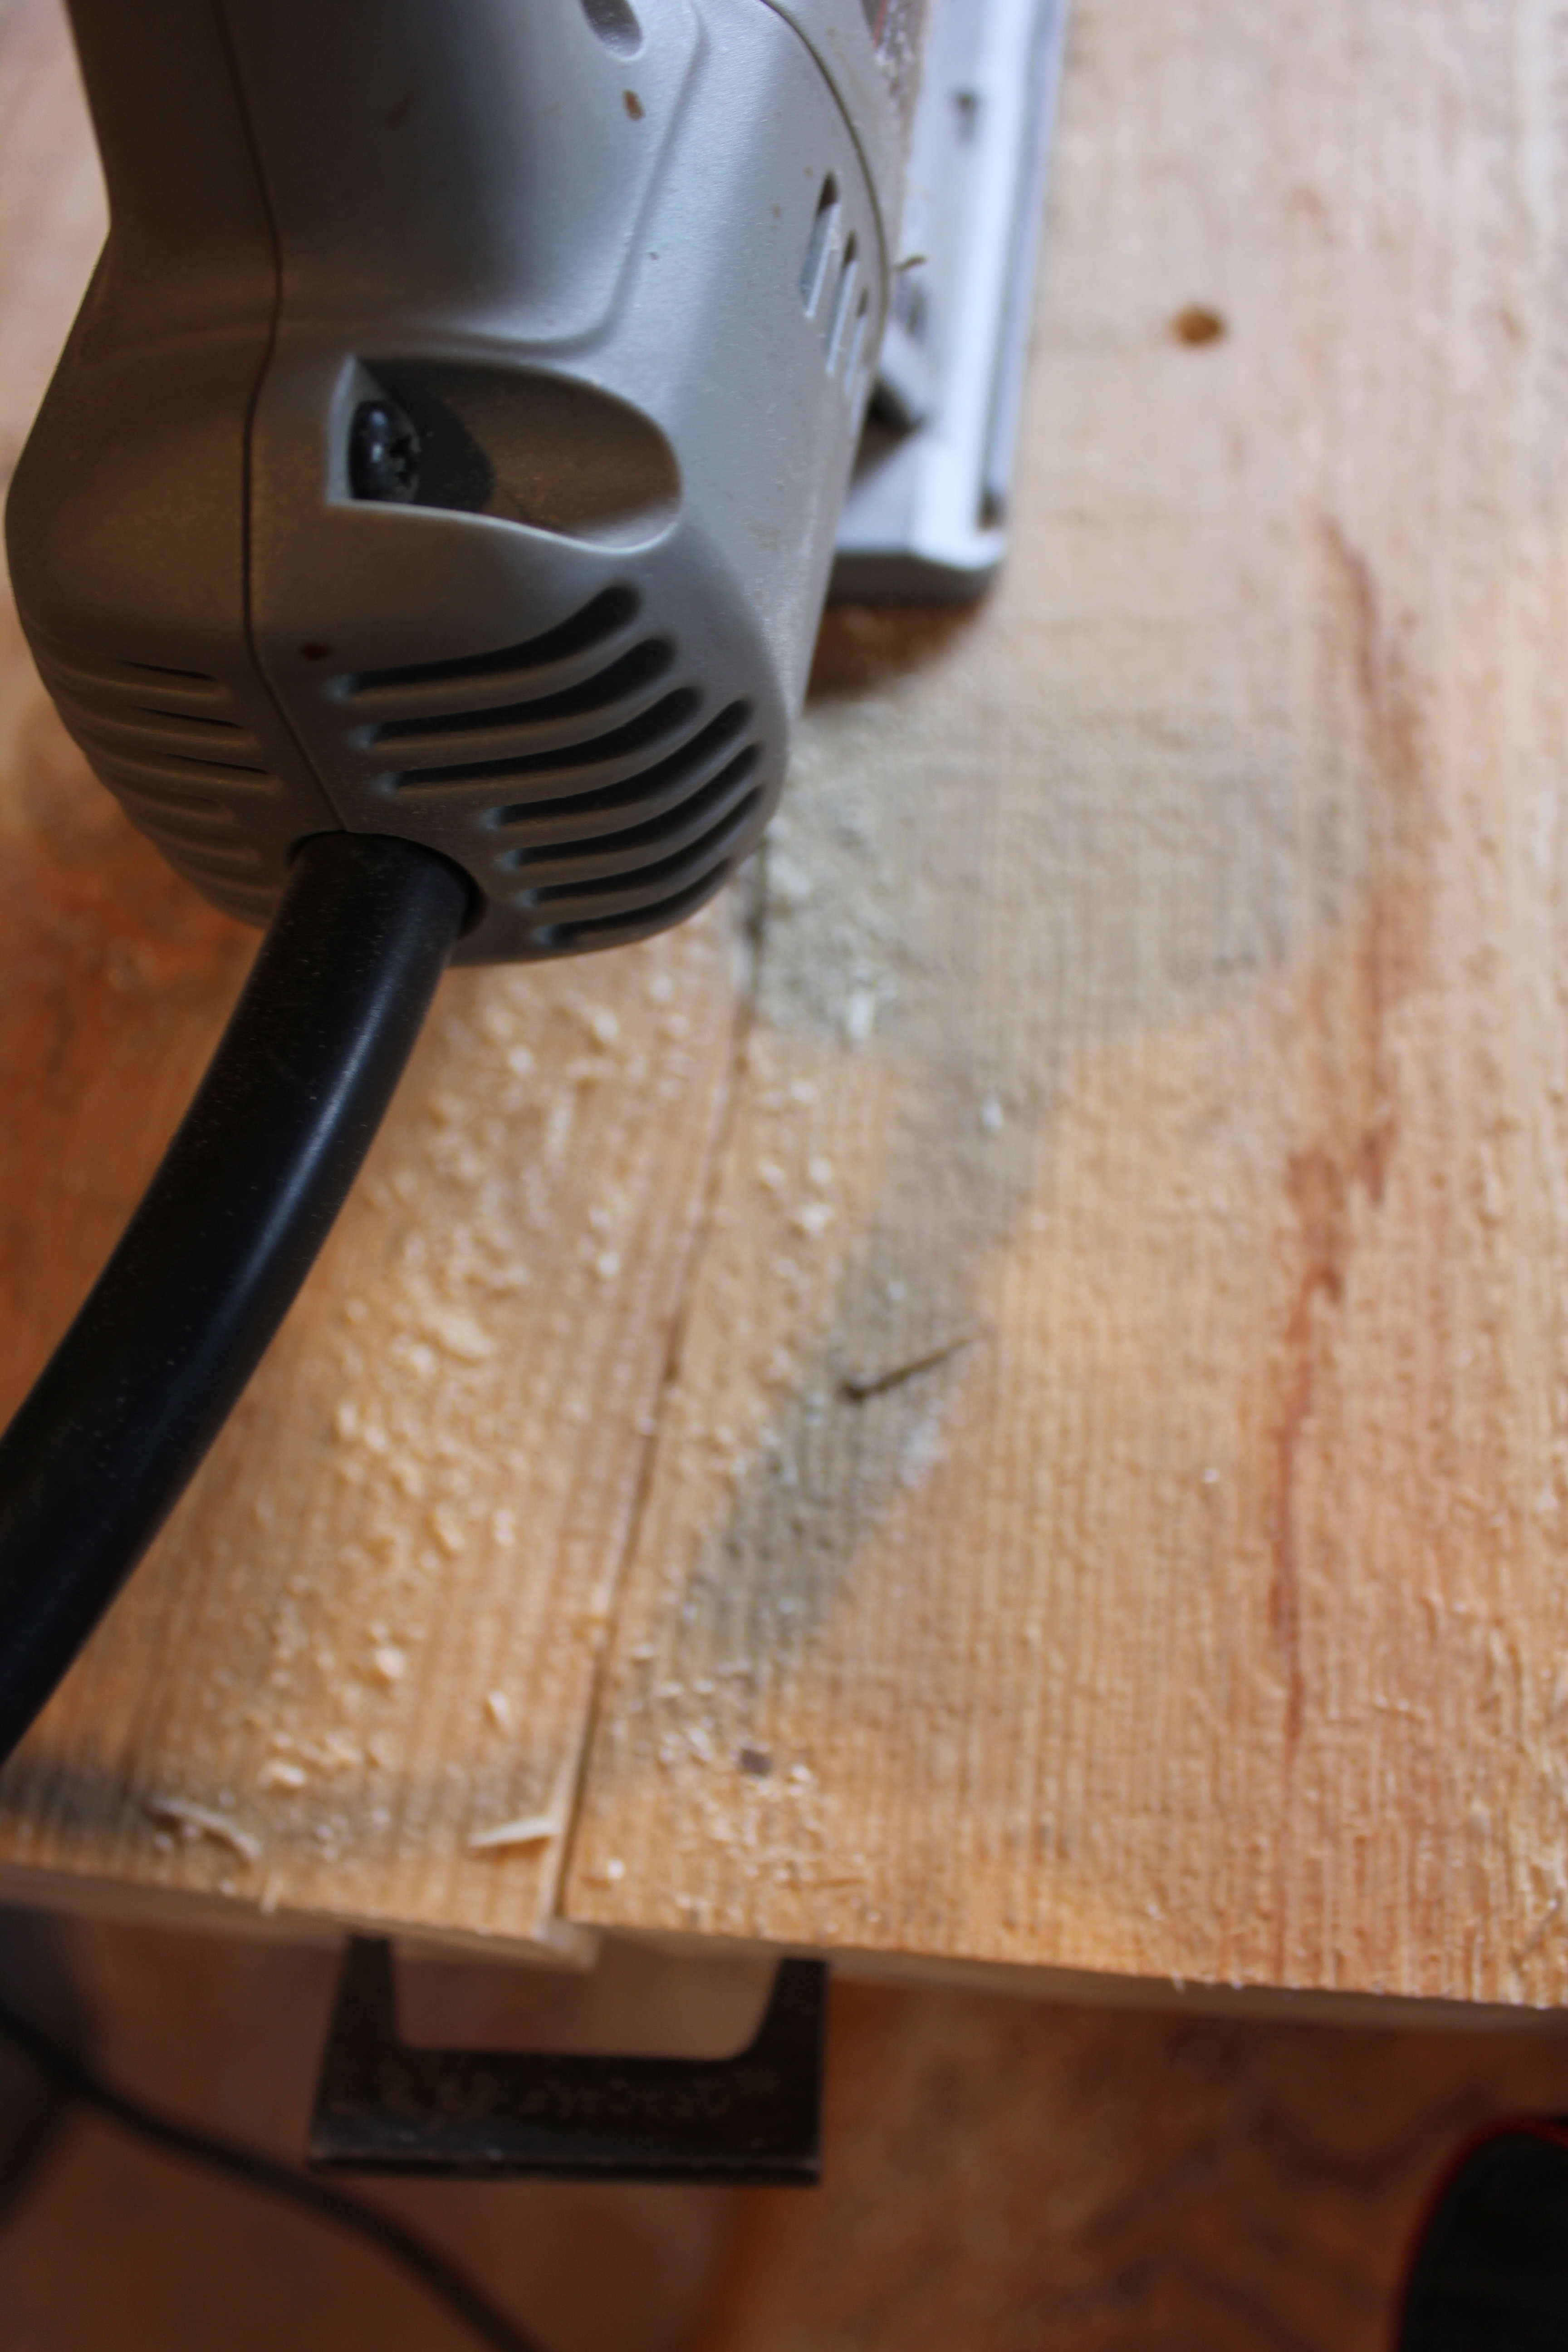
Here’s a close up of the mate cut in progress. Tightly fitting the joint sometimes takes several passes, releasing the log dogs each time, depending on how tightly the bandsaw’s approximate cuts fit. The two points of each log dog are pointed and wedge shaped so they draw the joint together as they are driven into the end grain.
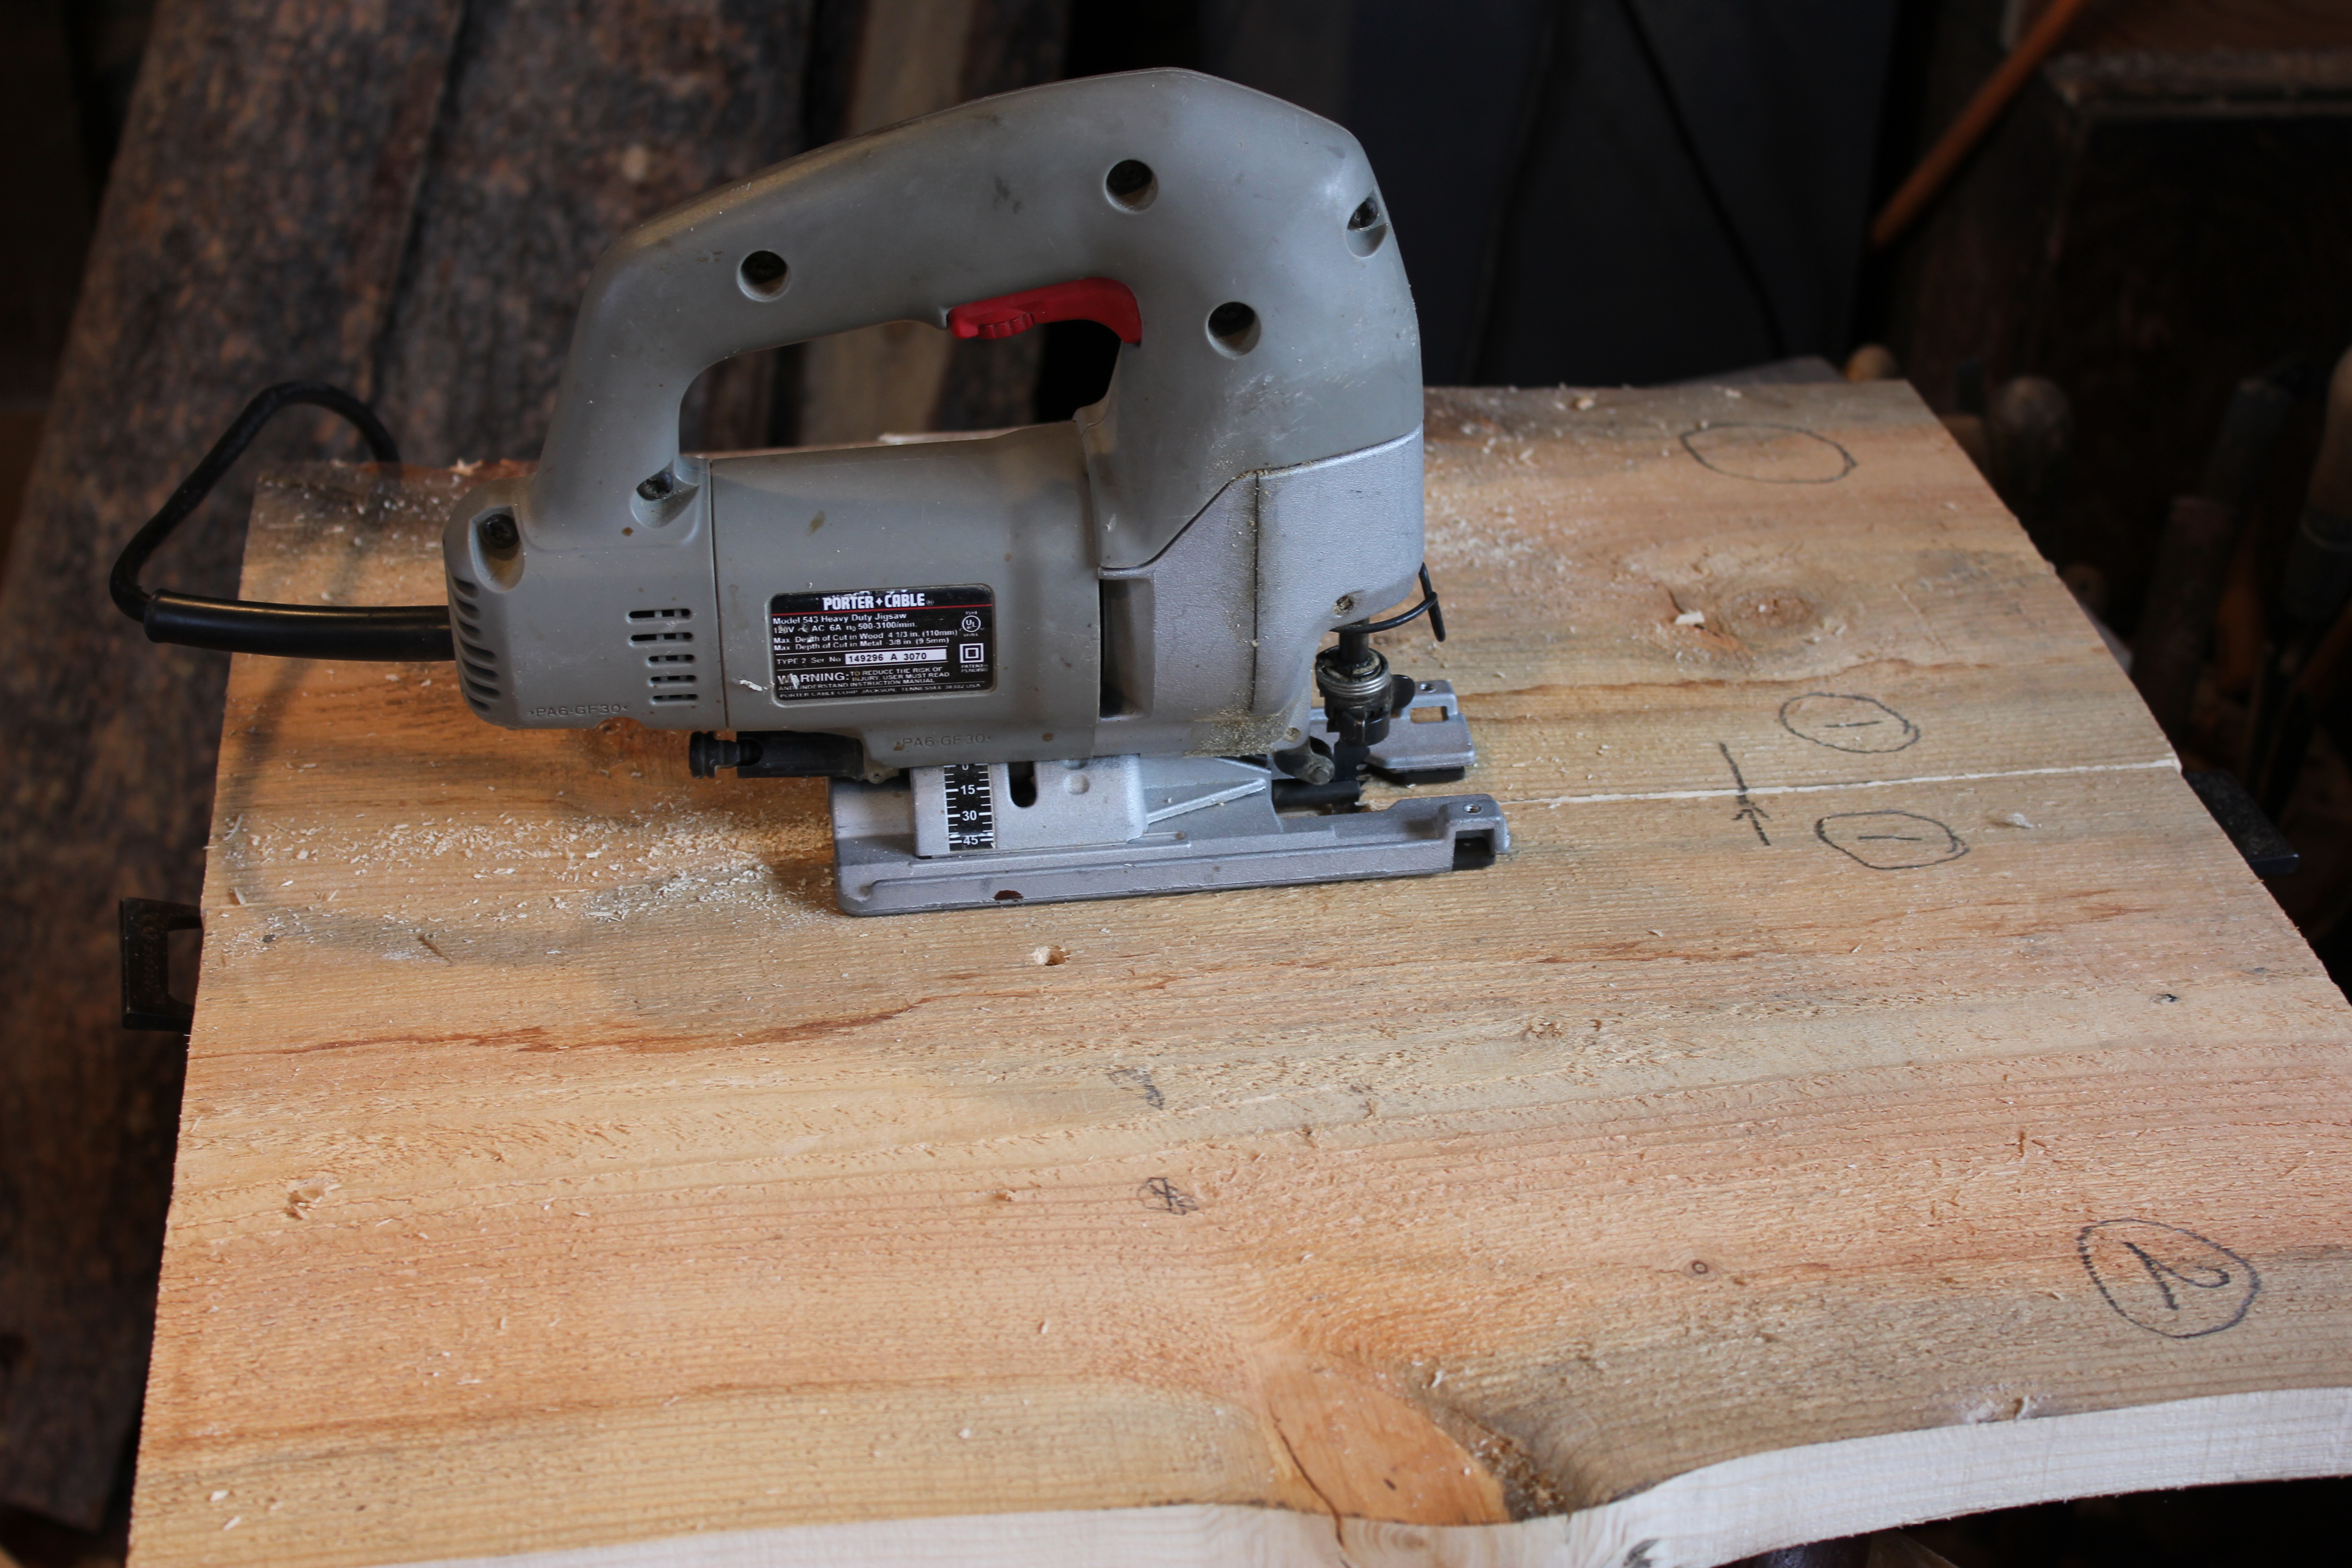
The jigsaw is cutting a uniform kerf the length of the pieces, so when the log dogs are removed the waney edges fit tightly, i.e., are mated to each other.

These 8 pieces are ready for gluing and clamping to make the seating surface for the bench, about 80′ long and 20″ deep–deep enough for the backrest to be placed on top.
