An Annotated Portfolio & Project Documentaries

Latest

Thirty-six. Starting the finishing.

Bench photo

I’m building the bench on the indoor deck of our attached greenhouse. Since I often look out from our living room at the work-in-progress, I decided to take a photo through the window.

With all of the components now in place, I’ve started the tedious and time-consuming processes of cosmetic detailing.  This is strictly a matter of appearances, mostly by removing  tiny areas of remaining bark or cambium; removing excessive glue, and  tool marks left by coarse grinding, rasping, chiseling, sanding; filling counter-sunk screw holes and less-than-perfect joineries; shaping/sculpting joints so they flow together; and chamfering/rounding all edges.

The final stages of sanding require multiple types of electrical power and hand sanders and grit abrasives, all depending on the desired final appearance.  Another cosmetic process is using stain pens of different shades to conceal the wood filler in the joints and screw holes.  I try to blend differences in color with a stain that matches other colors in the tree.

I have to admit that I’ve recently arrived at the point where my desire to have the bench finished is almost as strong as my desire to do the best possible job. That includes dealing with a sense of diminishing returns.

I’m often told that I will be the only one who will notice the imperfections, that everyone else will have a general impression of the bench.  That’s probably true, with the exception of other woodworkers or carpenters.  That’s when I remind myself that tree art is not comparable to fine woodworking.  Even the best of tree art furniture lacks the precision construction and sophisticated  finish that defines fine woodworking.  The trees (as unprocessed “wood”) are not comparable to the exotic hardwoods used in fine woodworking.

Advertisement

Thirty-five. “Ox-bow” stretcher on back legs

IMG_3757

In preparing to place the ox-bow stretcher, and locate the mortise holes at each end, it was important to measure the difference between its two ends on a single line, by clamping an 8 foot straight edge on what will be the lower end. The goal was to place the holes at levels that would place the entire ox-bow in a horizontal position when installed.

IMG_3759

This view, from the other end, shows the offset and the required difference in the round mortises.

IMG_3762

The position of the lower mortise is marked for drilling a 2 9/16″ hole. The straight line on the leg is a guideline for the drilling angle, because the tenon will enter at angle lower than level. I’ve used two boards under the stretcher to support it at a height the keeps the entire stretcher in the desired position.

IMG_3764

The opposite end of the stretcher required a saddle notch, because of the difference in the heights of the two ends. The end of the stretcher was left in its full diameter.

IMG_3766

The 2 9/16 inch hole is located in a solid part of the leg. The appearance of the location was also a design consideration.

IMG_3760

This end has a solid saddle notch fit, that I’ll secure with two countersunk 3/8″ lag screws.

IMG_3763

This is the overall look of the rear ox-bow stretcher.

Thirty-three. Armrests for the bench

With the addition of the armrests, the bench’s components are almost completed.  As the armrest design evolved, I had to give up my plan to have the bench come apart in two sections.  With the armrest’s fixed connection between front and back legs, the bench can no longer be disassembled.

I still have to add an “ox-bow” tree trunk stretcher between to two back legs.  I’ll also add a horizontal brace under the front of the bench seat, using the front “ox-bow” for support.

IMG_3743

This 3/4 view from the back shows one armrest roughed-in. It also shows the growing number of the bench’s component tree trunks. There are, I think, sixteen tree trunks in this photo. When the bench is finished I’ll do an exact count.

IMG_3744

In this 3/4 front view, both armrests show. Each is fashioned from a slab of lodgepole pine, with a curved underside and flat surface on top.

IMG_3745

This close-up shows the armrest support brace, made of a segment cut from a little tree trunk naturally grown in an arched curve. For added strength, it is inset both into a recess in the front leg, and into a groove chiseled in the armrest. It is secured with Torx finish screws.

IMG_3746

A view from the other end.

IMG_3749

This top view at the bench’s right end shows the front leg and armrest joined by a coped saddle notch, with the arched support left “wild” for later trimming. The bottom of the photo shows more of the coped saddle joinery, four at each end of the bench, used as a key element of the bench’s design and its structural strength.

IMG_3750

Here are the two coped saddle notches of the armrest. Sequence was critical in cutting them. The first notch had to be cut and fitted to the back leg, because the armrest moved the depth of the notch toward the back. Once the back notch was finished, I could accurately lay out the front notch. Such double joineries require multiple attempts at fittings.

Thirty-two. Another project: coat–hat–boot rack

While the bench project continues, I finished a coat–hat–boot rack for our own family use.

The height is over six feet. Except for the two slab pieces of the base, the rack combines twelve lodgepole pine tree trunks (and limbs?). The large central tree is a “swan’s neck,” my favorite contorted lodgepole pine motif.  All of the hooks were  “mate-cut” to fit flatly and tightly to the central tree, and joined with trim head Torx screws.   I’ve included two close-ups of the joinery, that also show insect activity and other “character traits.”

No stains were used. The different colors result from aging, weathering, and insect activity.  The finish is natural Watco Danish Oil.

It is rare that we get to keep any of my tree art, and especially pleasing to me because I like this piece a lot, both for its appearance and its usefulness to our family.

IMG_3613

IMG_3610

IMG_3617 IMG_3619 IMG_3621

Thirty-one. Joining the front legs with an “ox-bow” stretcher

Throughout the designing and making of this bench, I’ve used trees prepared for use, but not used, in other furniture projects.  The “ox-bow” is a tree art motif I identified many years ago, and the ones in these photos were drawknifed and sanded long ago.  I brought a selection of them up from the workshop.  I’ll use two as stretchers, one between the two front legs and one between the two back legs.

IMG_3573. Ox-bow stretcher JPG

The one I selected for the front stretcher is laid in place for marking its length. The one on the bench seat will probably be used in the back. The front legs are temporarily screwed in place.

IMG_3575

The stretcher is marked twice. One mark is for overall length and the other for the shoulder cut of the tenon. The”R” is to label the right end the stretcher.

IMG_3581

I’ve taken the stretcher down to the shop, placed it in the shaving horse, and marked both the diameter and length of the tenon.

IMG_3577

In 1992, I made a set of sizers of my own design, with different diameters, as an important part of hand-cutting tenons. Here I’m using a 2″ diameter sizer. I start the sizing by cutting the end down to the circle guideline with a drawknife. As the sizer starts to fit over the end and is rotated back and forth, its steel plate leaves a ridge on the tenon to show where more drawknifing is needed. The ridge shows in this photo. The goal is to make a truly round and cylindrical tenon all the way up to its shoulder. I have never used any kind of power tool, “production” tenon cutter.

IMG_3583

It’s tricky to get the right horizontal alignment on the drilling angle of the mortises. Because the ox-bow stretcher is not straight, the heights of the holes and the drilling angles have to matched to each end the ox-bow and to its overall shape. One mortise is 2′ in diameter; the other is 2 1/2″. I drilled them using a combination of a Forstner bit and a hole cutter.

IMG_3584

This is the left front leg. Its mortise is 1 3/4 inches higher than the right leg’s mortise, so that the stretcher will be, overall, level and parallel to the bench seat and the floor.

IMG_3585

The right leg, with both the mortise and tenon finished, is ready for gluing, clamping, and assembly.

IMG_3586

I visually test the shoulder fit and depth of the tenons on each leg.

IMG_3587

Because of the number–four–and size of the joints, I appreciated Kristin’s assistance (including taking photos.) I first apply a sizing coat of glue, and then a generous follow-up coat, that actually serves as a lubricant during assembly.

IMG_3591

The first step in gluing is to have wet rags ready for clean up. I use my fingers a lot, along with a dowel and glue brush. There’s stress in this phase, so the more preparation (and anticipation of what can go wrong) the better.

IMG_3596

It was challenging to use a correct sequence of assembly, and to use the web clamps in a way that pulled the joints in tightly and yet maintained the desired vertical alignment and visual flare of the legs. Kristin prevented a huge problem by pointing out the the ox-bow was not vertical and needed to be twisted upright.

Thirty. Joining the front legs to the bench seat

The design of this bench is experimental and evolving step-by-step.  I have a basic idea of adding wide slab armrests to the top of the front posts, which are much longer at this stage than they will be when I start working on the arm rests.  For now, the challenge is  tightly fitting each leg into a cut-out in the bench seat.

IMG_3516

I first marked and cut out a poster board pattern. The leg is marked for realignment.

IMG_3520

With the leg removed, the pattern was moved deeper into the bench seat. The straight pencil line was drawn at the edge of the pattern, before there leg was removed, as a guide when the pattern was moved on the bench seat. The cut-out is marked and ready for cutting with a jigsaw.

IMG_3521

The cut-out is made and ready for a test fit of the leg.

IMG_3522

This rarely happens–the leg fit tightly and with the right alignment on the first try.

IMG_3522

Twenty-nine. Bench backrest attachments & front legs

This post is about (1) attaching an arched support to stiffen the backrest, (2) connecting the backrest to the bench seat in a way that allows the backrest and seat to be disassembled, and (3) the start of attaching the front legs.  (My captions for the photos are not as detailed and informative as they could be.)

I have two more posts in draft status that I’ll publish asap (the date today is May 26, 2013).

IMG_3486

The arch is a naturally grown shape, a small lodgepole tree trunk. I flattened it with a hand adze after cutting a series of saw kerfs. The rounded side had to be inset in three places, each of which were clamped as shown here.

IMG_3484

This photo shows the mate-cutting in progress, with the top of the arch clamped in place. The saw is cutting both pieces at once. The kerf is prevented from closing, and pinching the saw blade, by the shim shingle.

IMG_3488

With the backrest laid flat and the seat clamped to it, I had access to the underside of the seat. I wanted to attach the seat to the backrest in a way that allowed for disassembly because of the increasing weight of the bench. I also wanted the attachment to allow for expansion and contraction of the slabs in the seat.

IMG_3490

Here’s the underside with slotted holes, one in each of the slab pieces.

IMG_3495

A close up of a slotted hole, this one and one at the other end of the row, are for hanger bolts to make assembly and reassembly easier. The remaining holes are for lag screws. (The drilling tear-out will be removed later with sanding.)

IMG_3504

The hanger bolts and lag screws, with two flat washers each, are tightened securely but loose enough to allow the wood to expand and contract.

IMG_3507

To establish a front seat height that approximately matches the back, I added a temporary board to each end of the bench. A spacer board was placed on the bench seat, and the front leg was leaned against the seat for its vertical alignment. This photo was taken after I had marked and cut the bottom of the leg for a flush fit to the deck surface.

IMG_3511

This is the second front leg with the marking block and pen. The sequence is important. The cut is approximate, but once made the leg is dropped and that changes the fitting of the joint in the seat above.

IMG_3514

Here’s the finished cut, with the leg vertically aligned, with a slight flare from from to back and side to side.

IMG_3515

Both front legs are now ready to be attached, which will require cutouts in the bench seat at each end. That will be the subject of my next post.

Twenty-eight. Joining legs to the bench back rest.

April 17, 2013

For personal and family reasons and priorities, I haven’t worked much on the bench for the past month.  I had originally planned (!) to have it finished by the end of April, but since that was a self-imposed time frame, I’ve relaxed my schedule. And, besides, the making of tree art is only one of my creative practices ….

I’m also continuing with my relaxed standards for the quality of these posts, especially in literary terms.

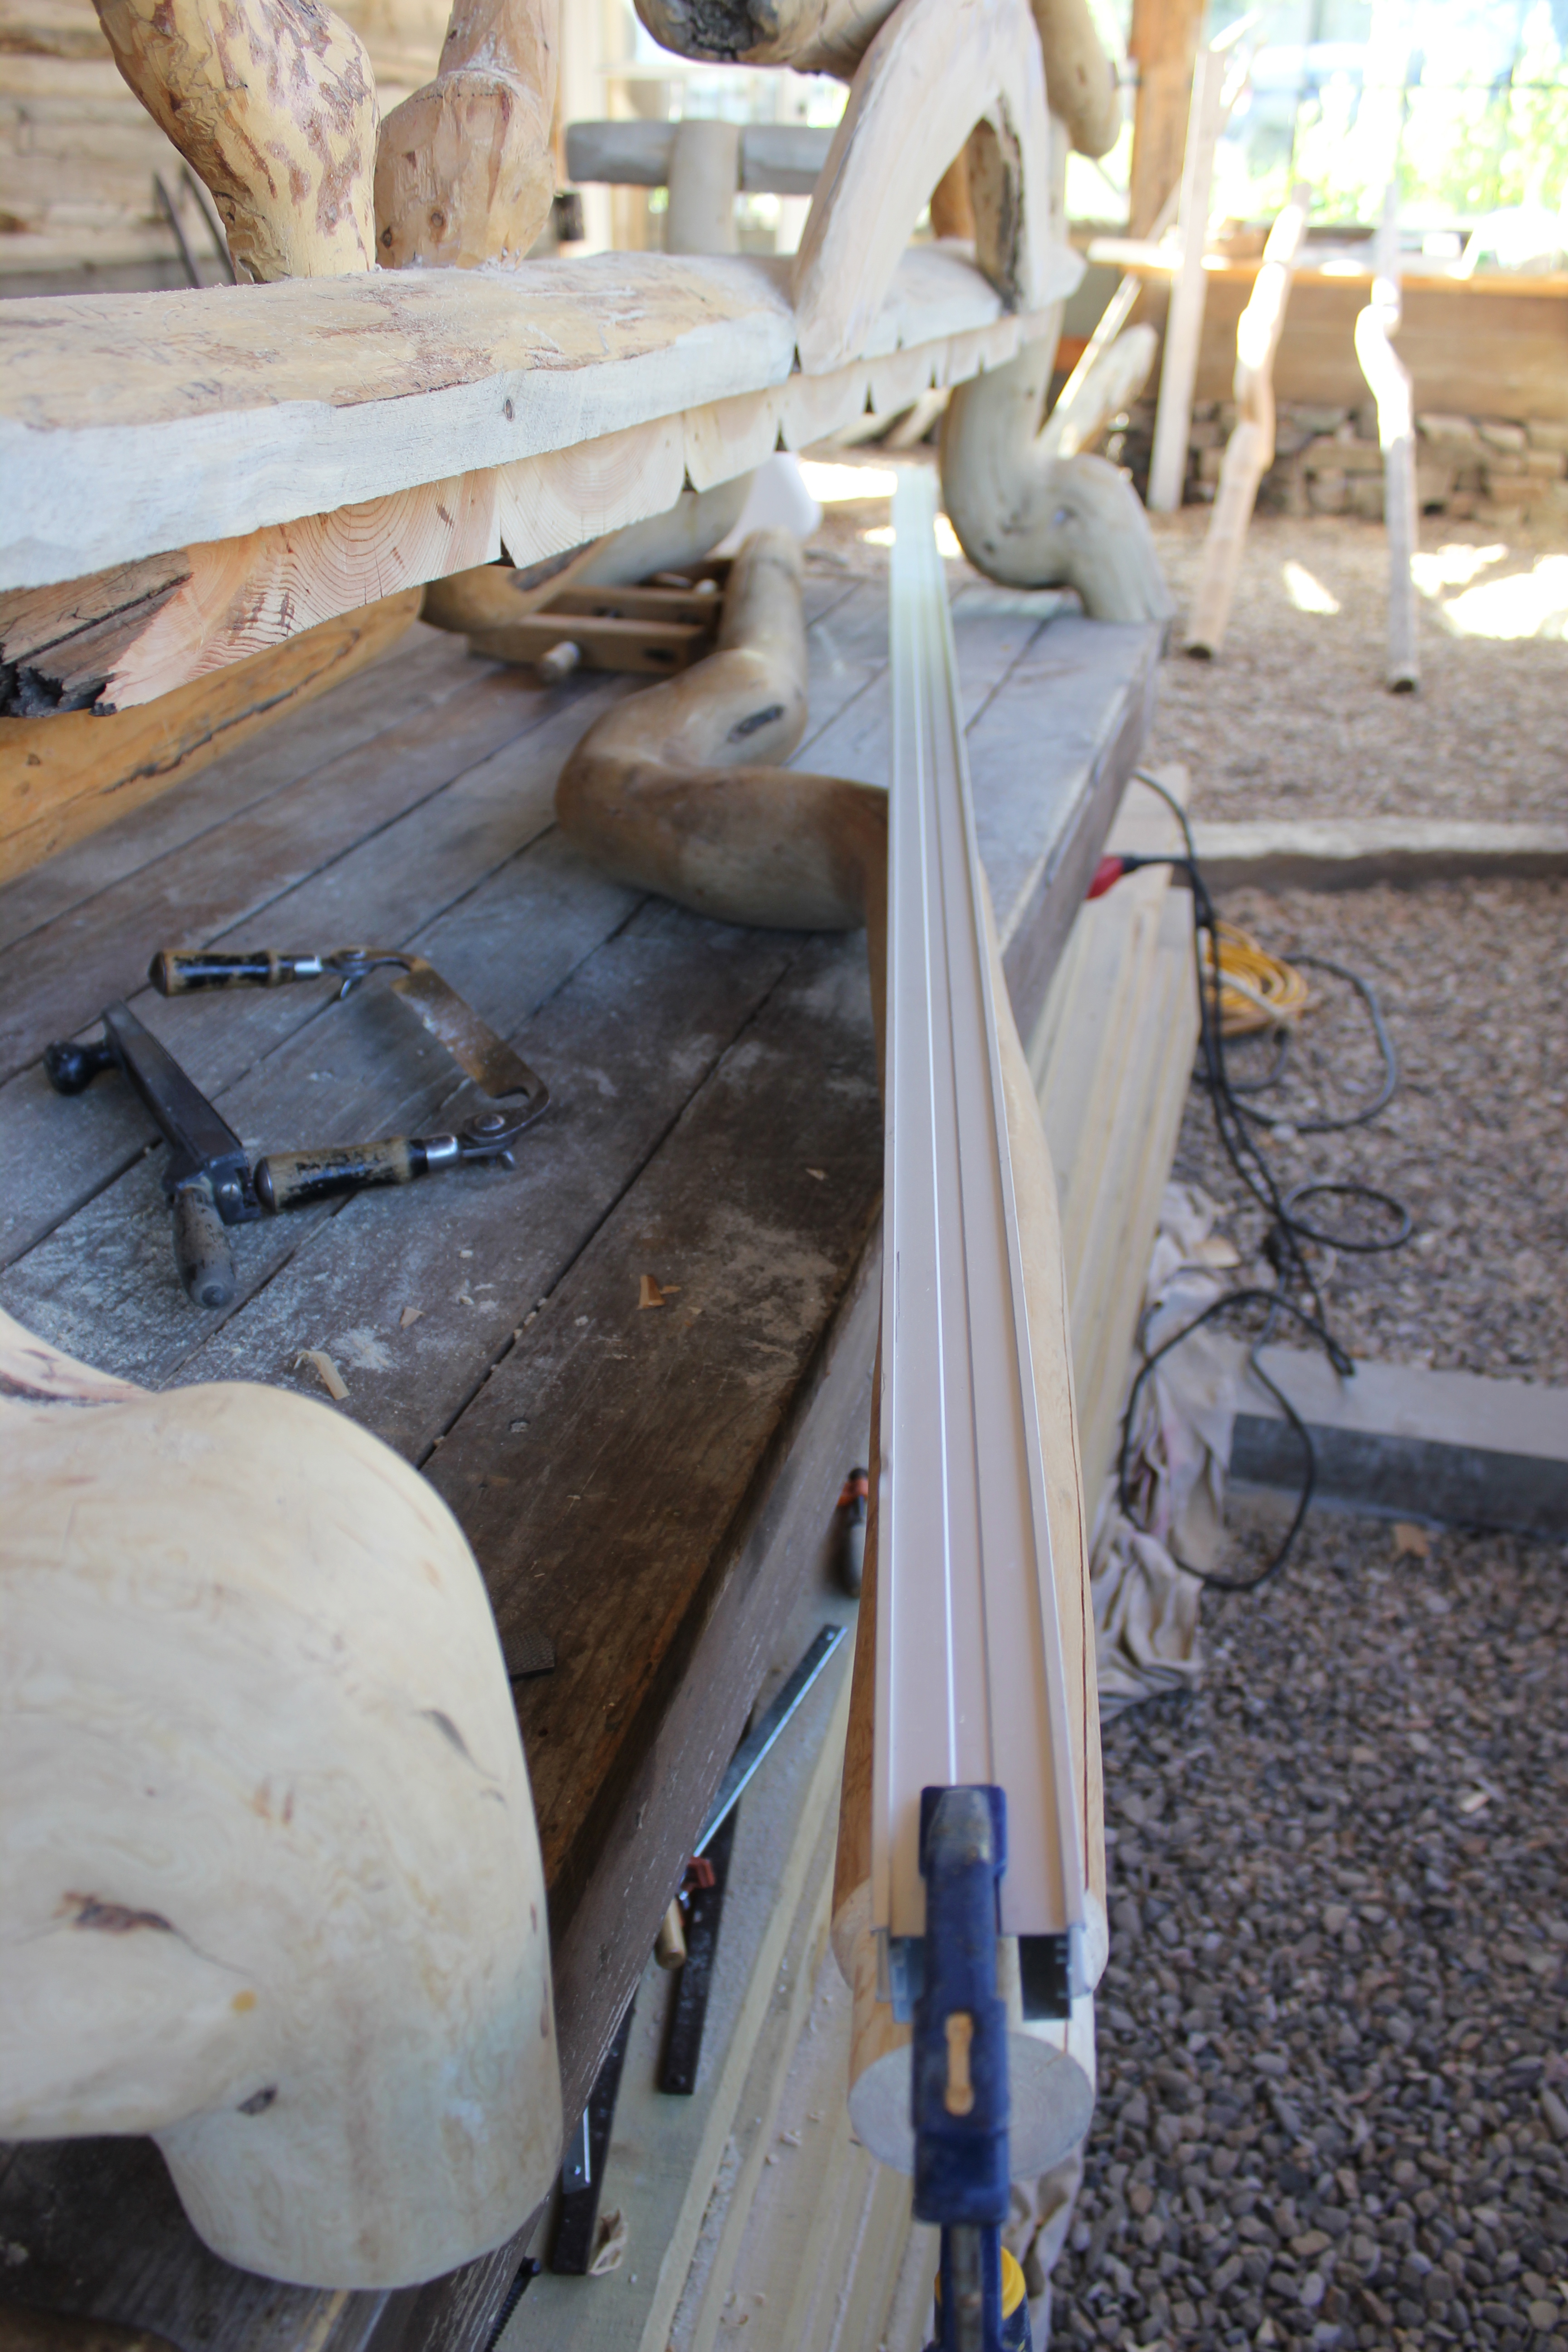
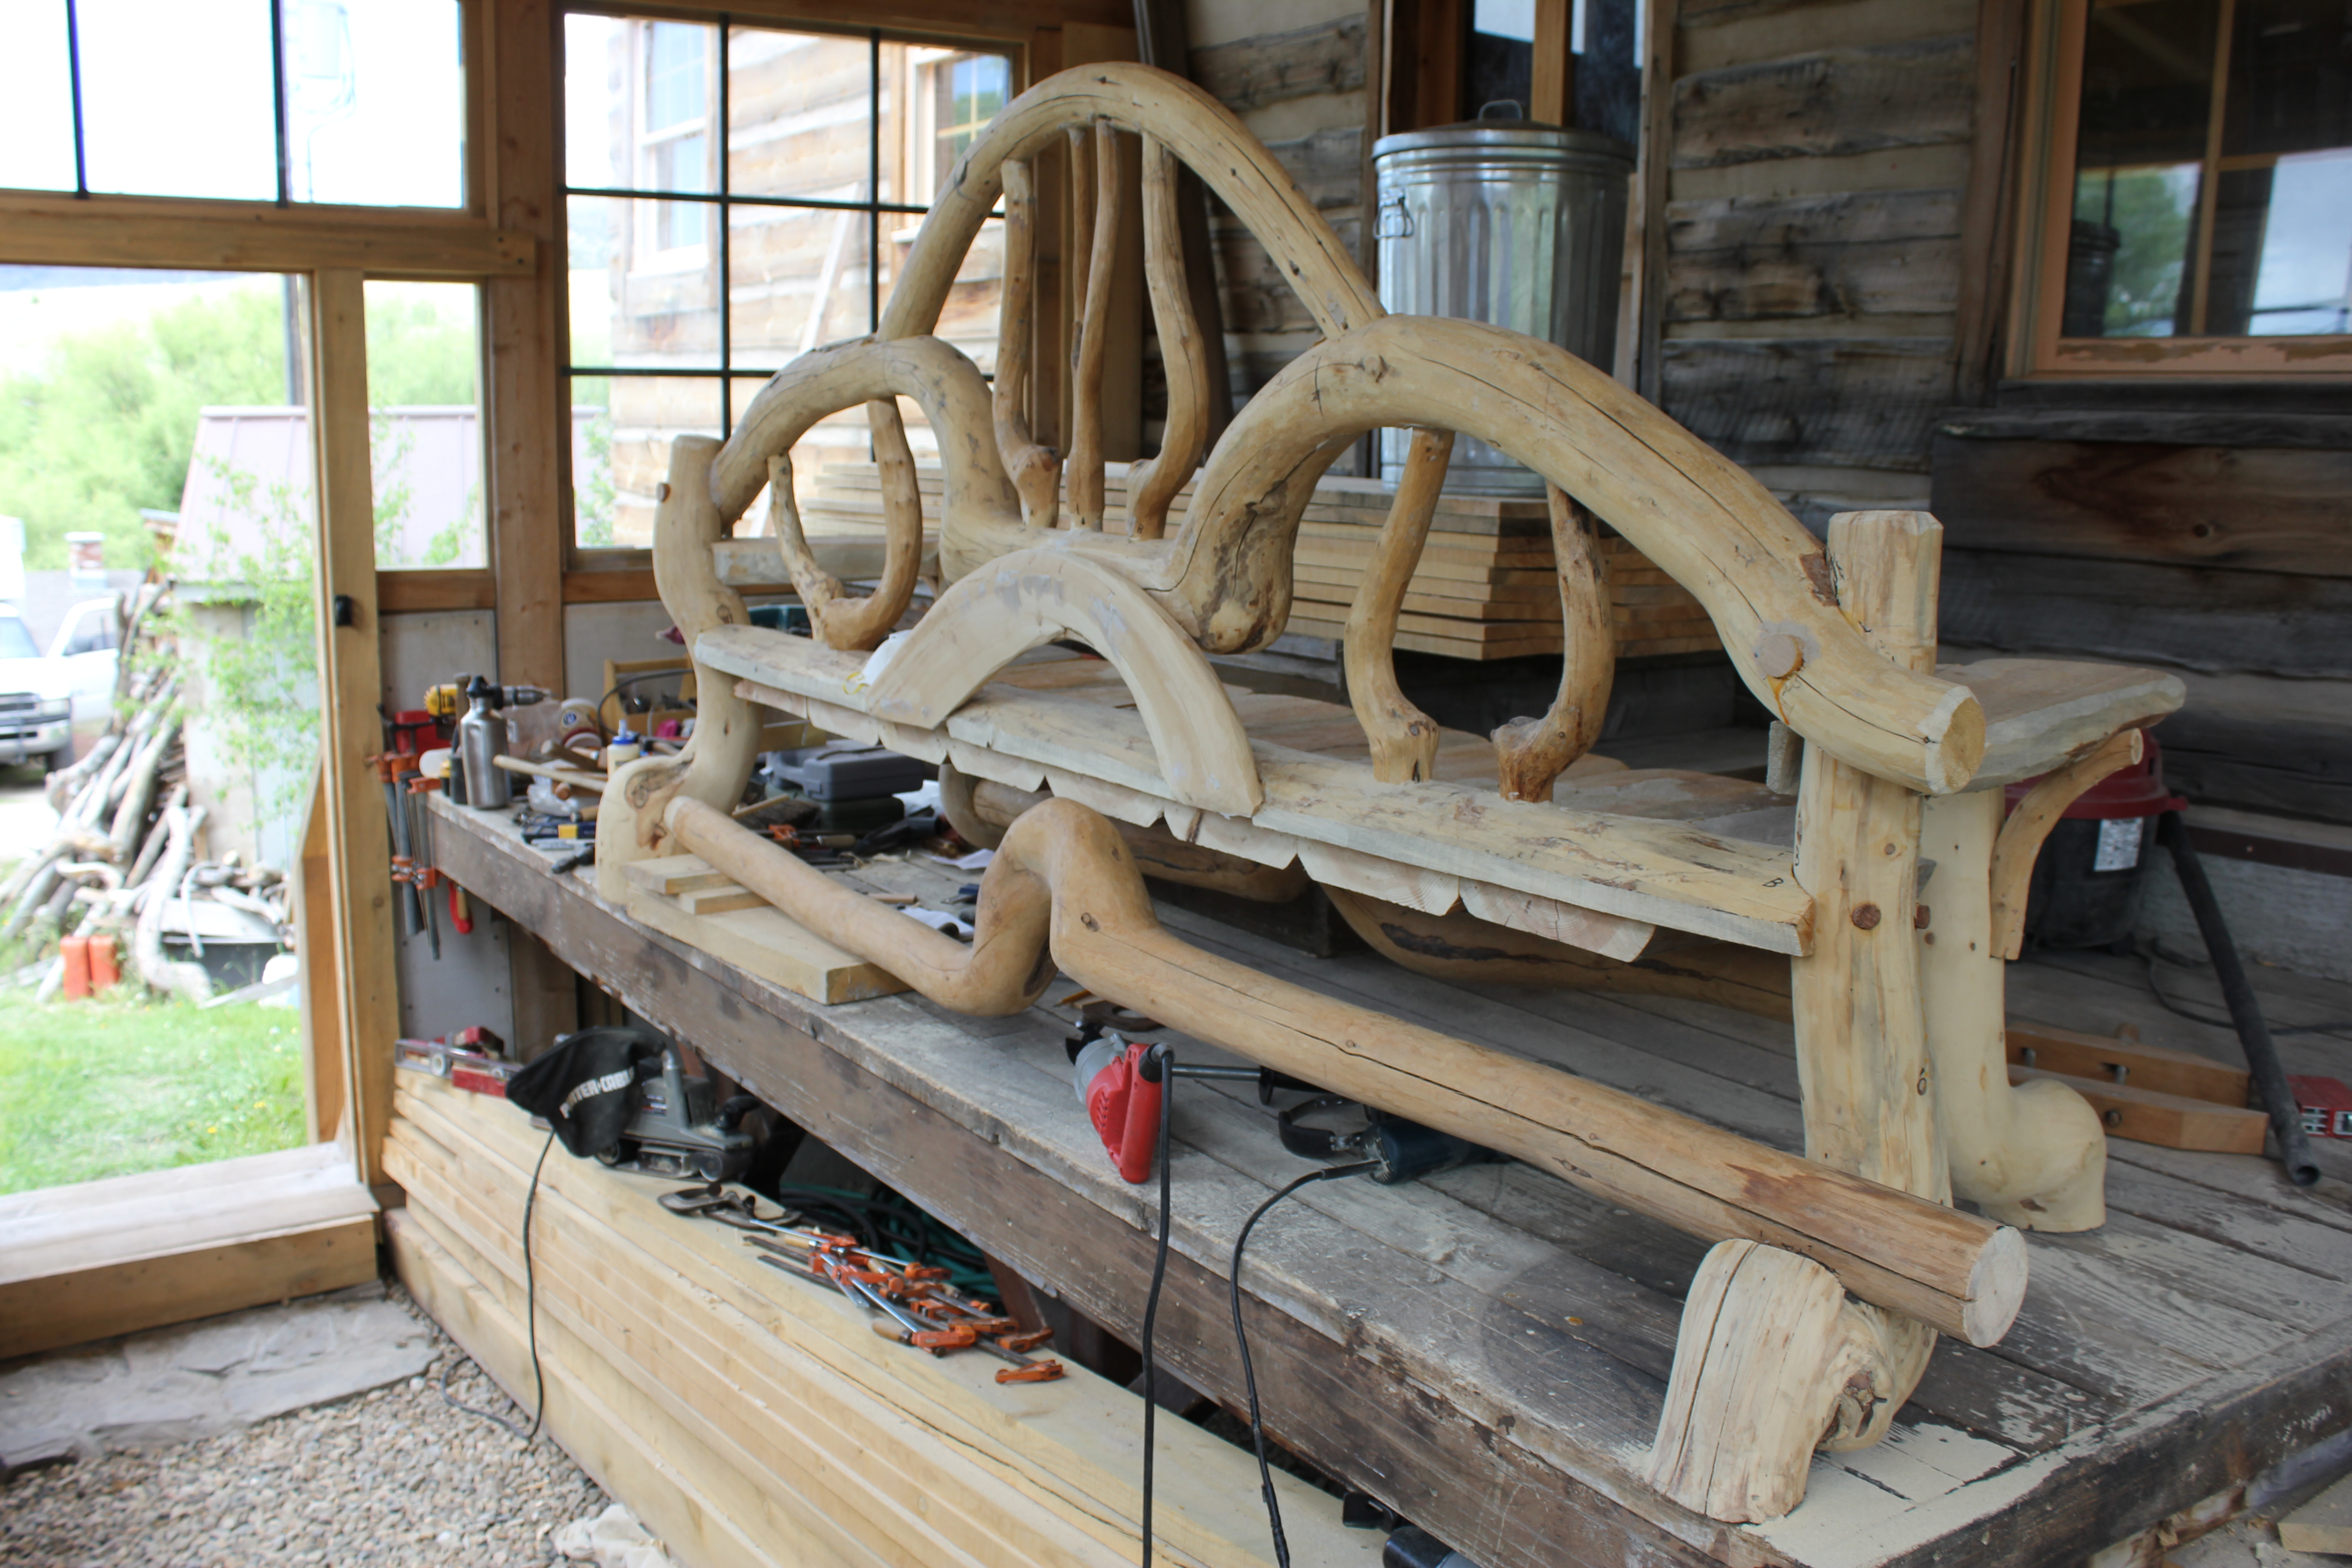
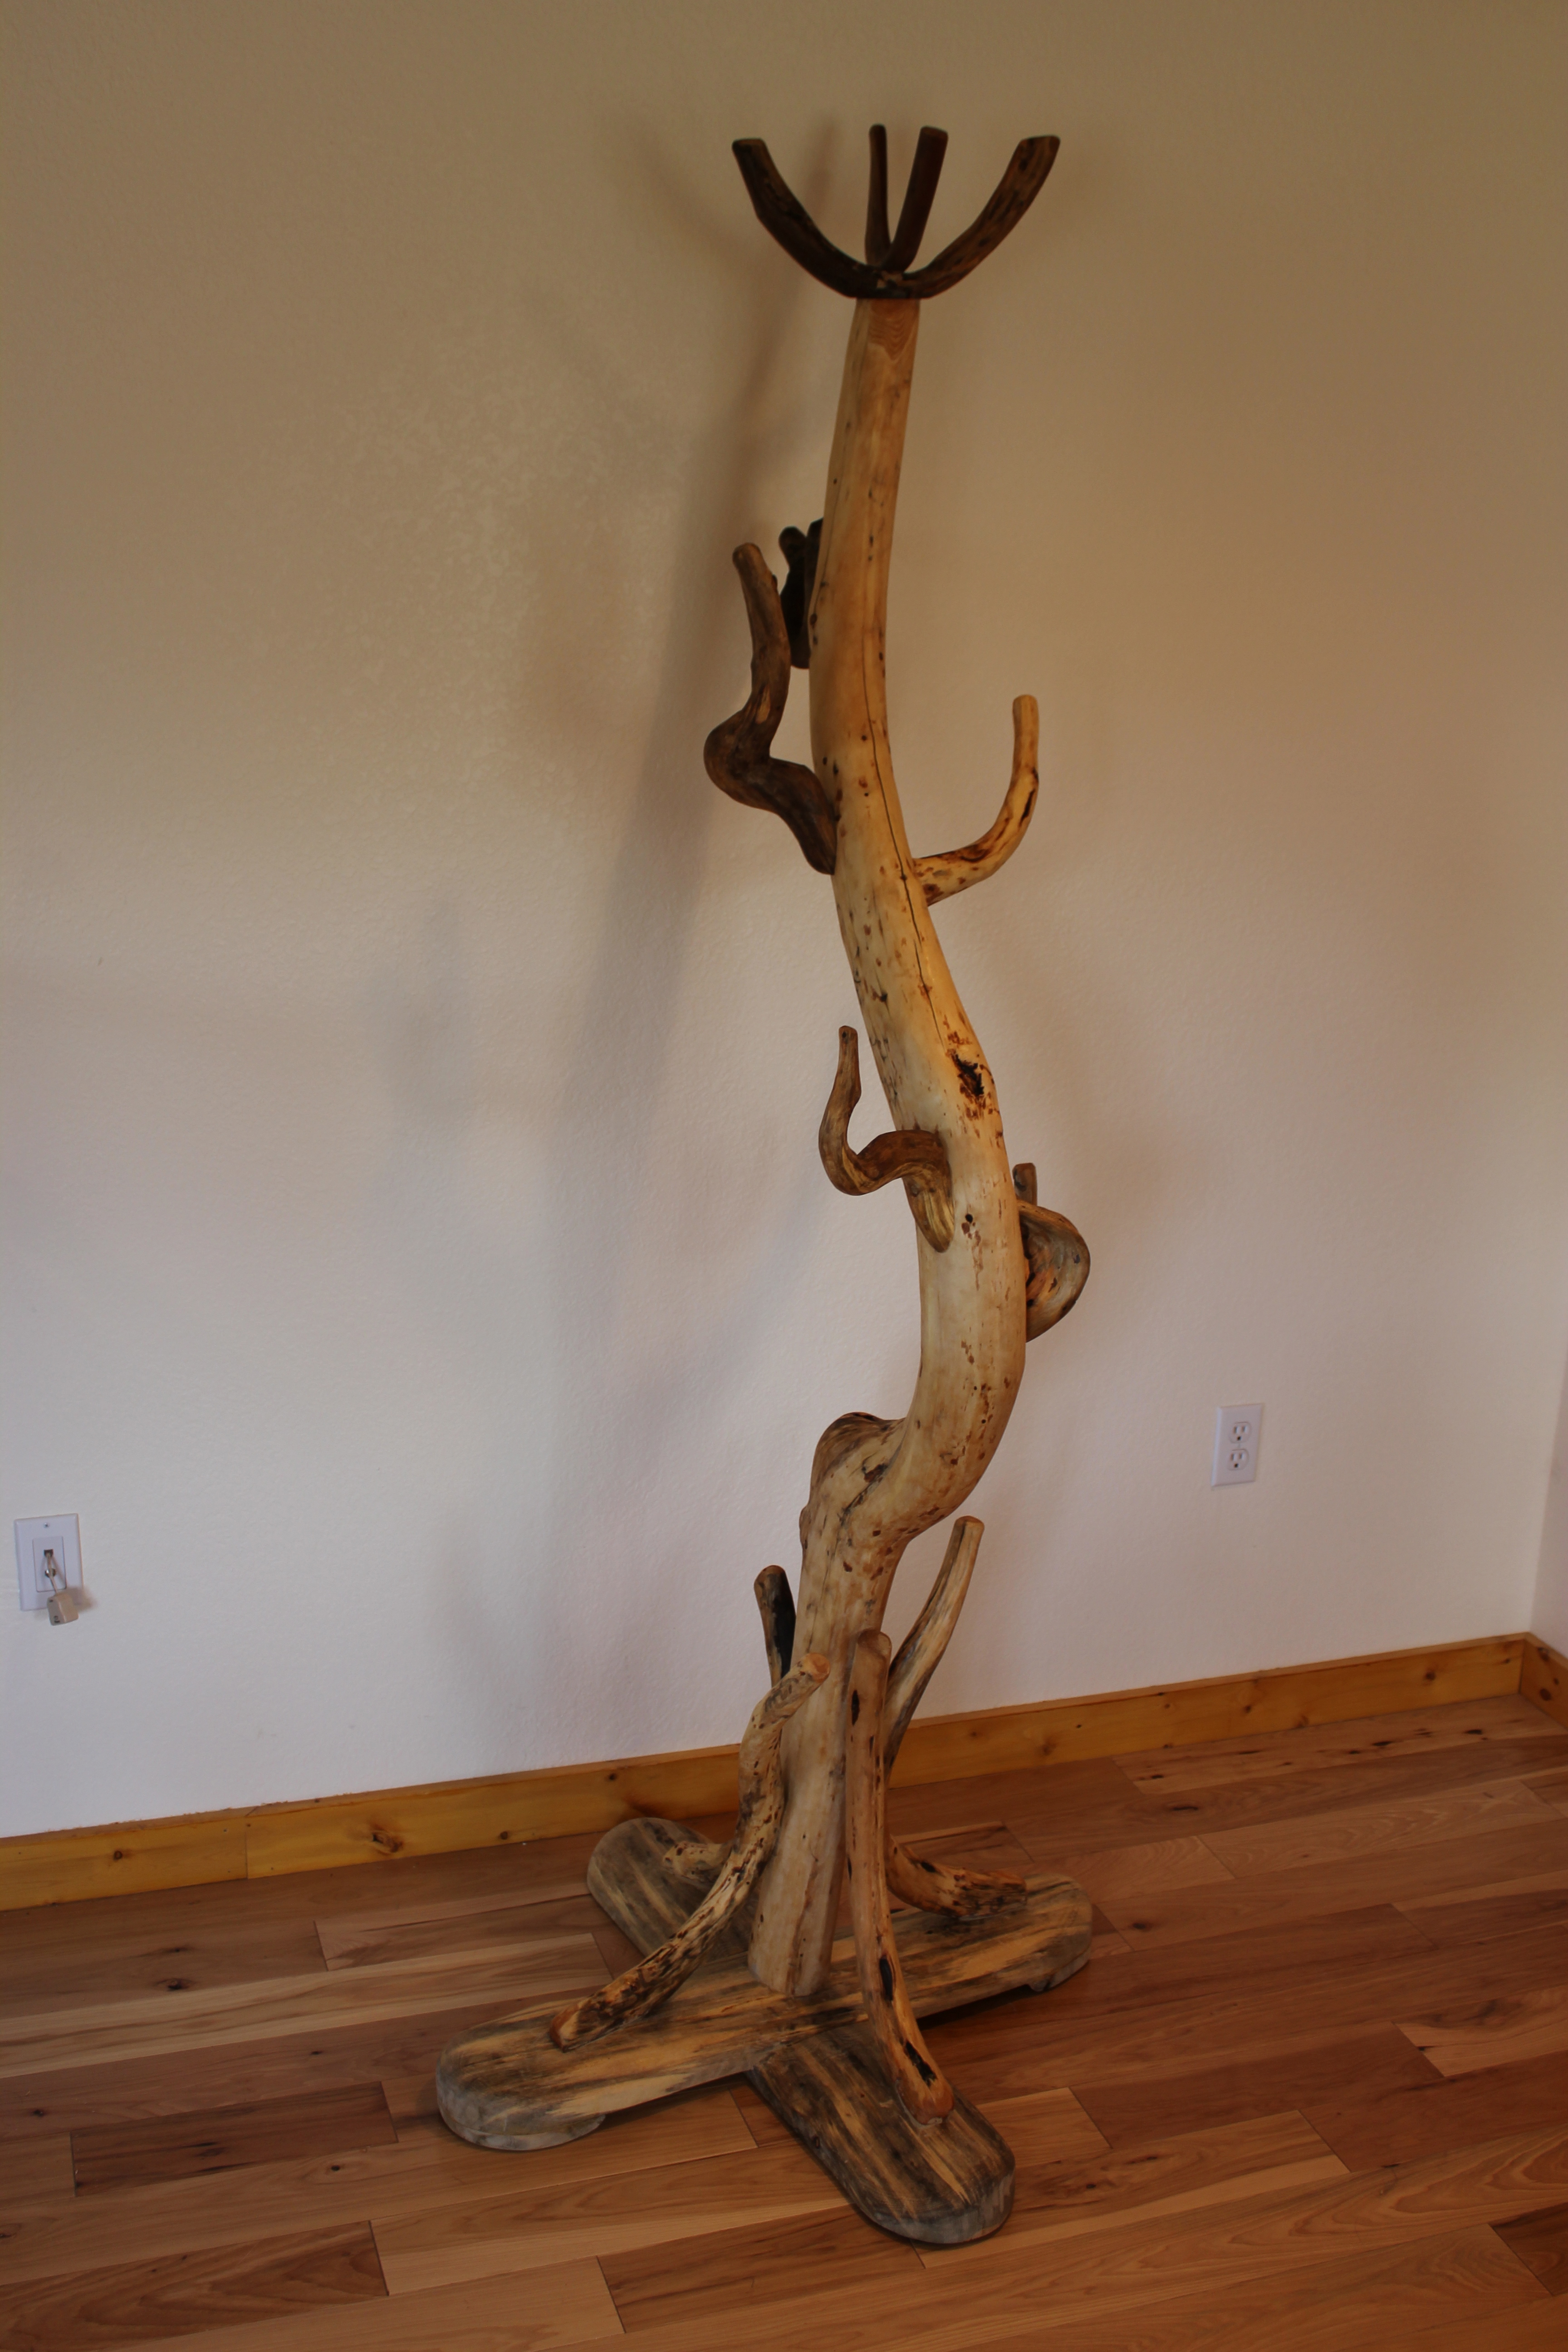
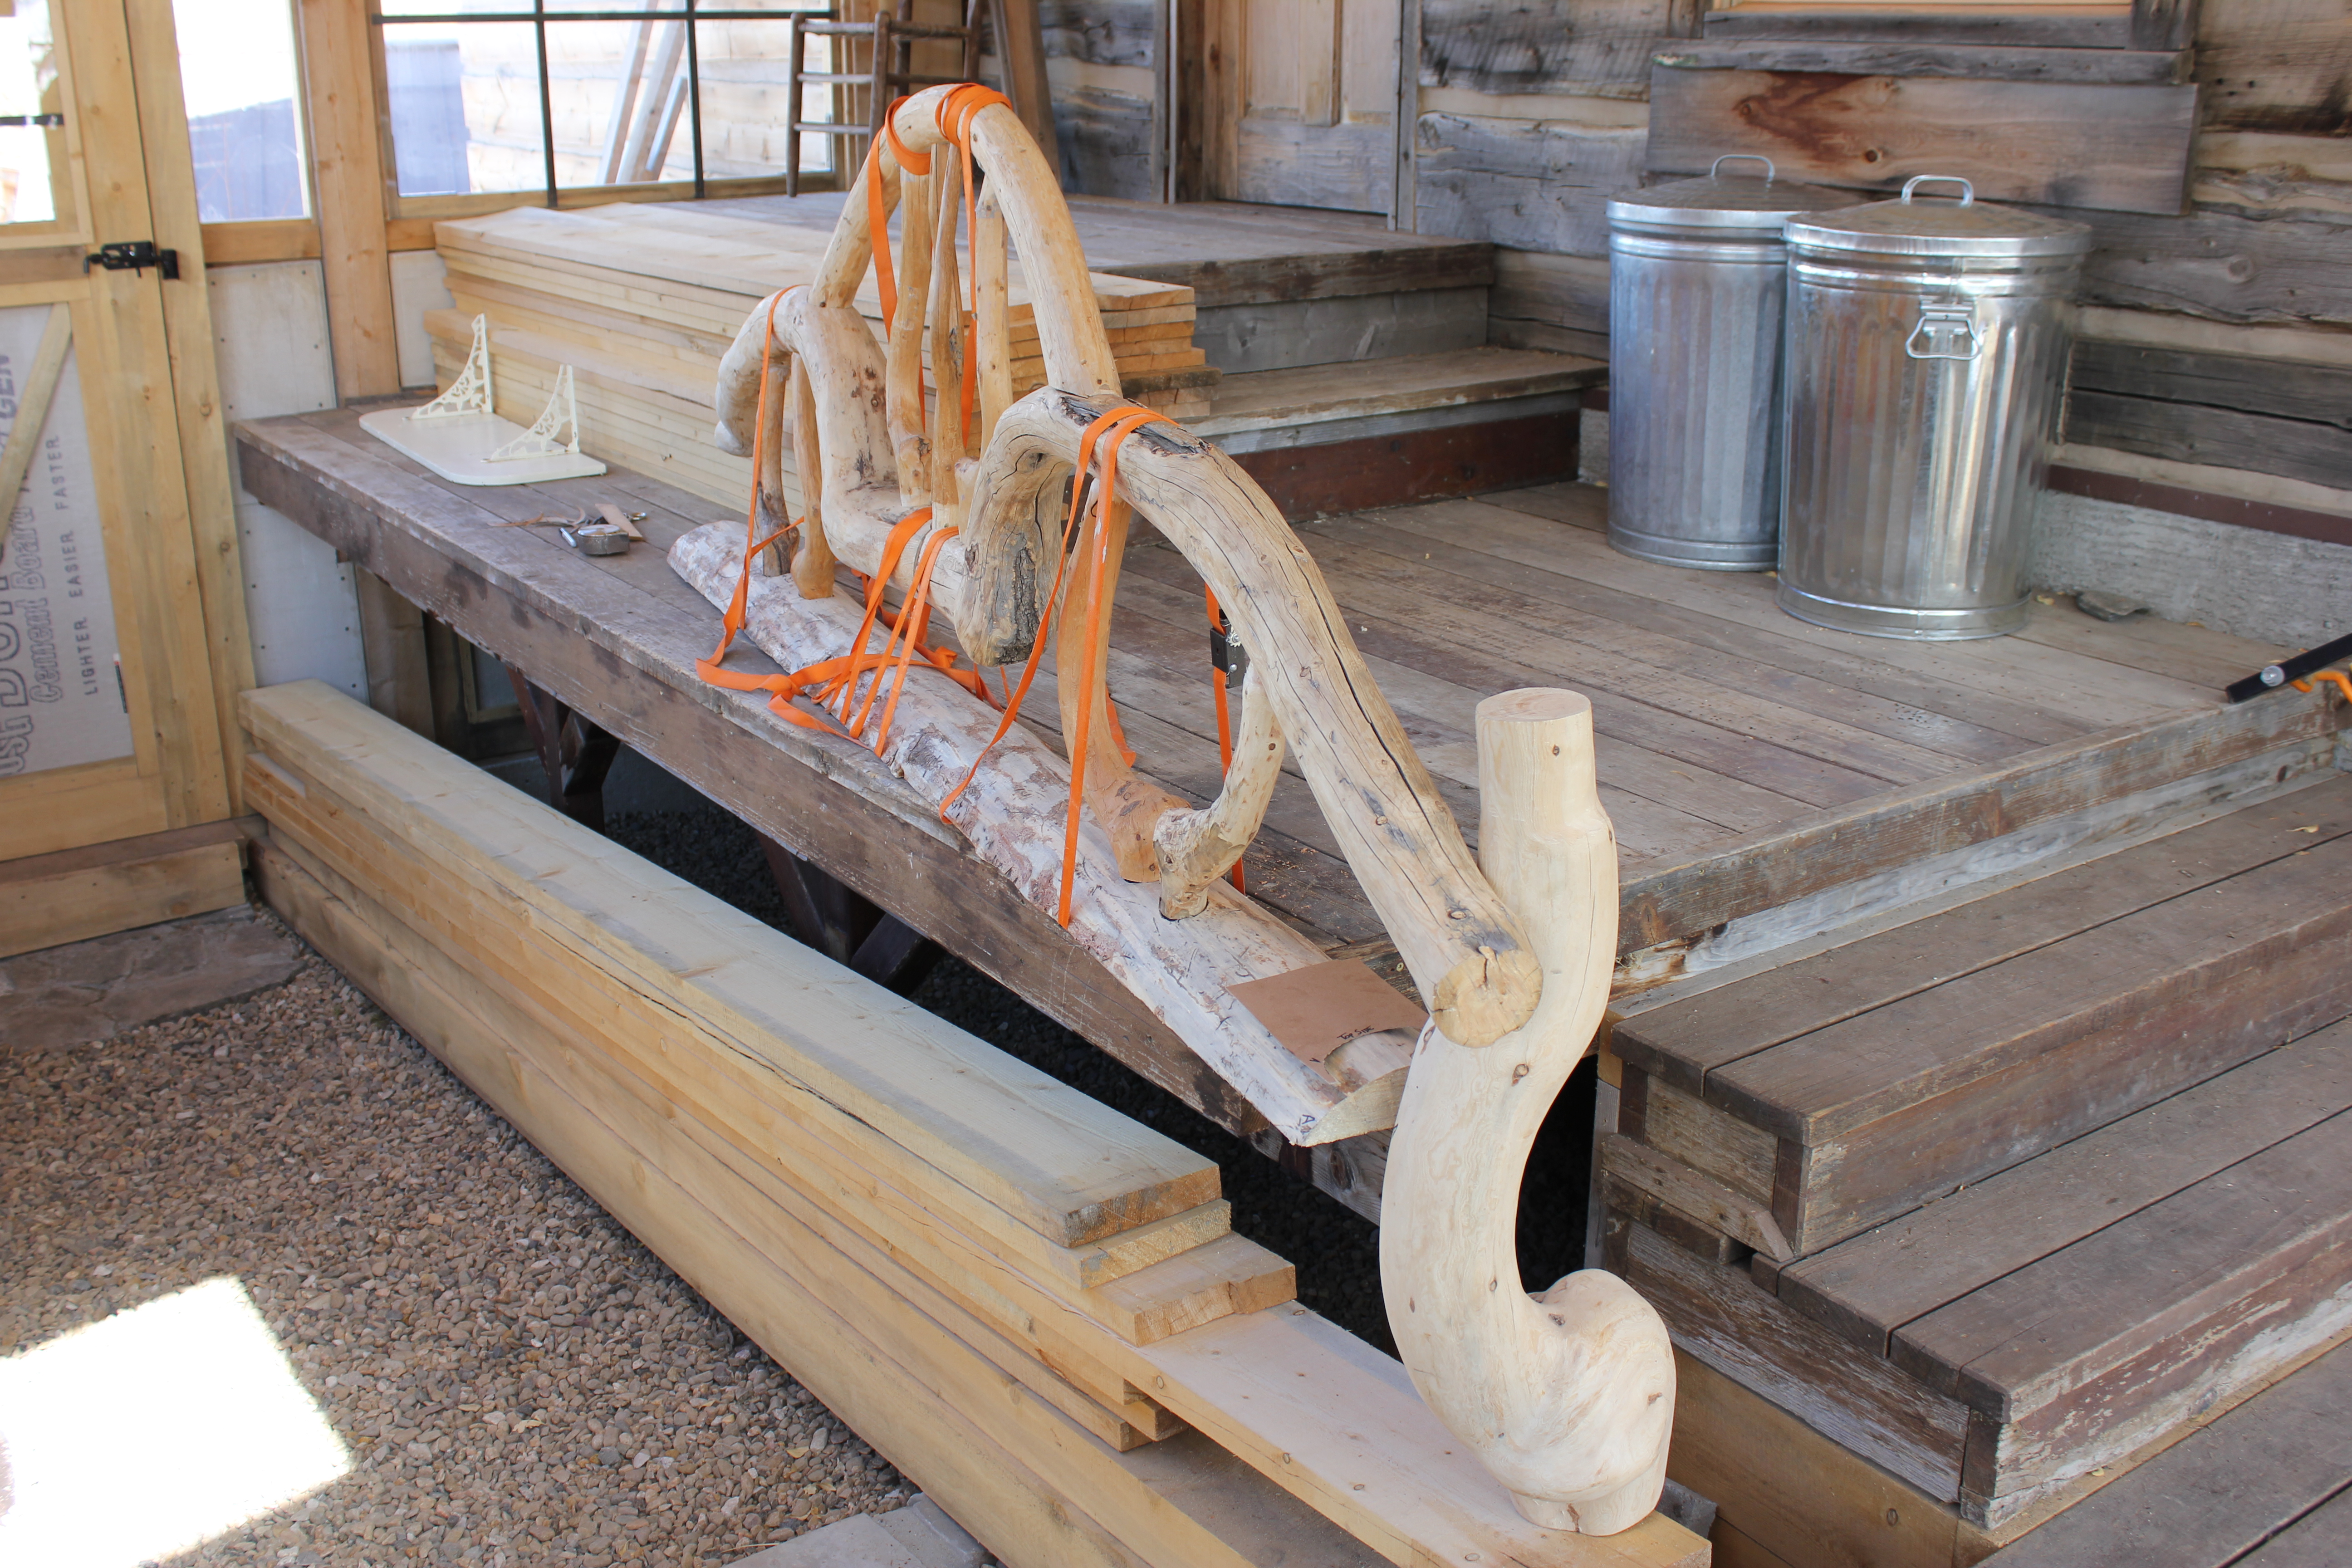
Because of the size of the bench, and the crowded condition of my workshop, I decided to bring the bench up to our attached greenhouse.  As long as it’s sunny, the unfinished greenhouse is a comfortable, roomy, and well-lighted workspace.  And the deck serves as a good workbench.

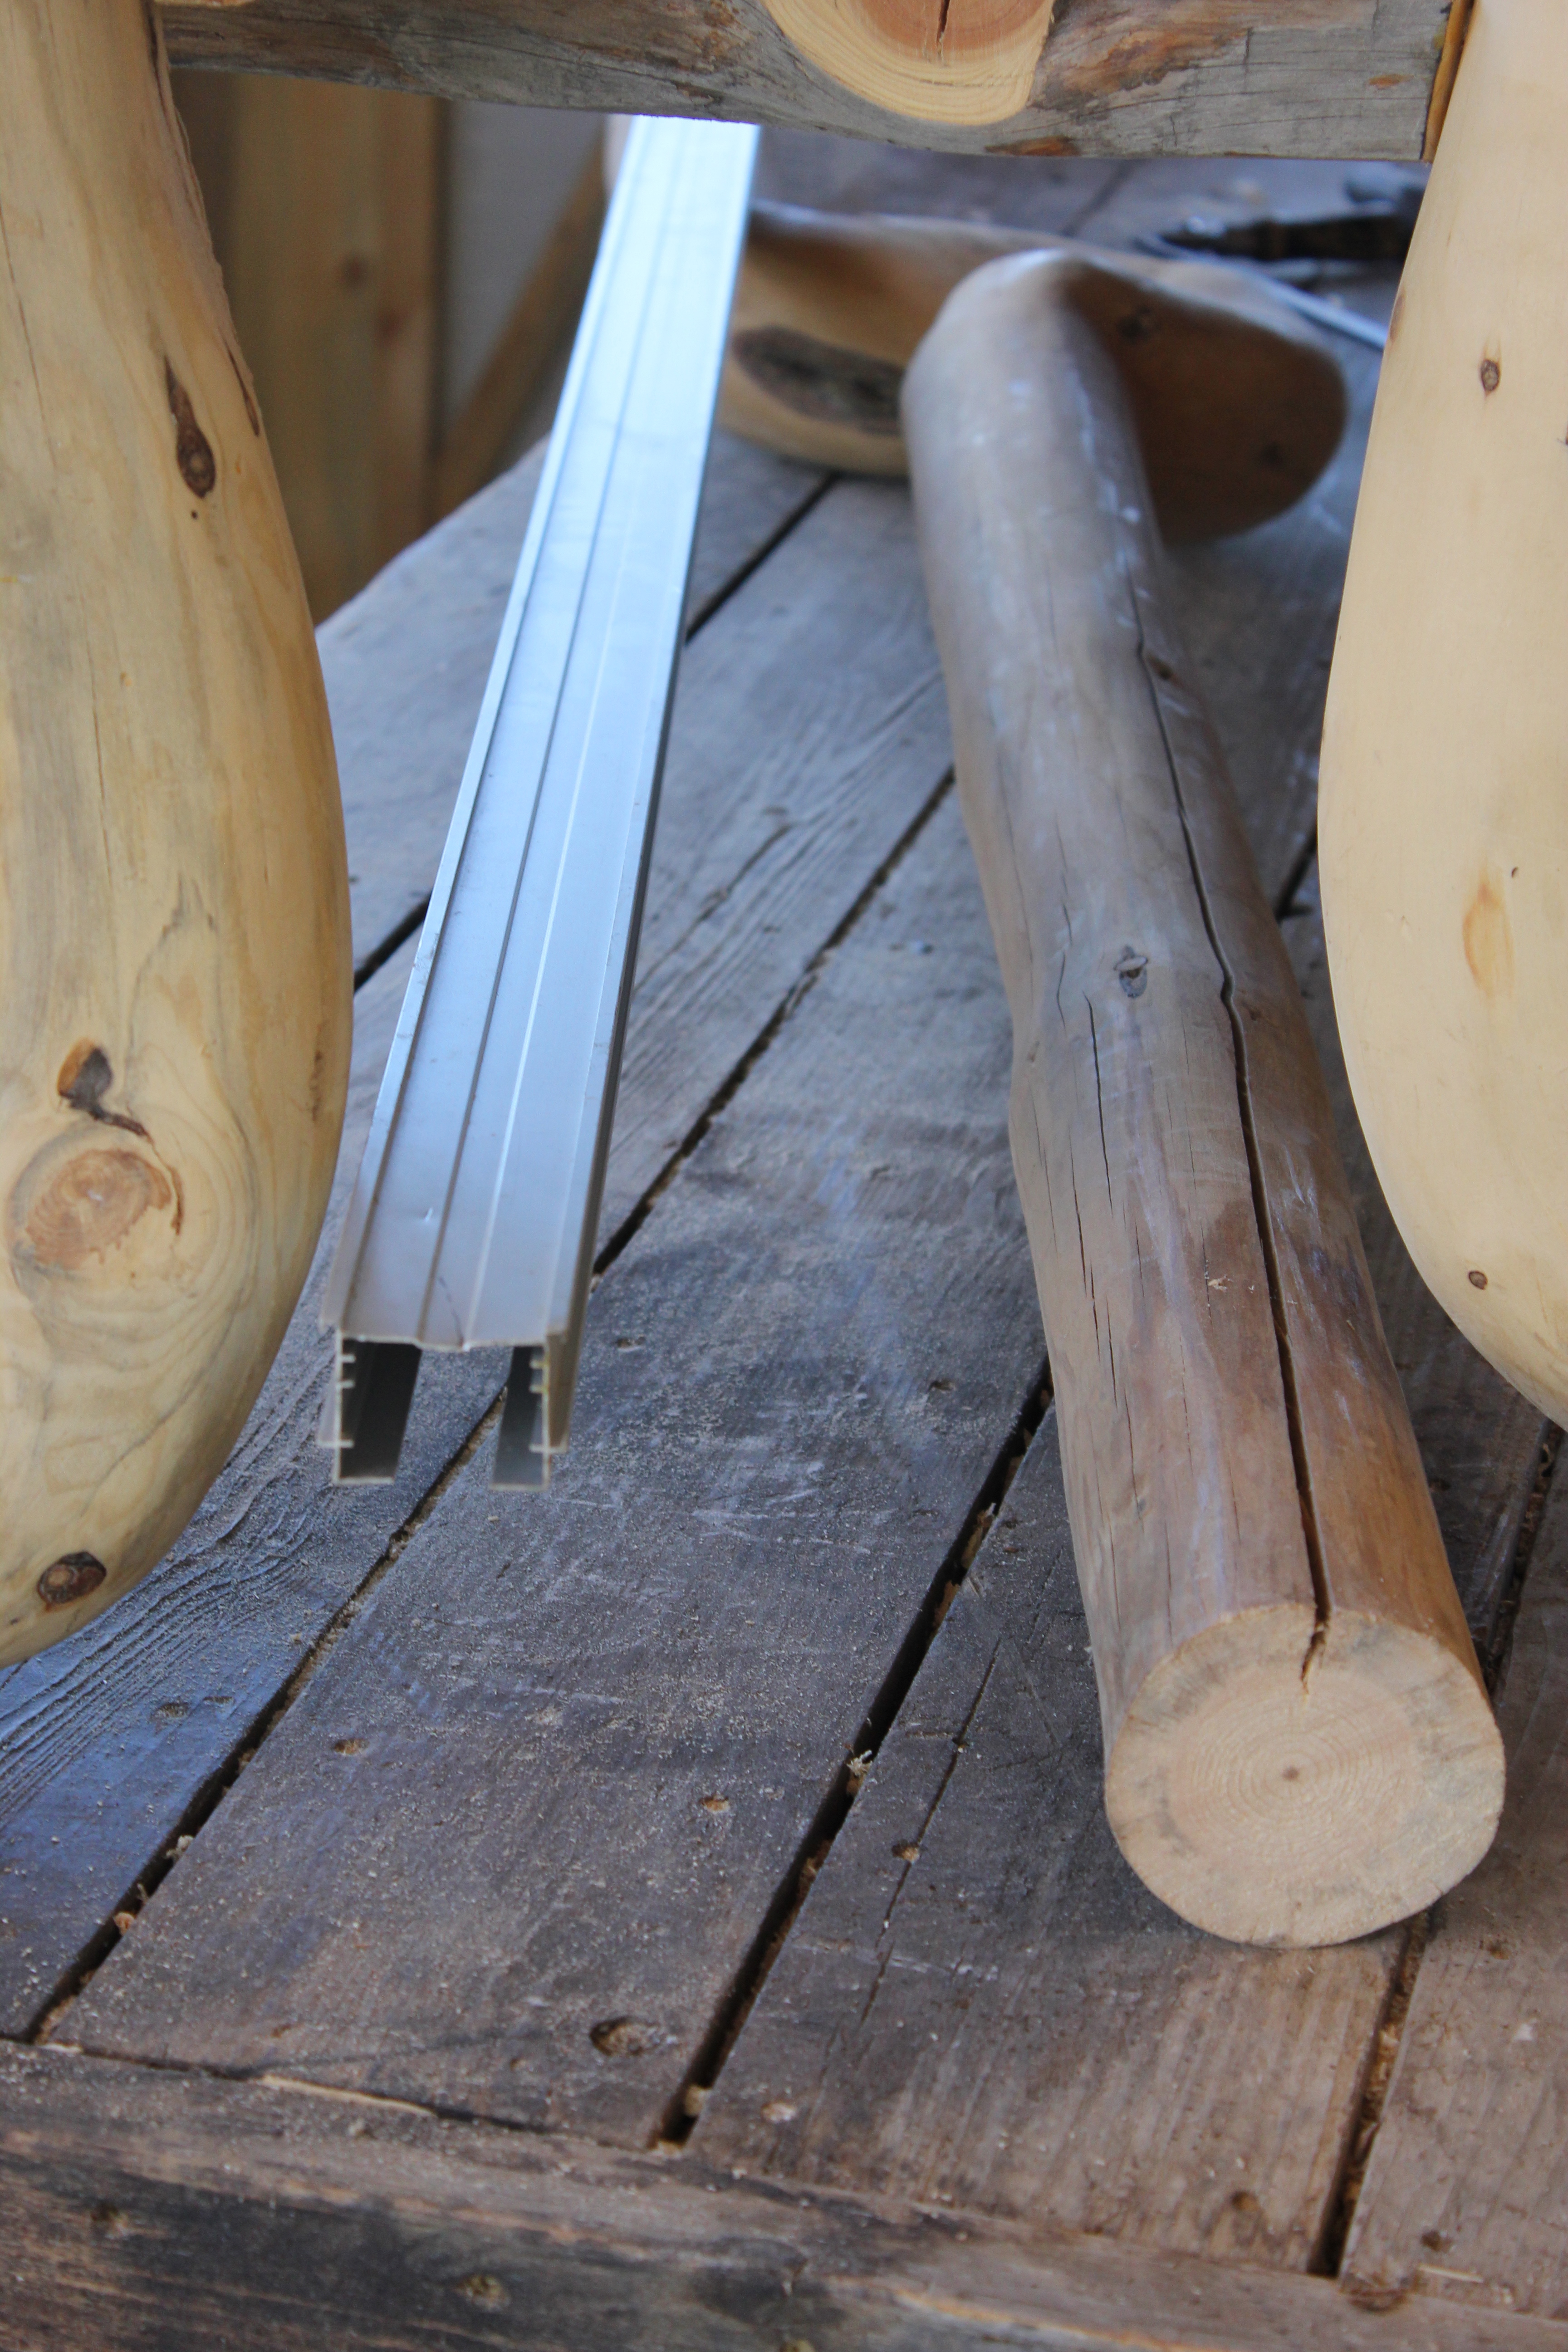
Here are photos of my latest efforts to combine the back rest with the seat, and to add two legs:

IMG_3169

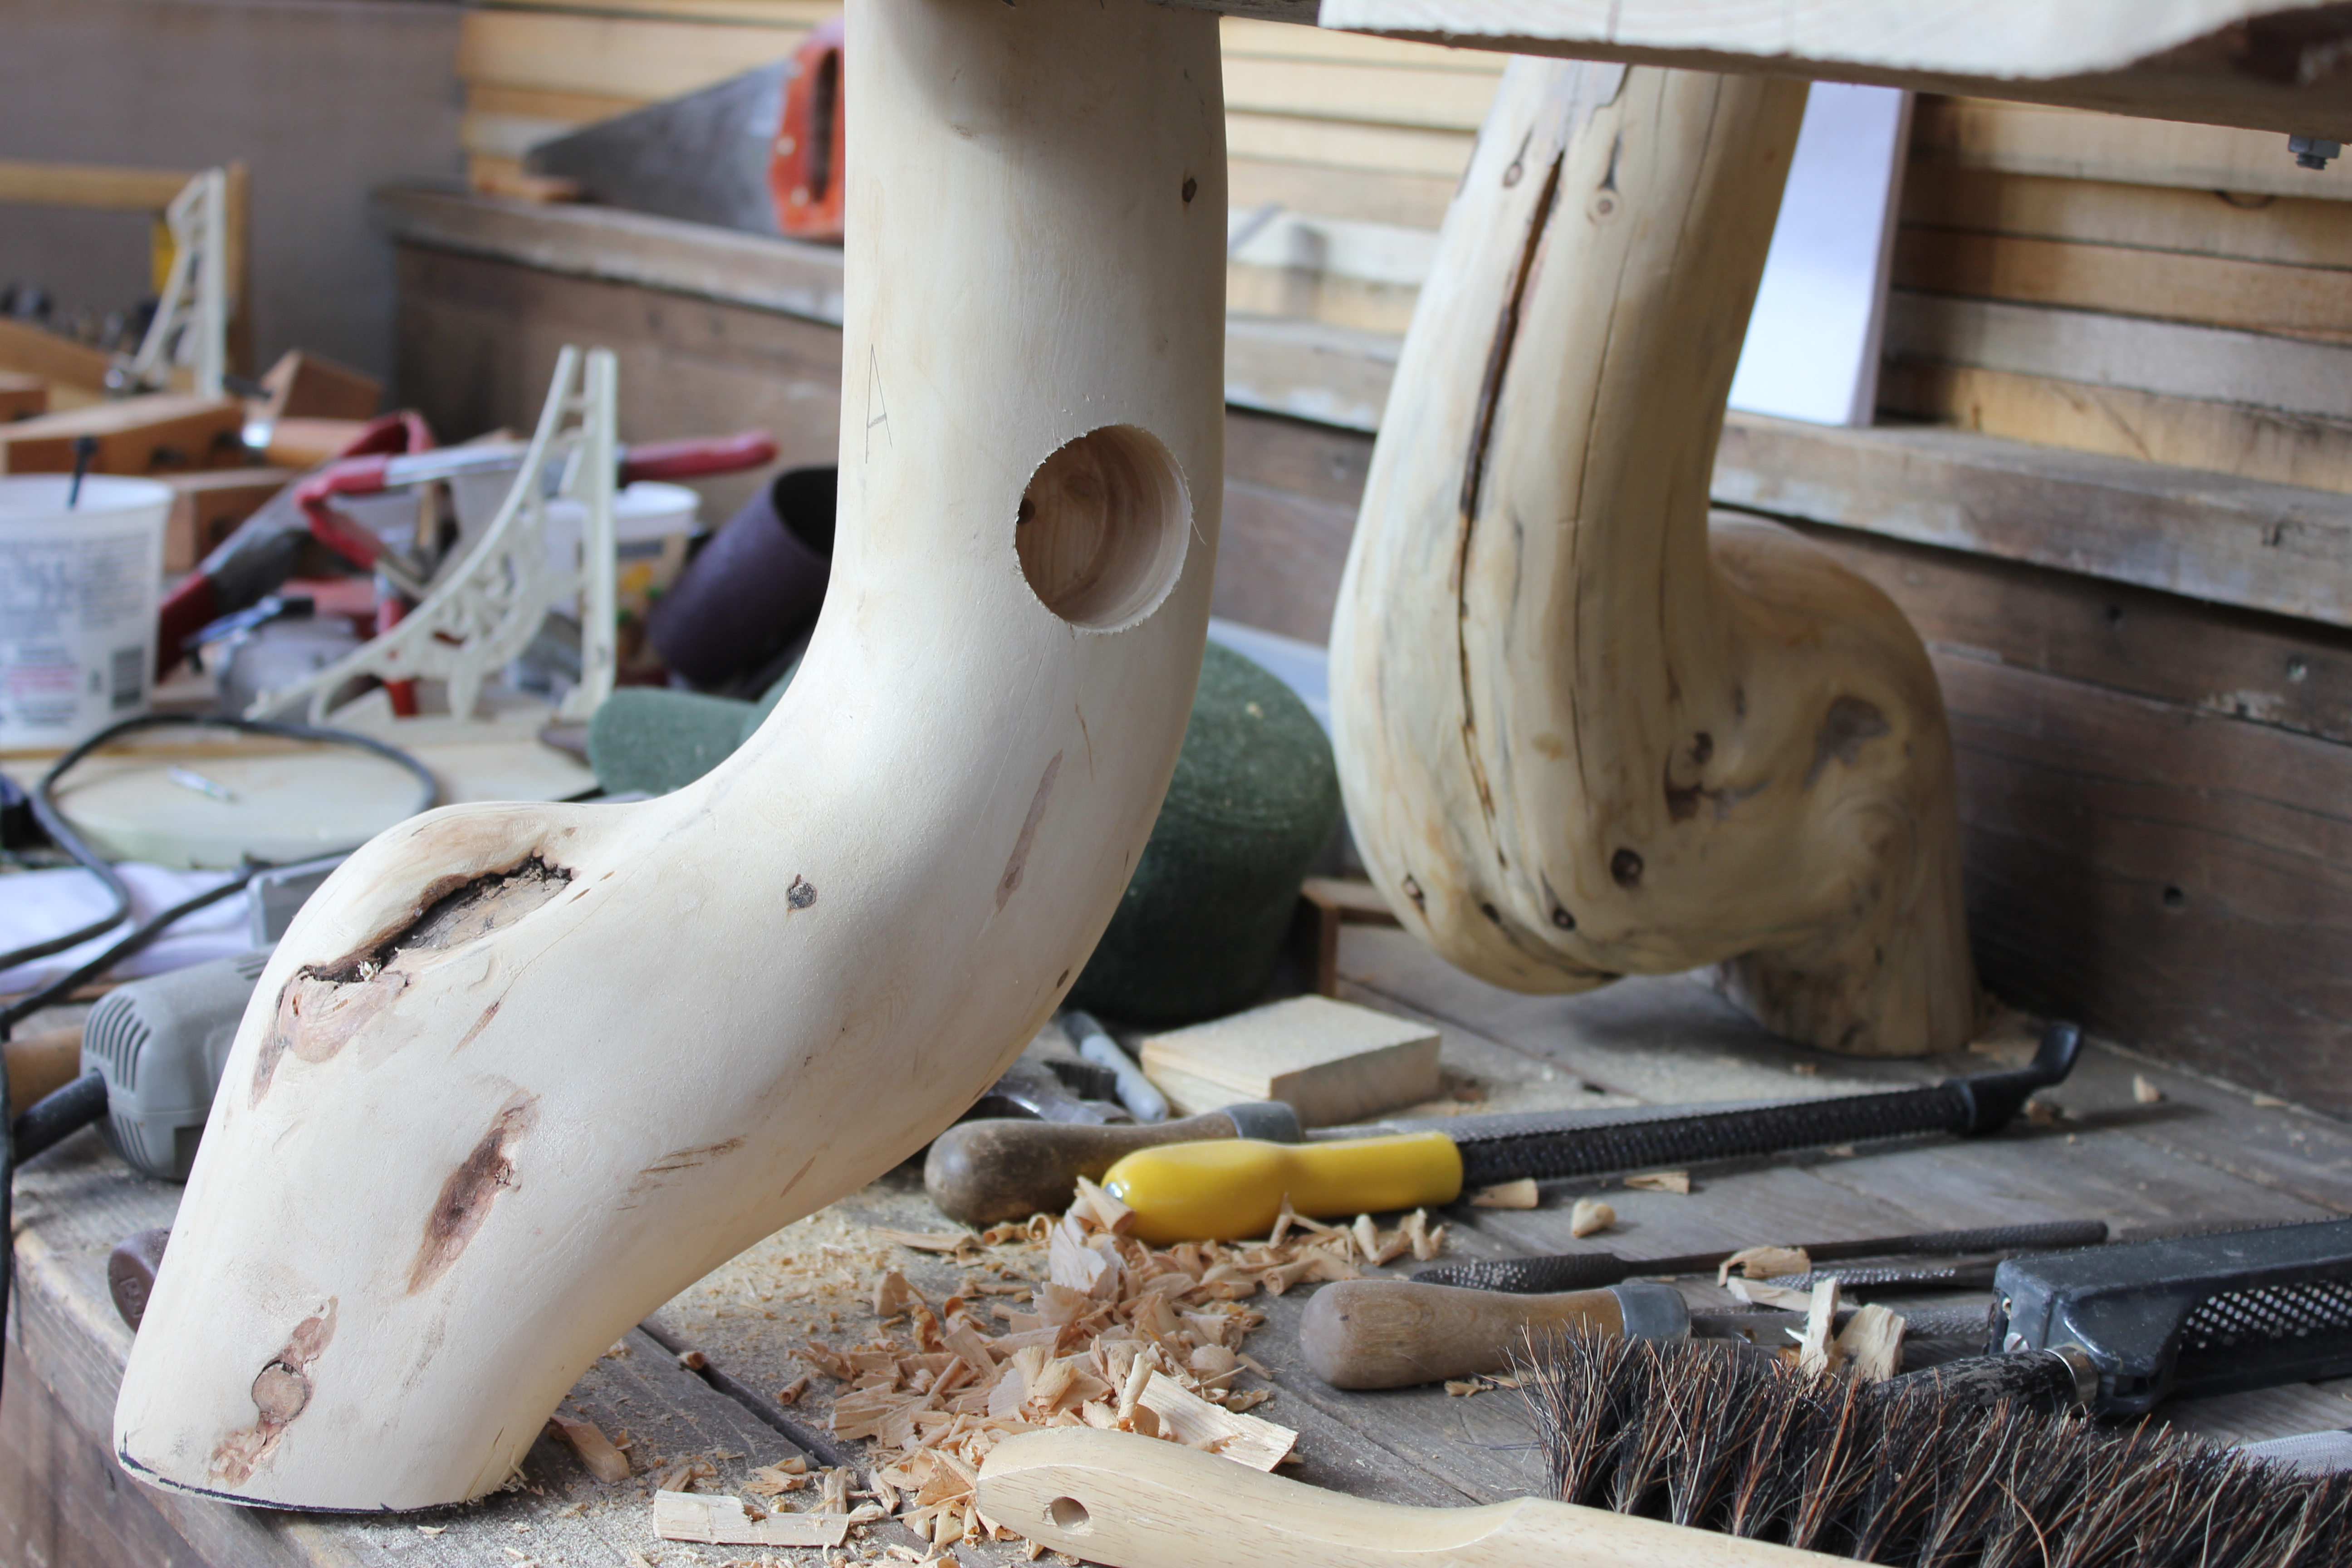
I’ve selected four swan neck pieces for the bench legs. In this photo, I’ve placed one of them to explore options for joinery that connects the leg to both the top and the bottom of the back rest.

IMG_3170

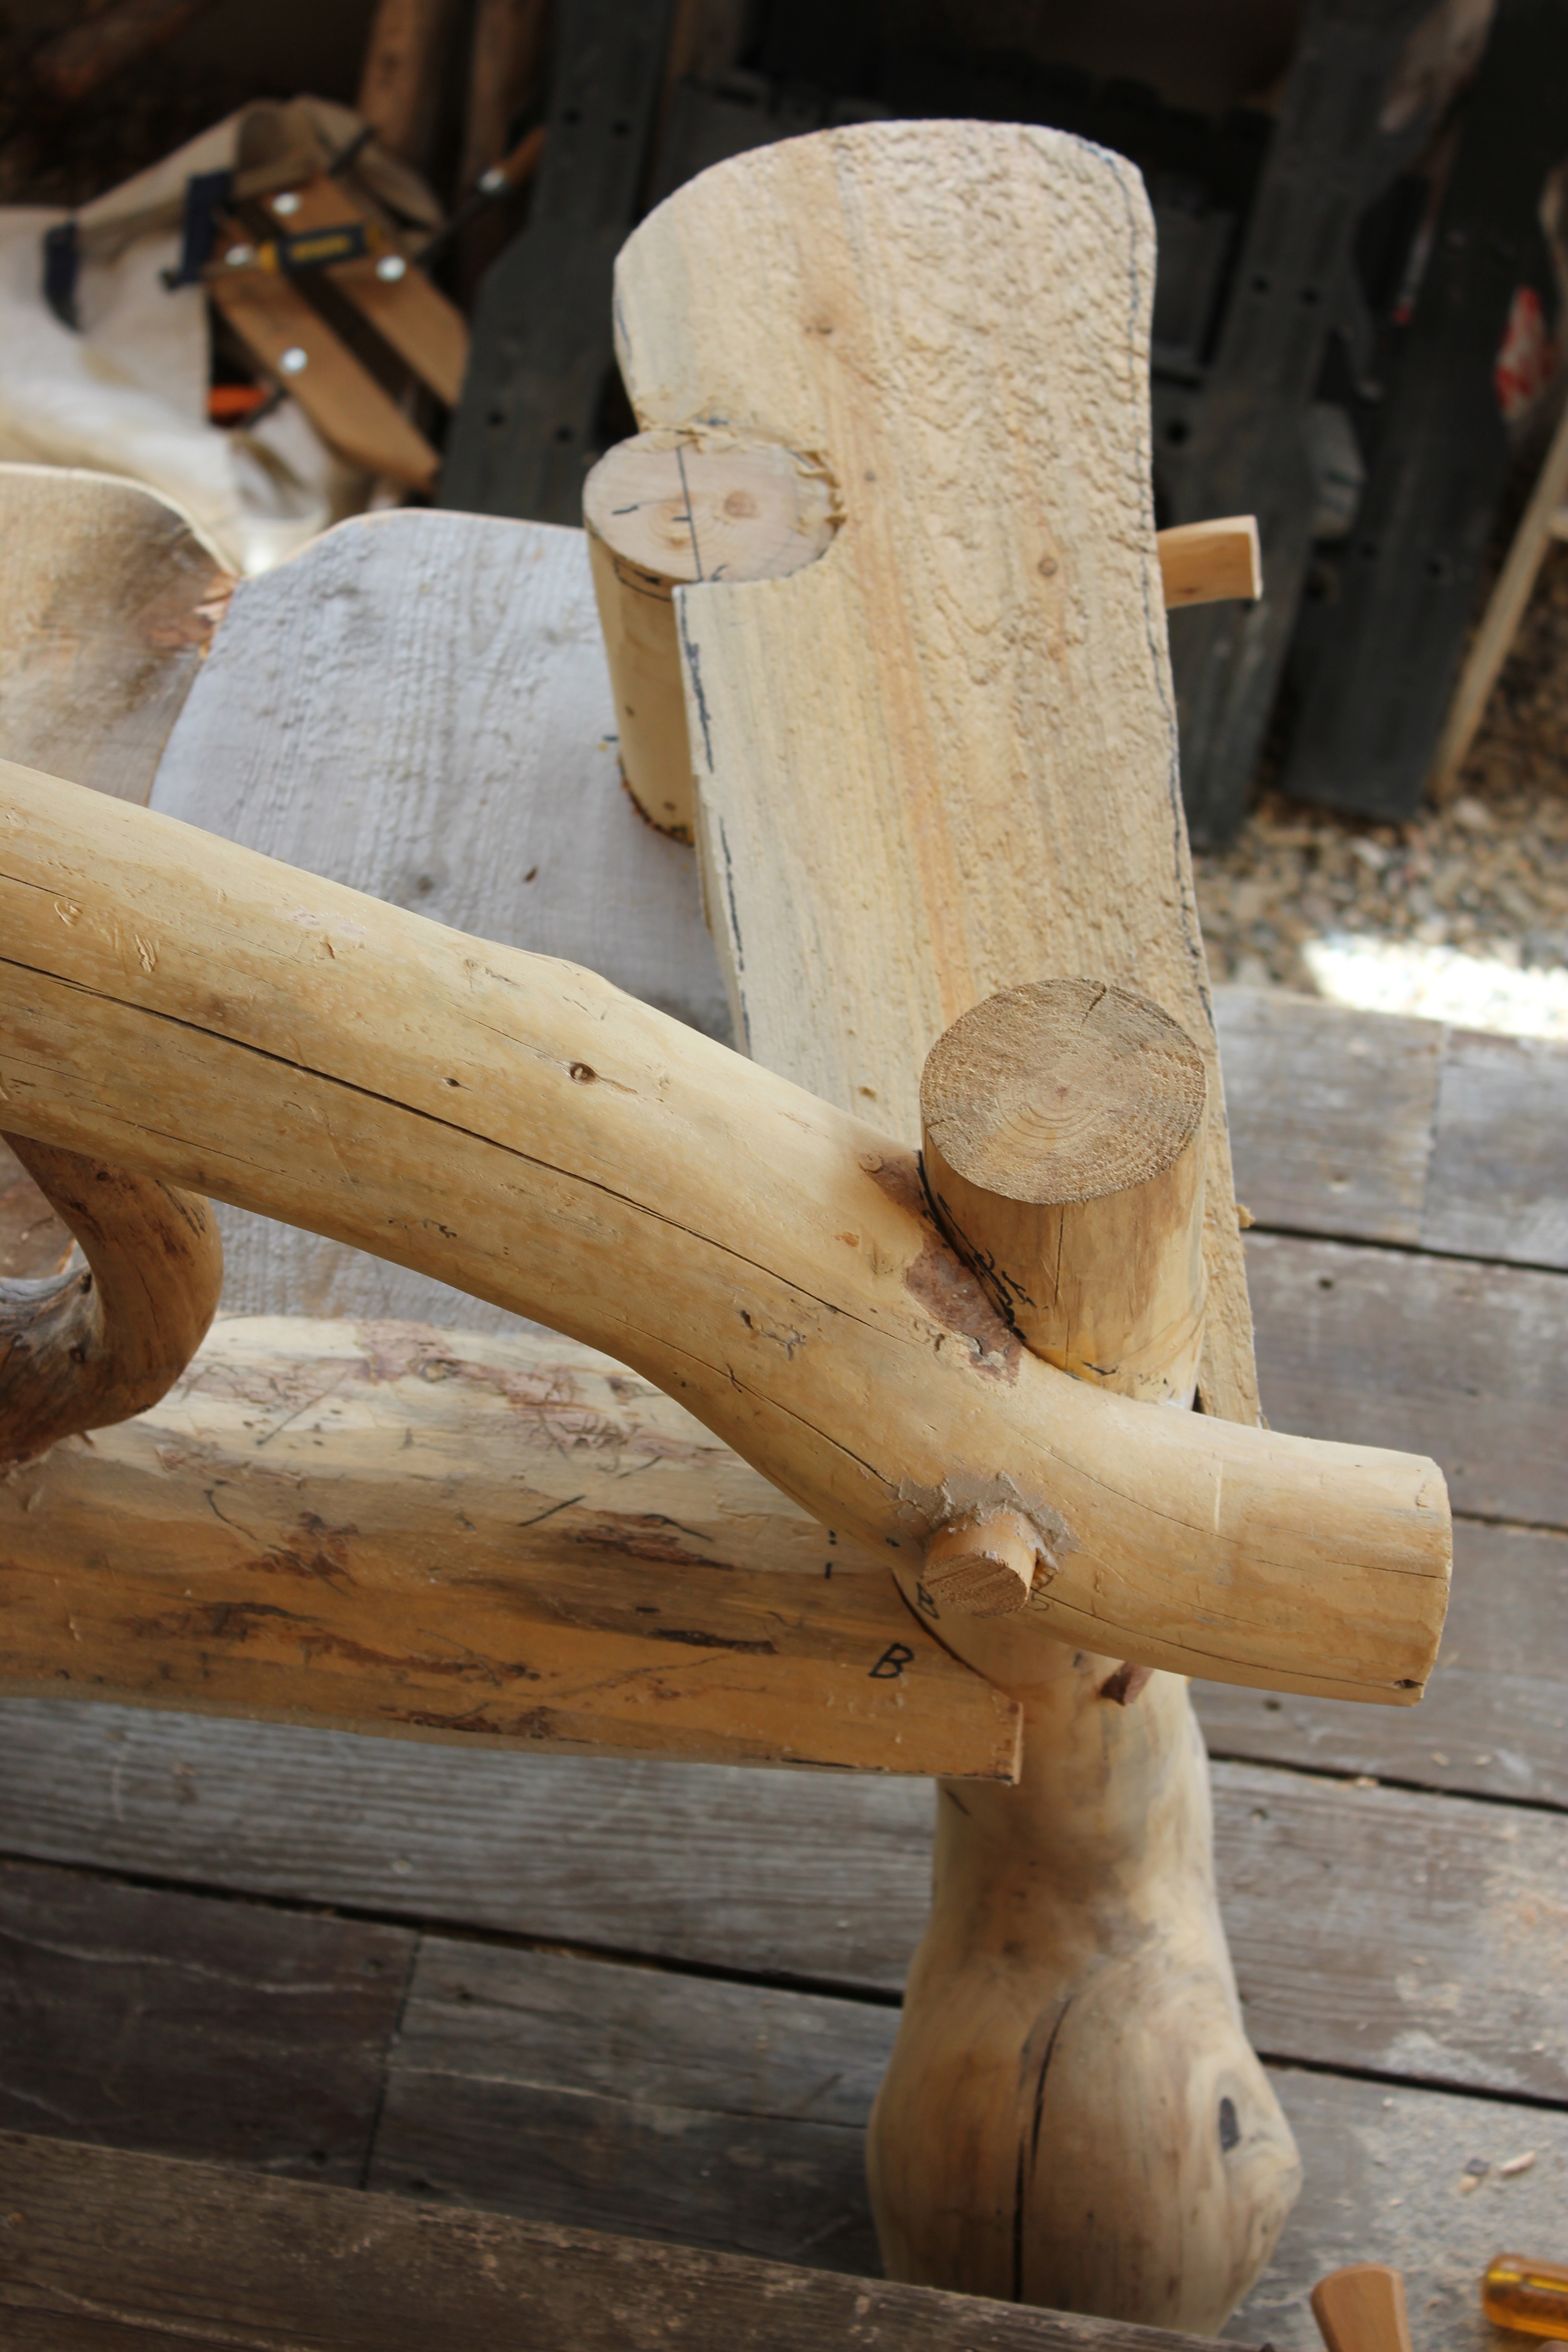
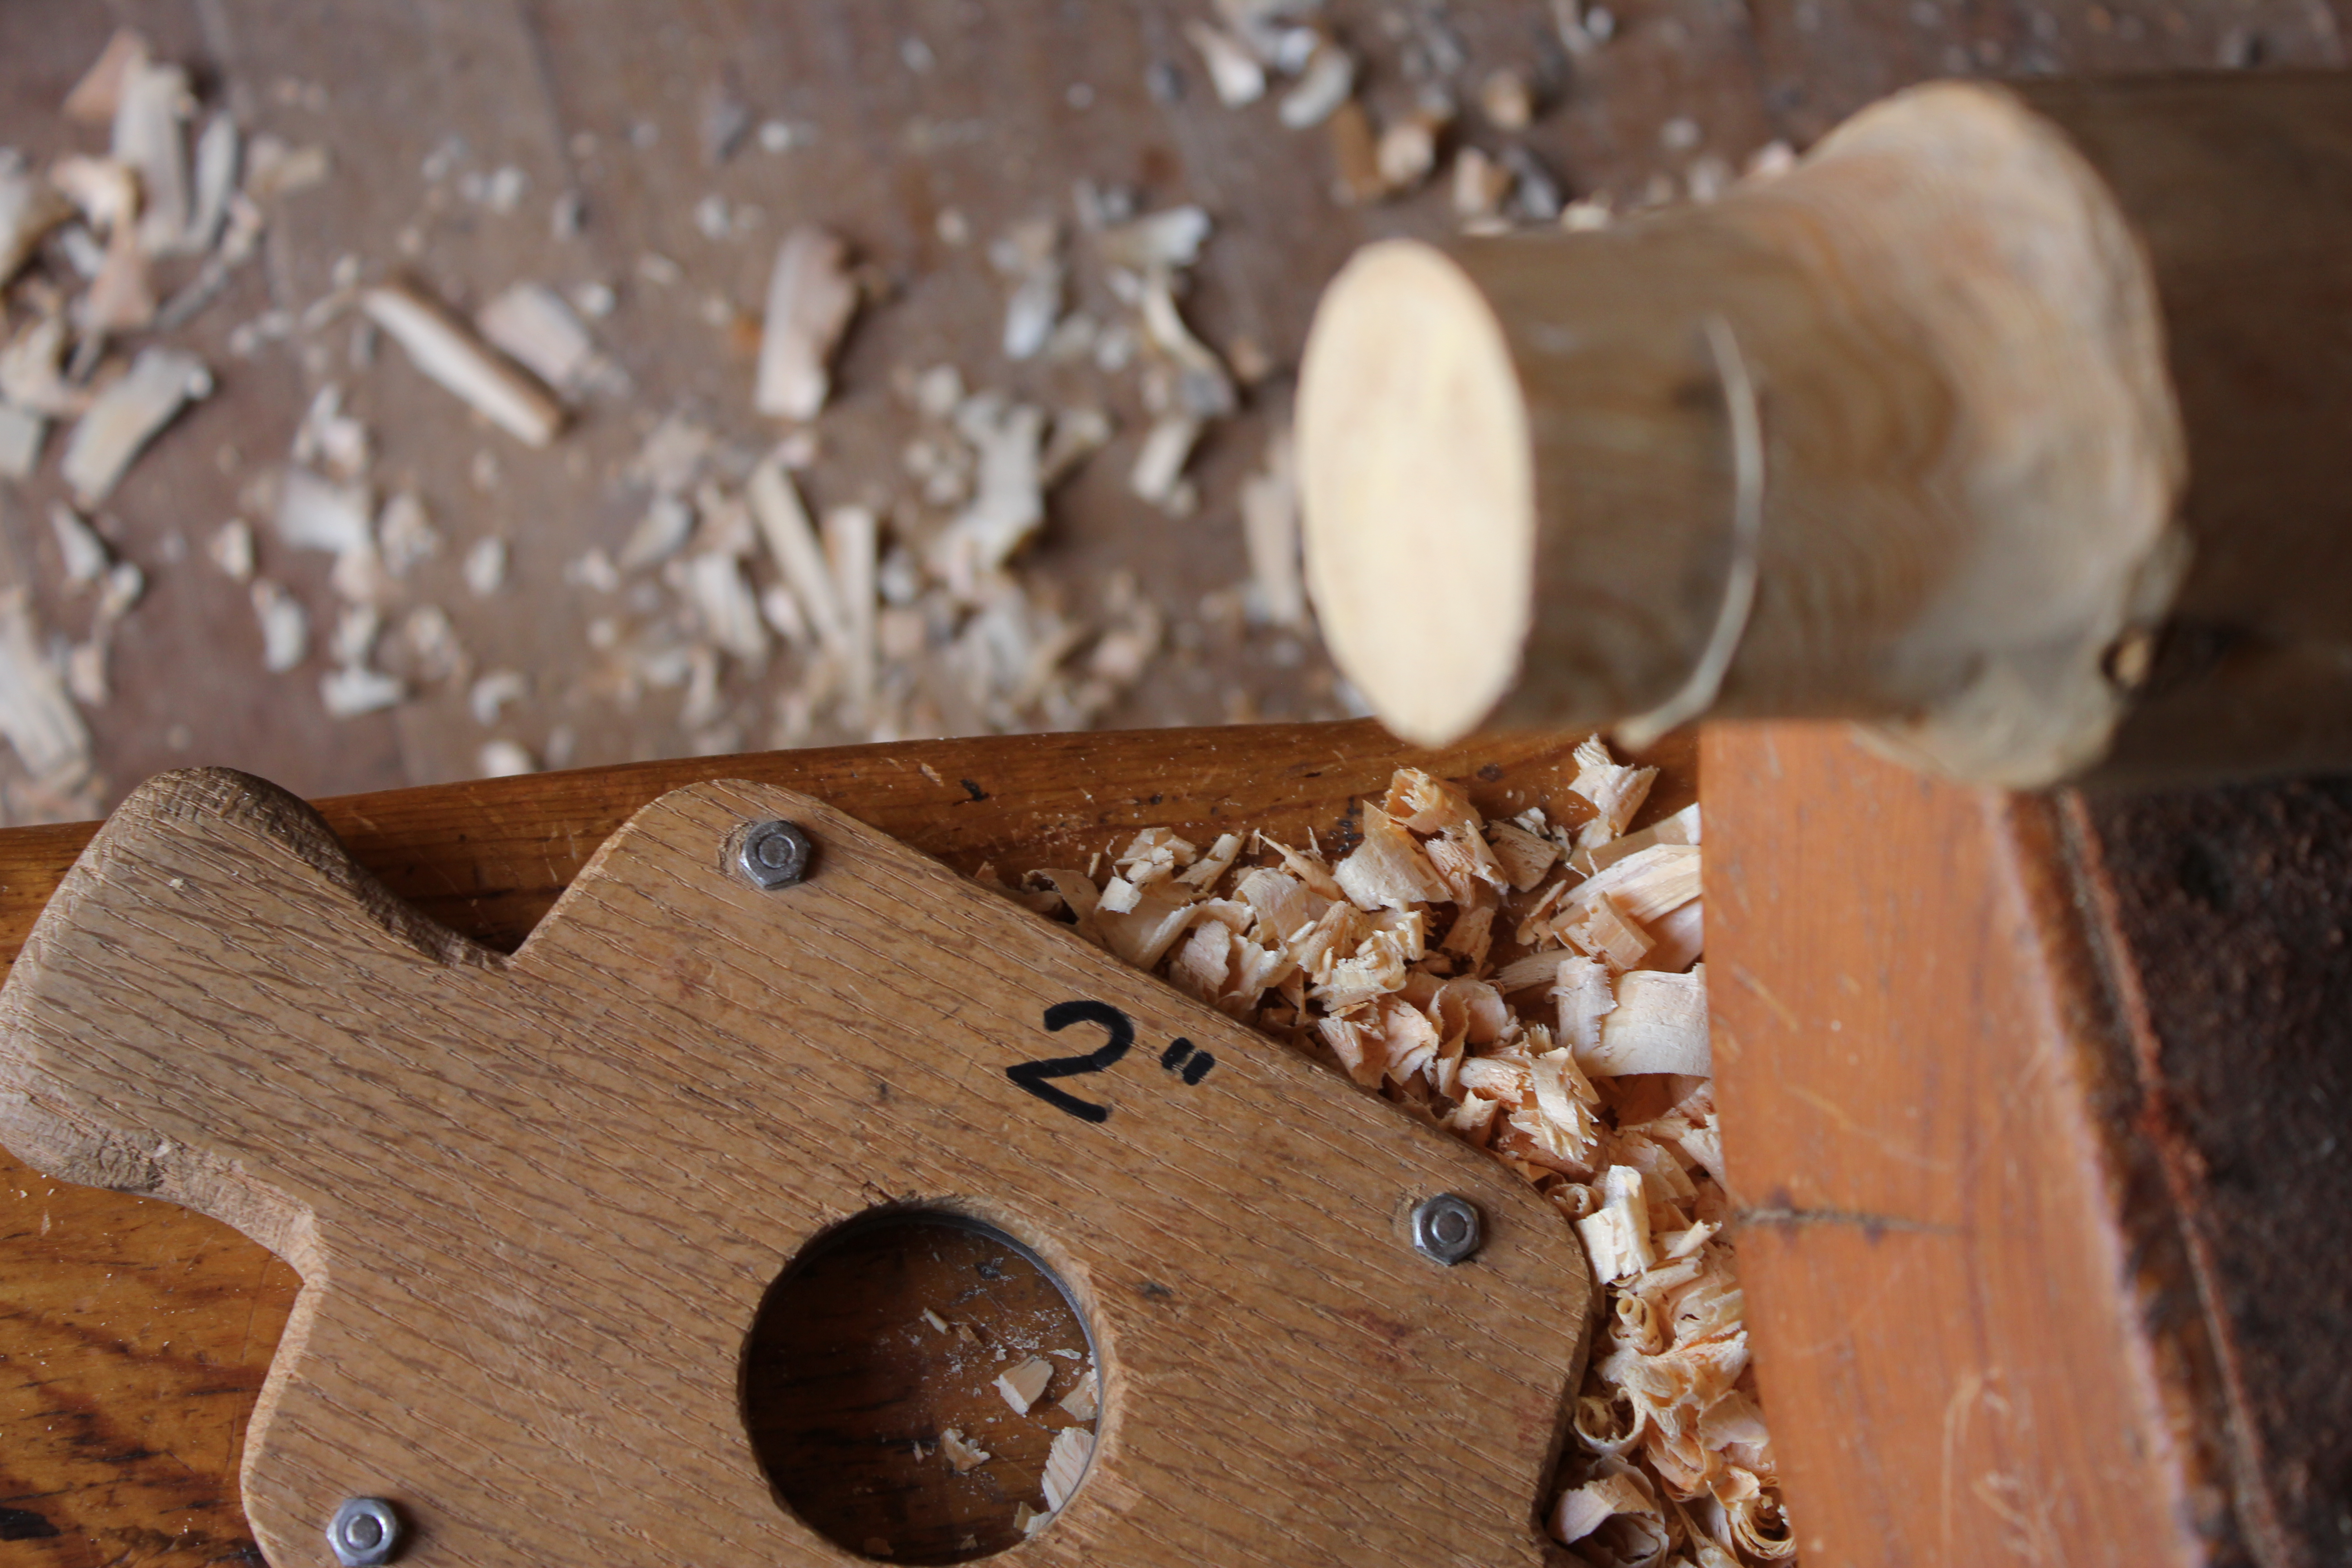
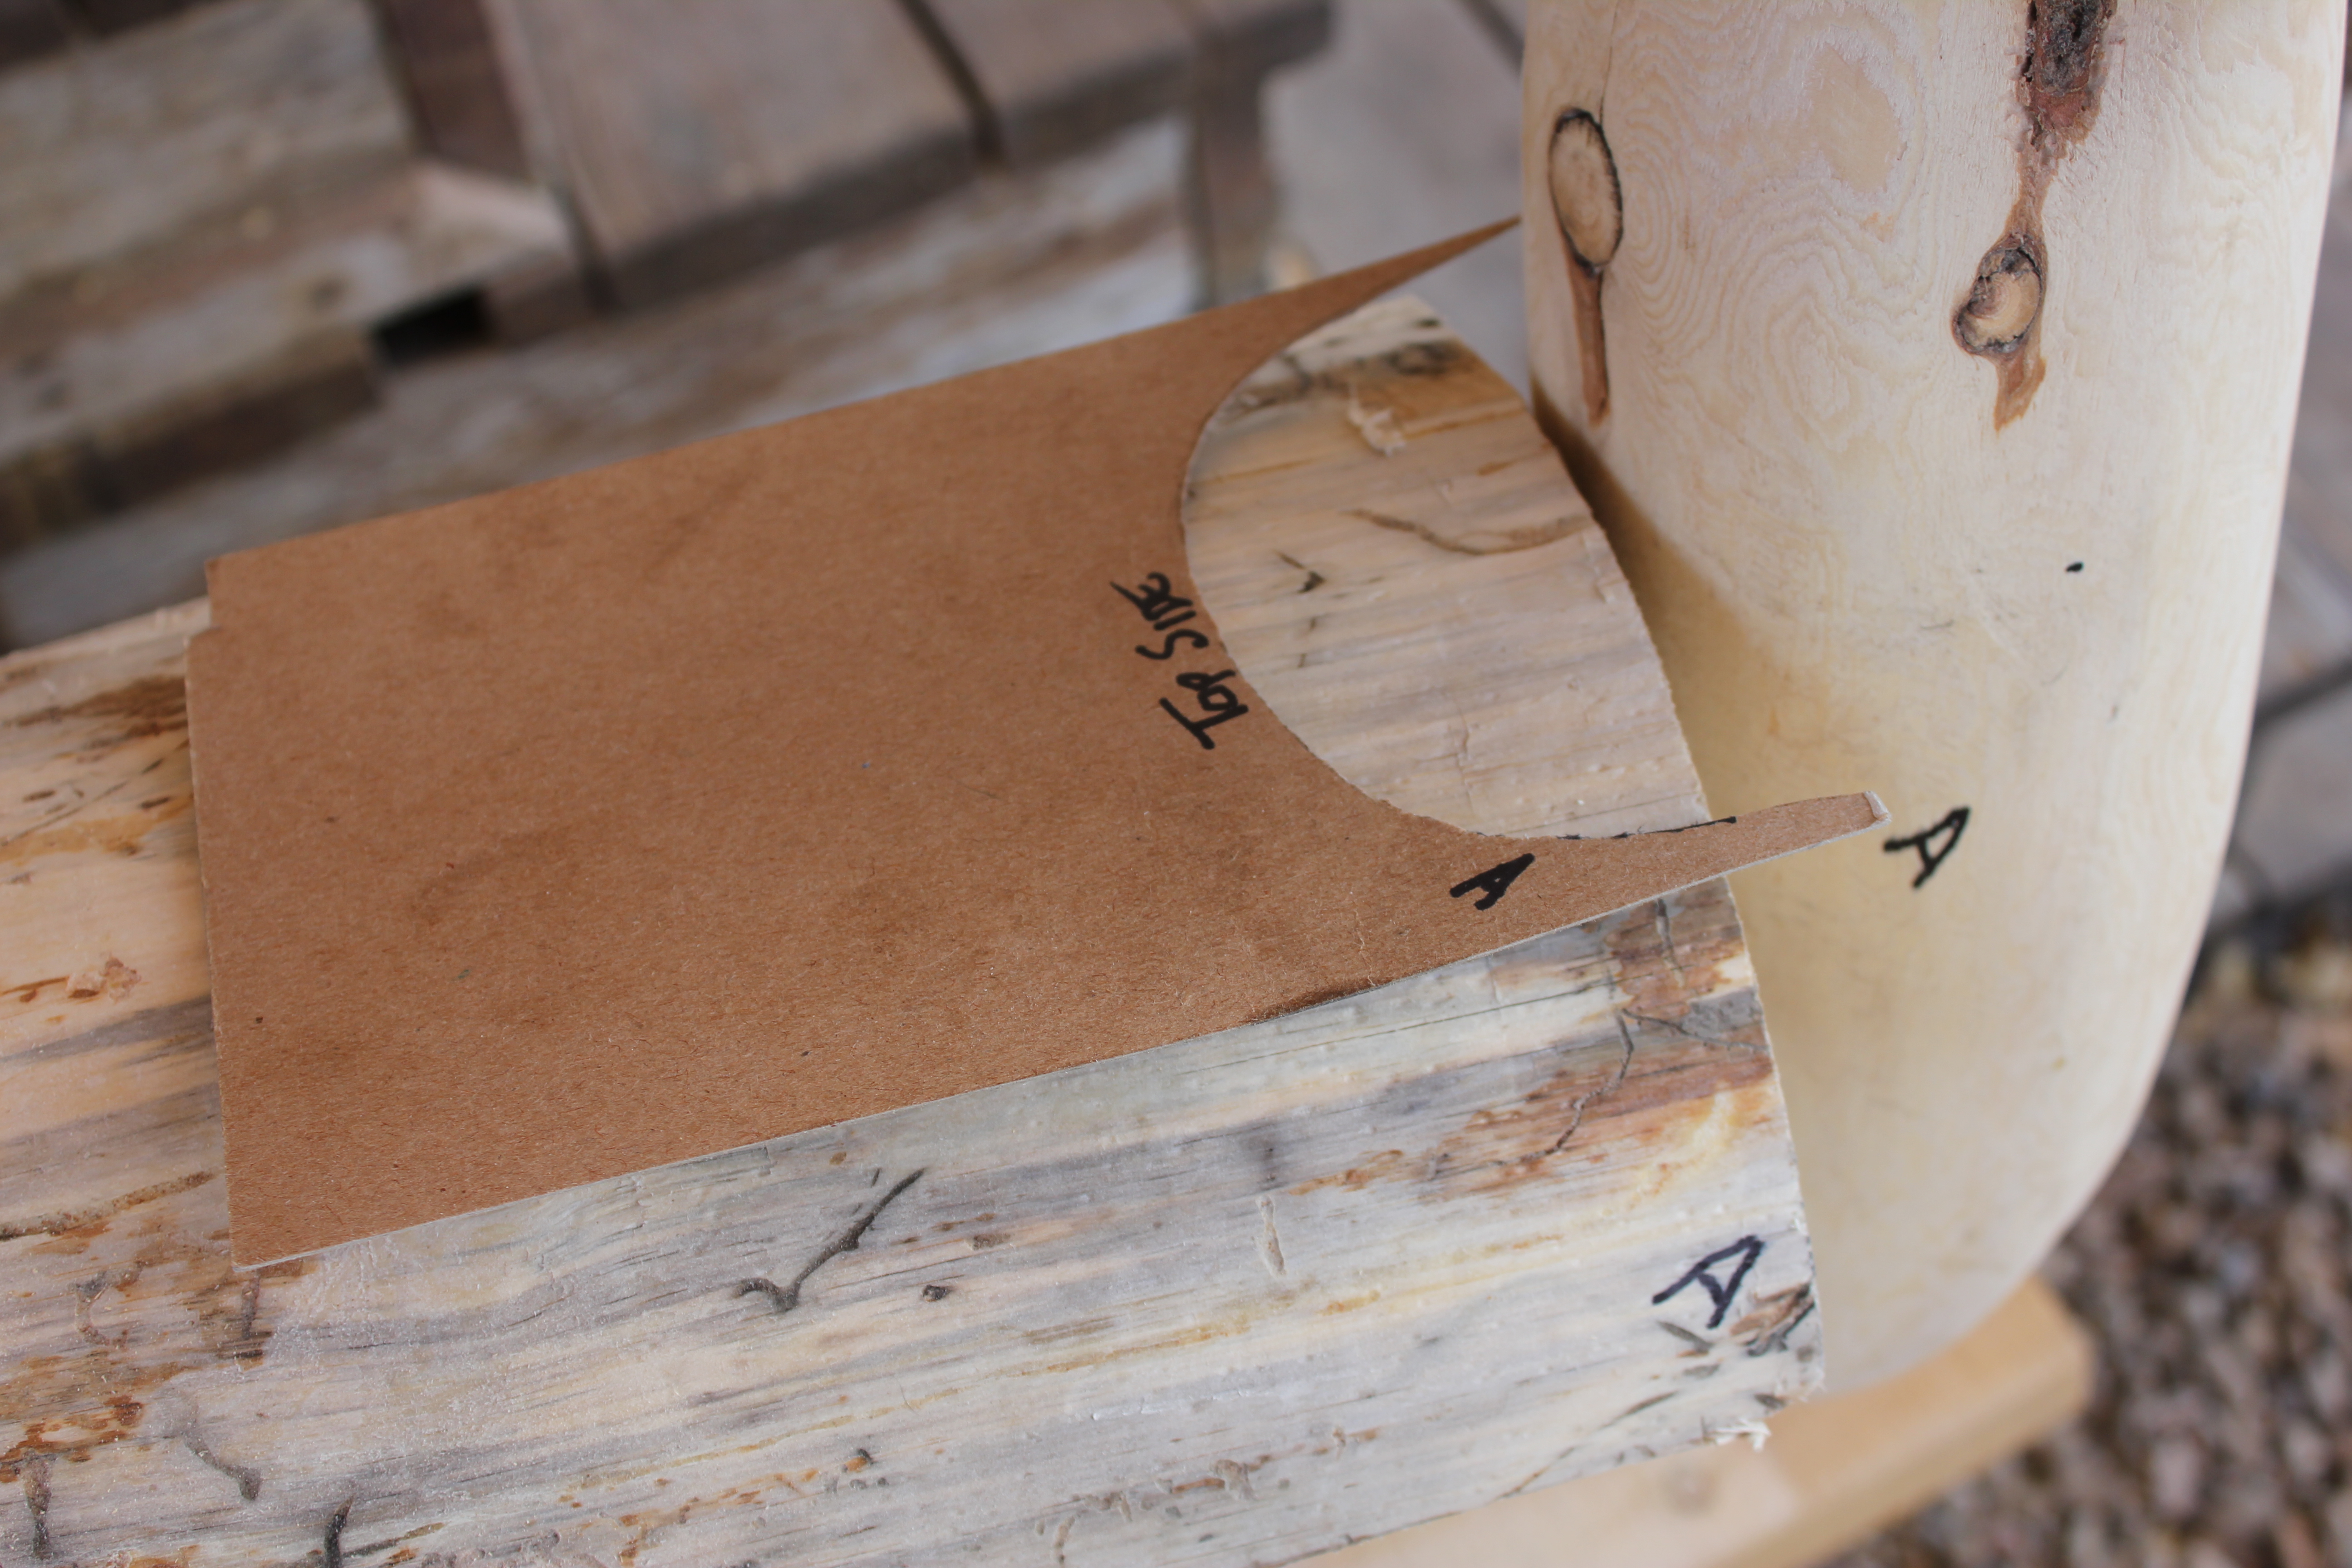
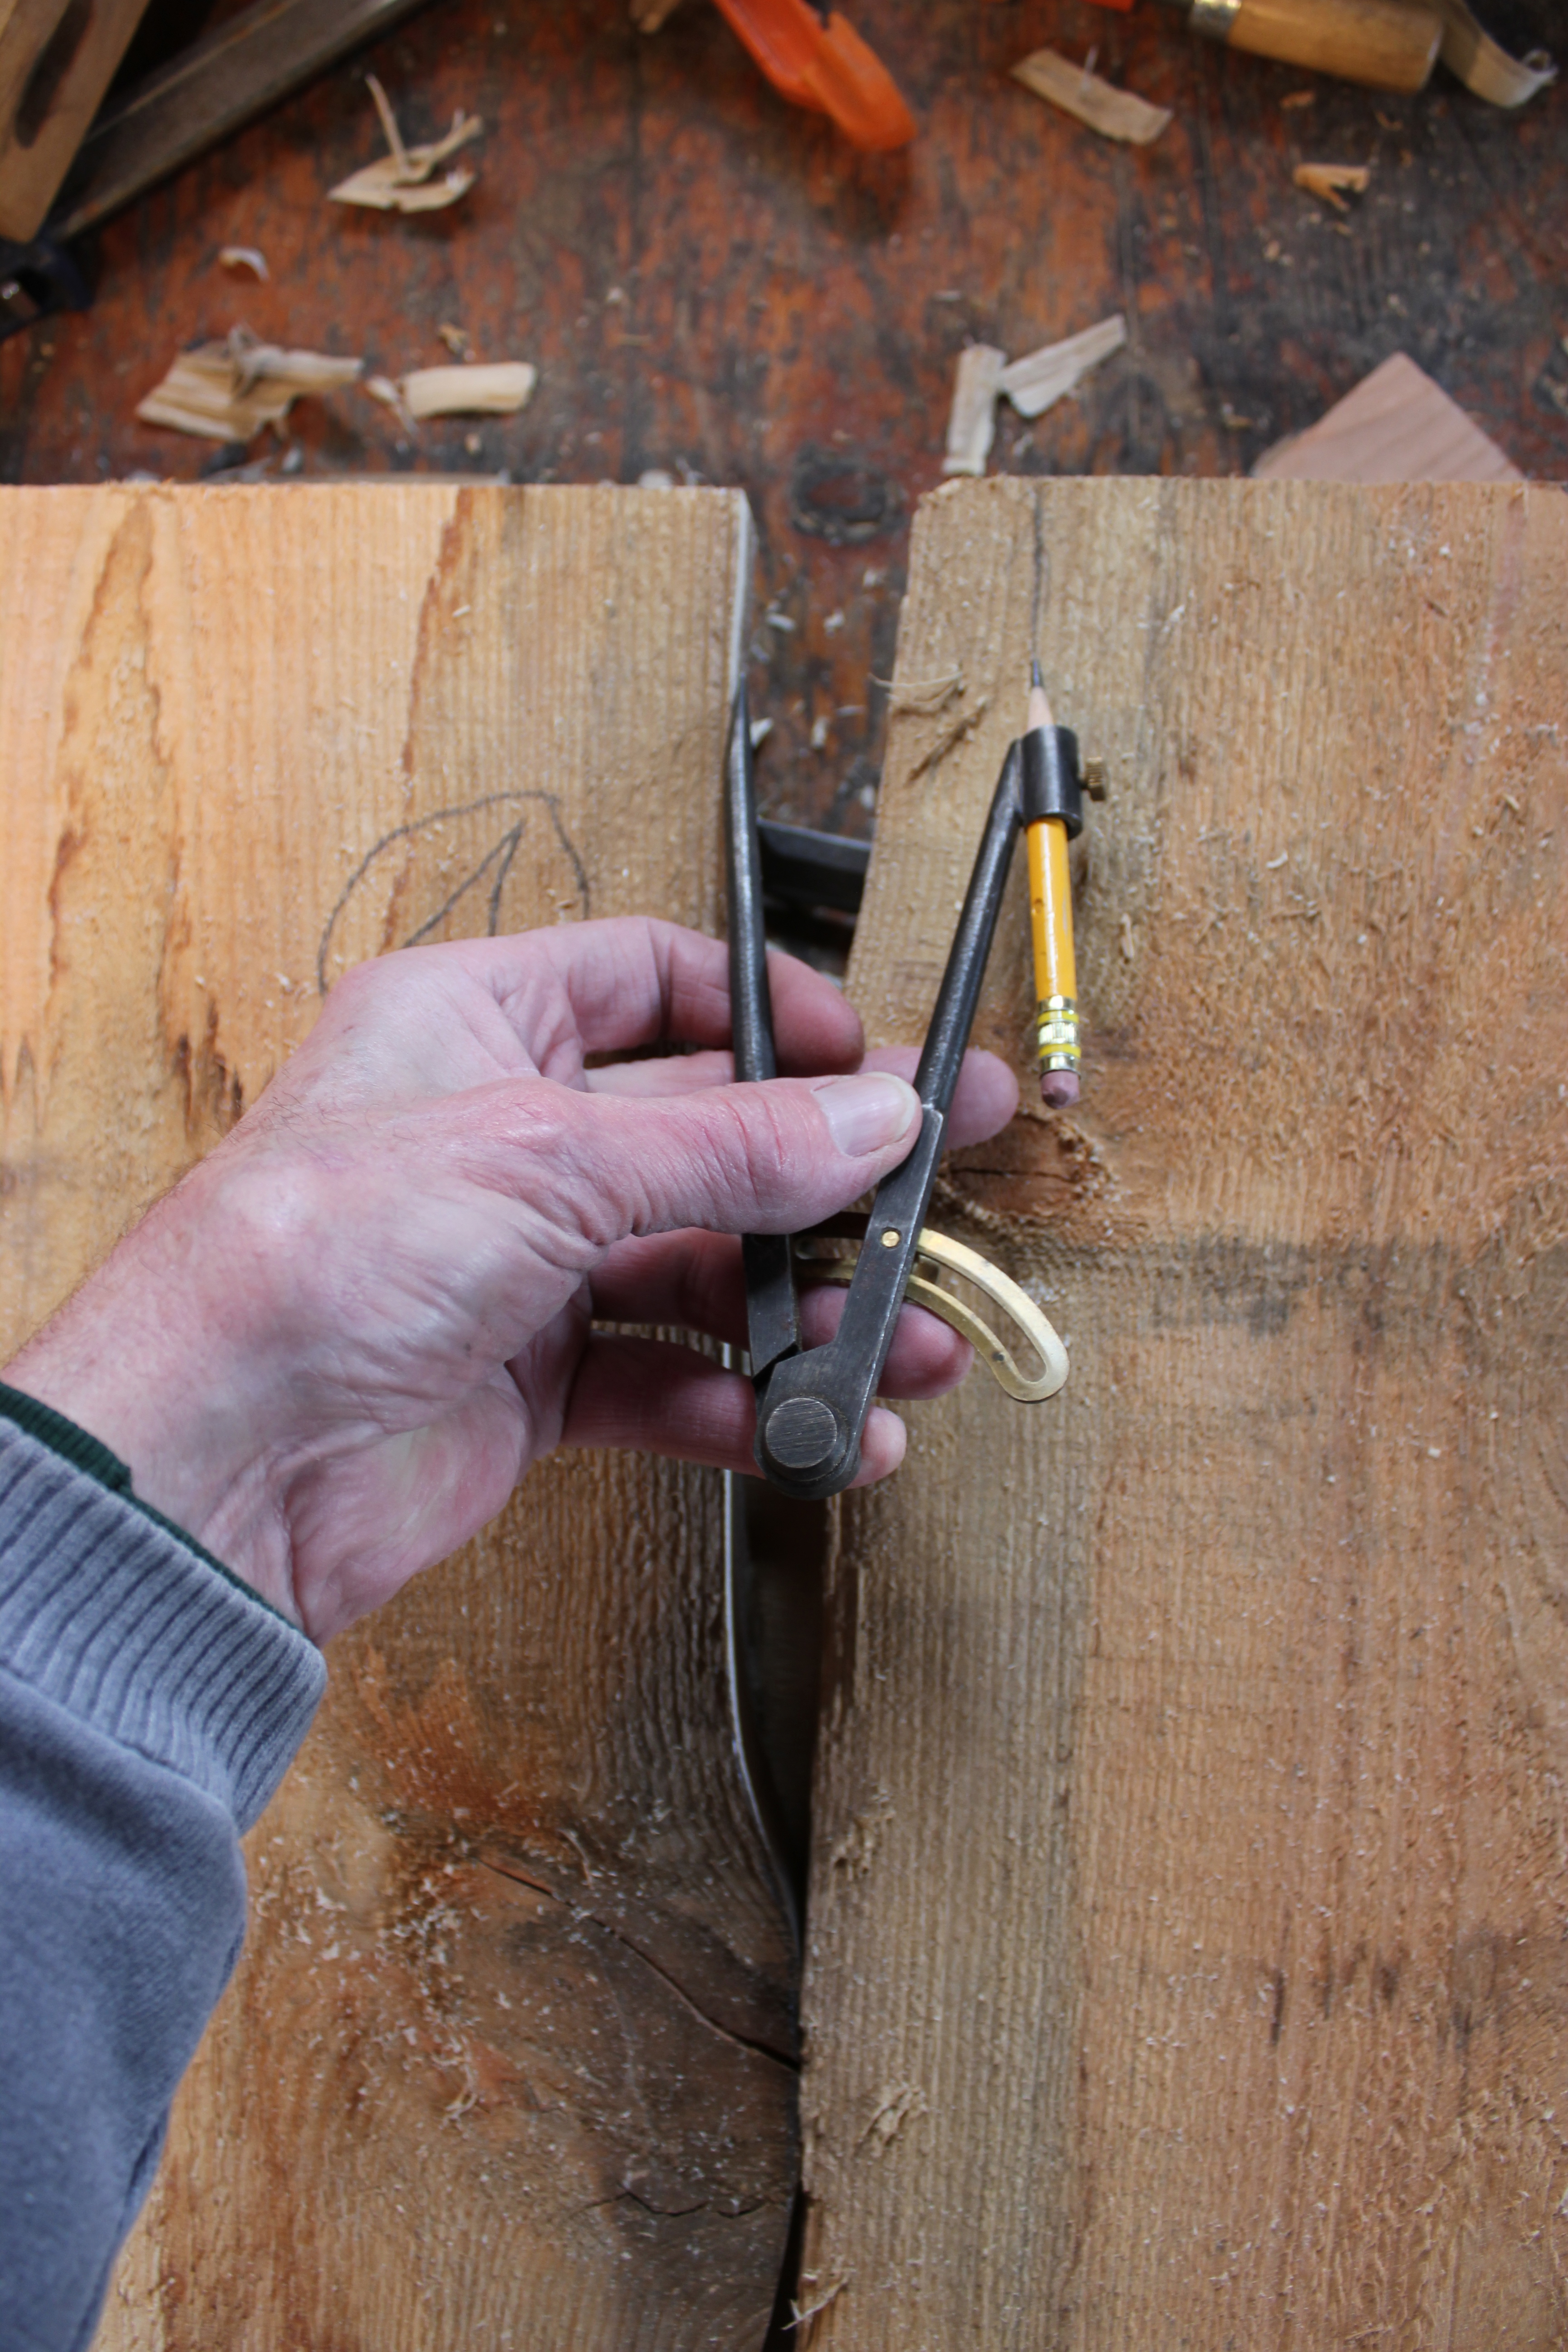
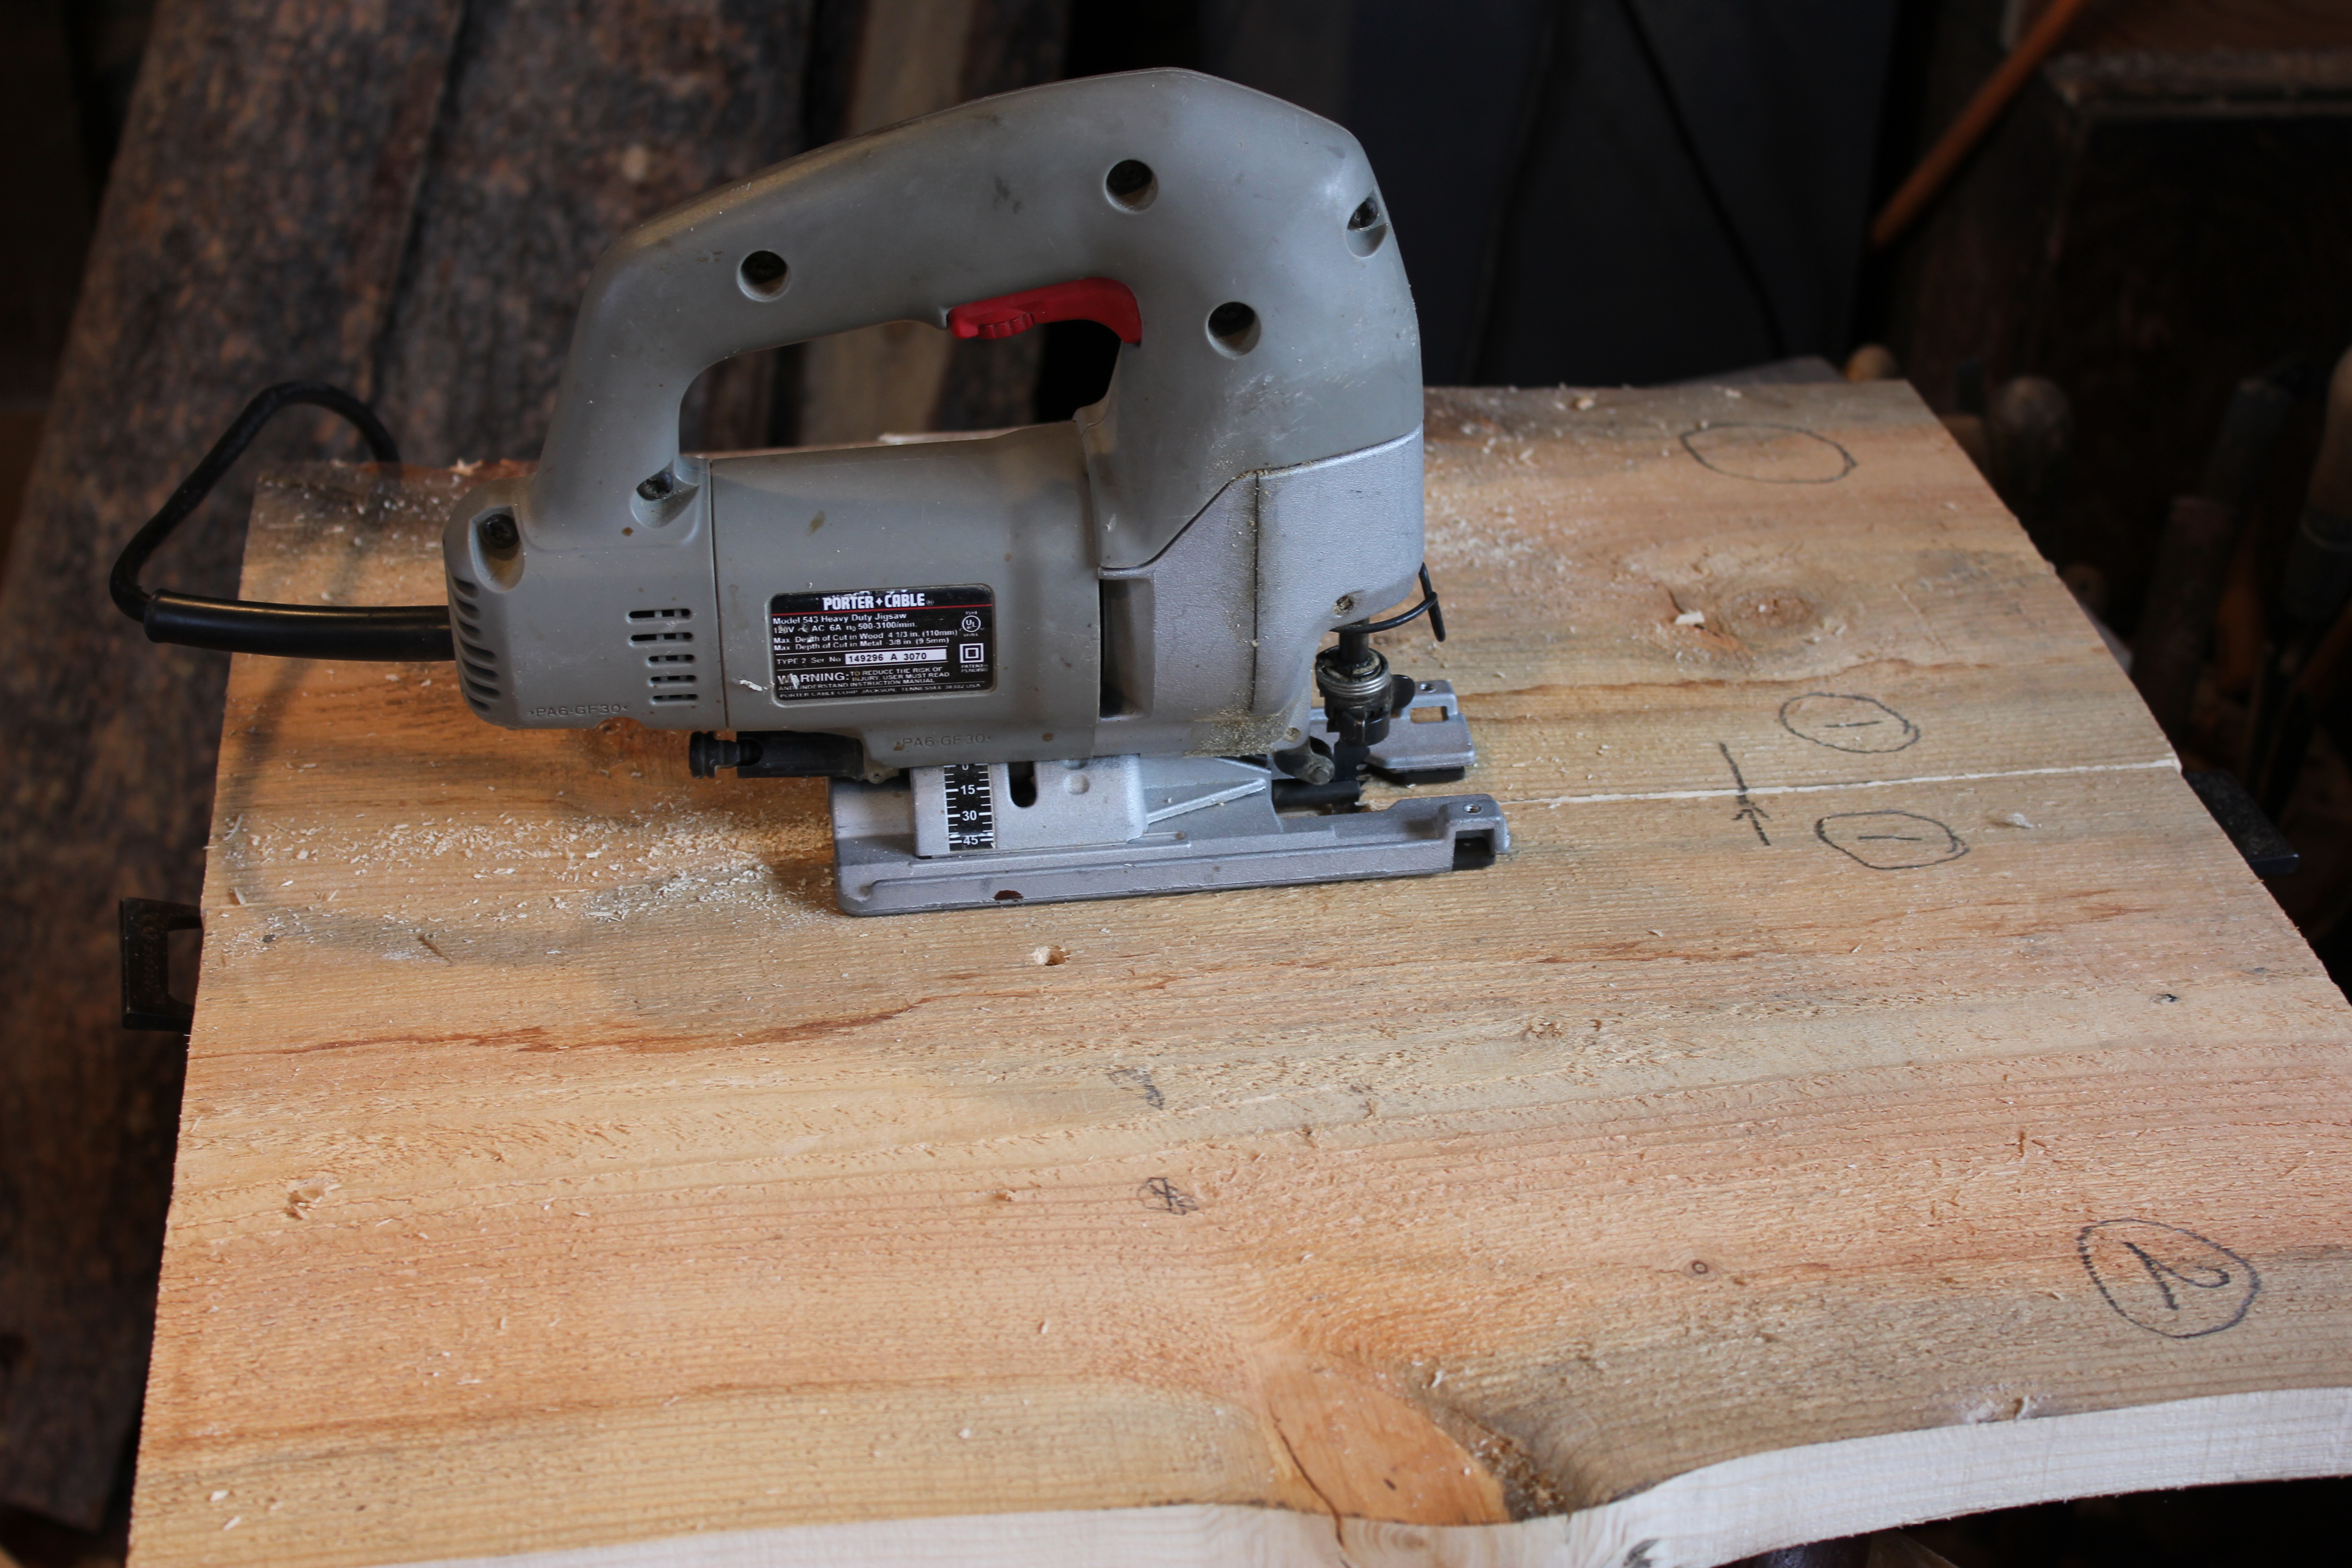
Using a piece of light cardboard, I’m starting to make a pattern for the coped cut out on the bottom of the back rest, the first of the two to receive the leg.

IMG_3171

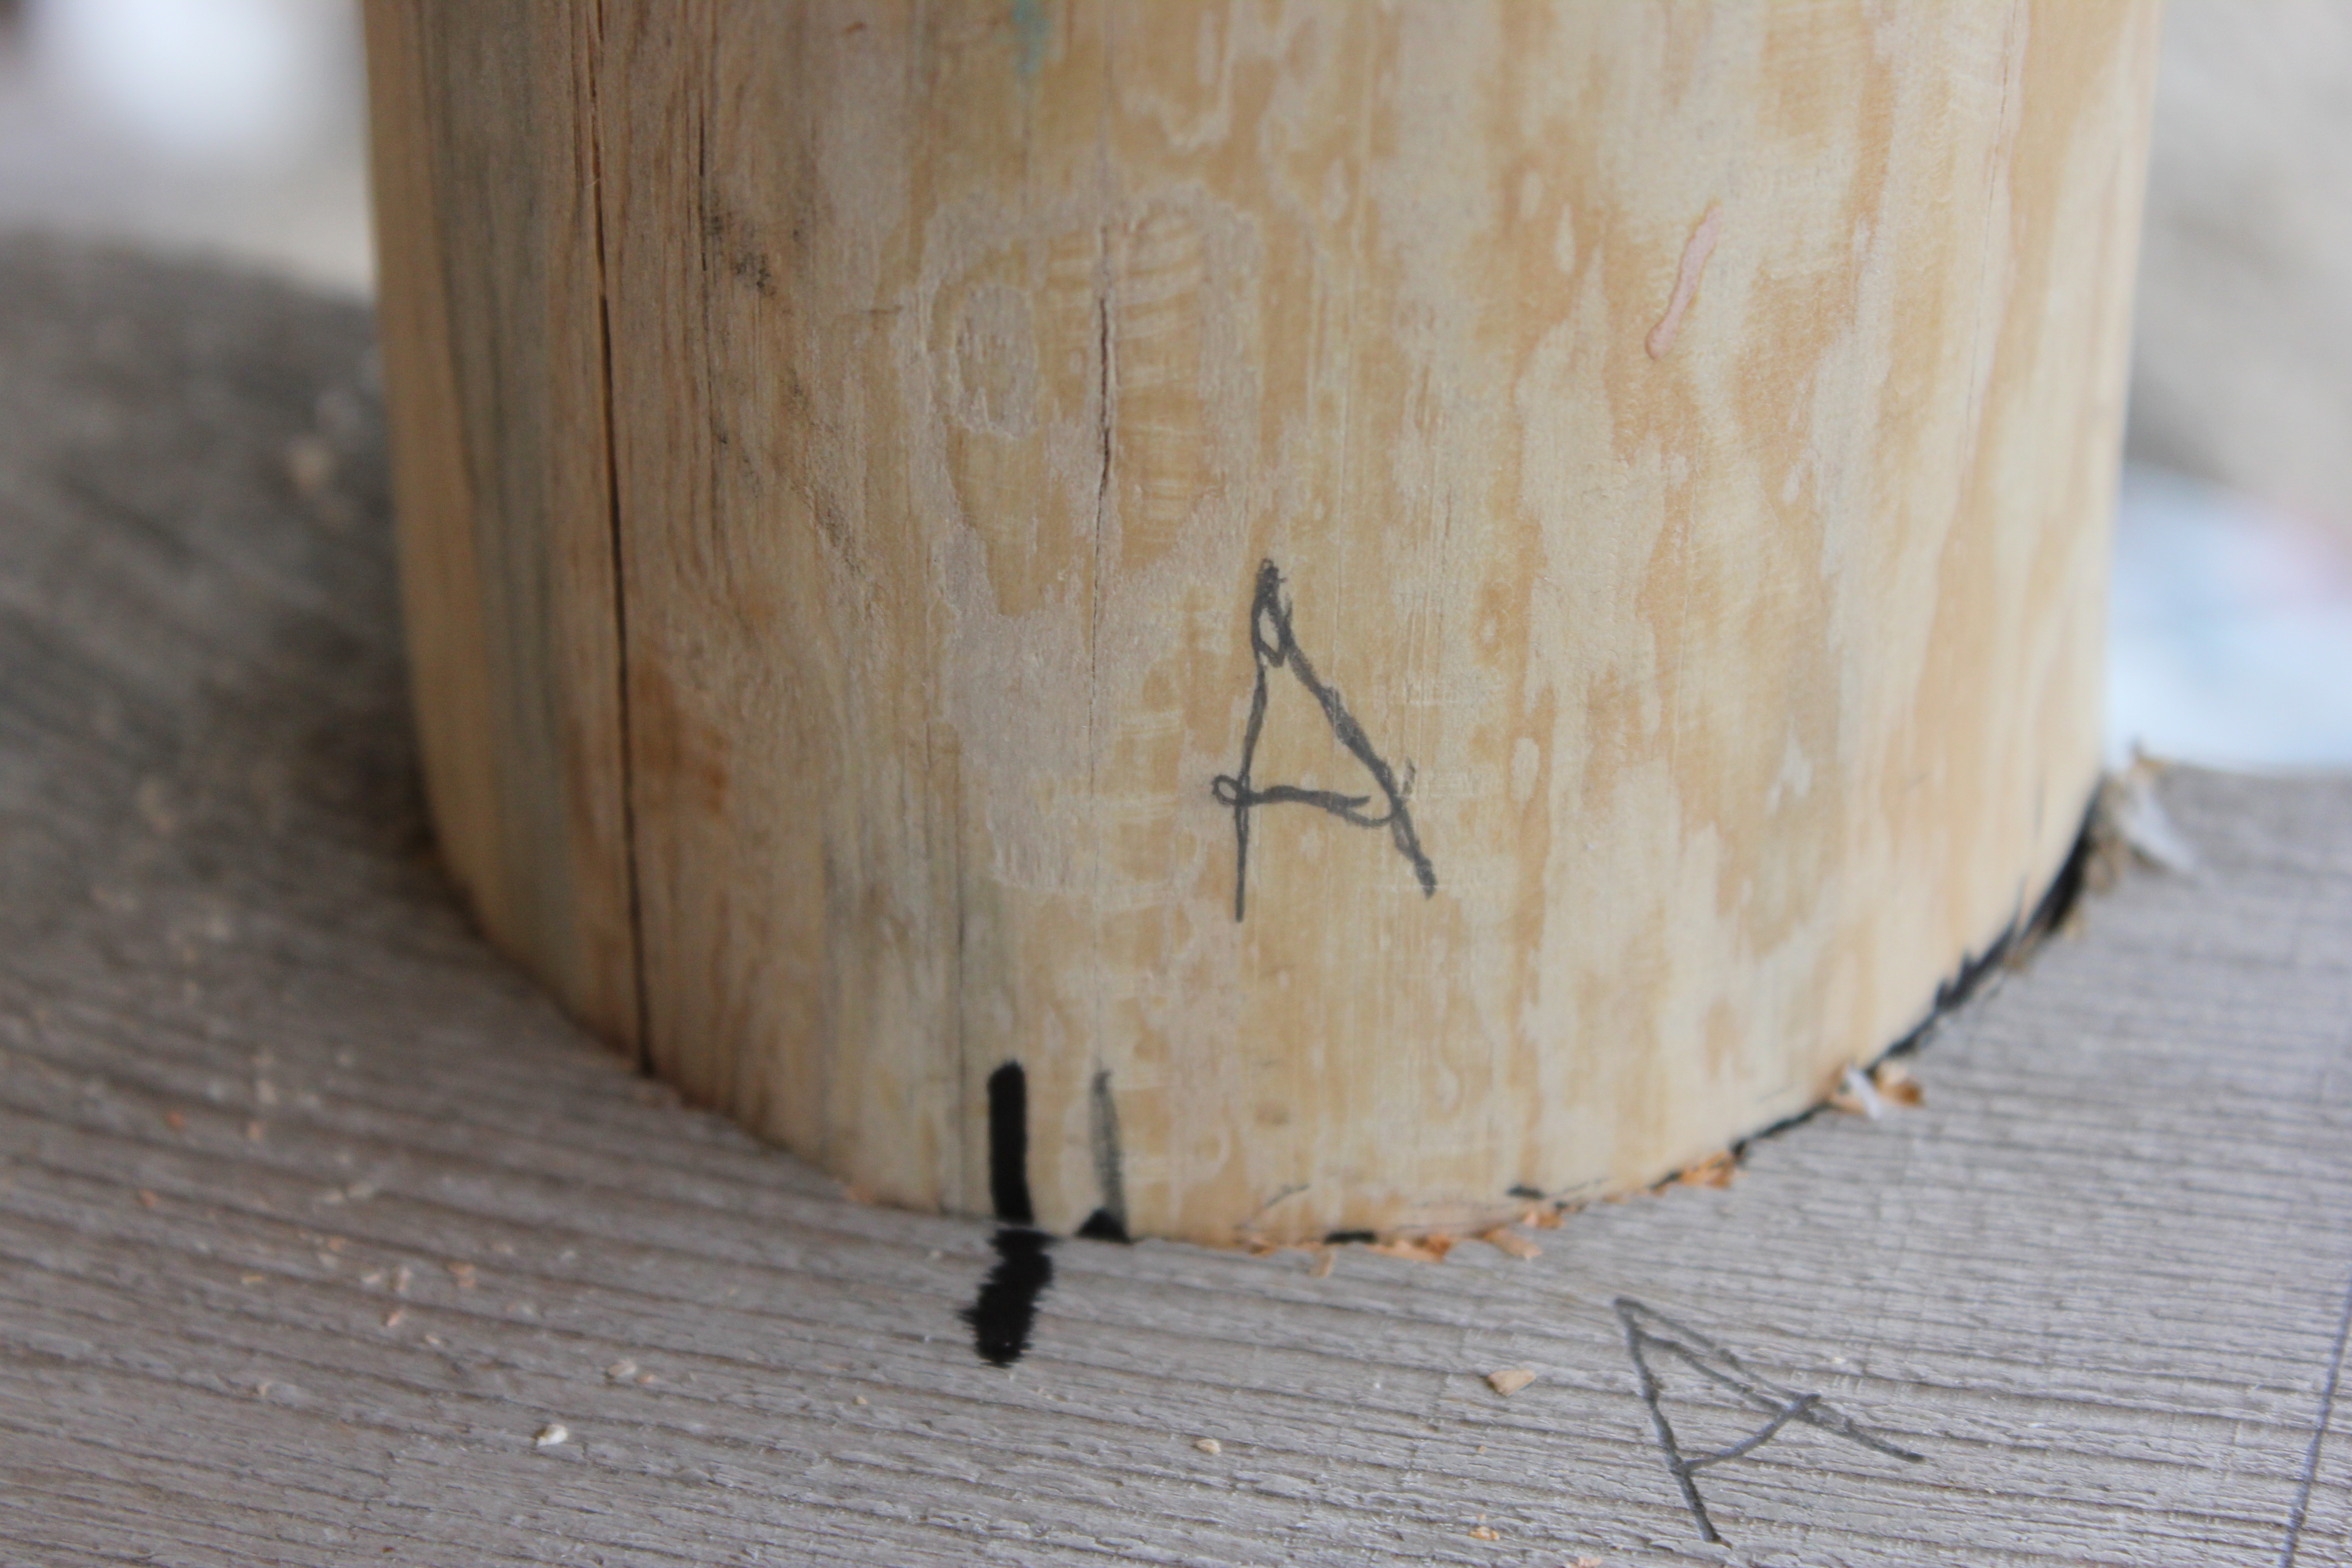
After the pattern fits around the leg, it will be placed on the underside to mark for the actual cutting. I have added the matching letters “A” to keep the correct alignment when the pattern is transferred to the underside.

IMG_3173

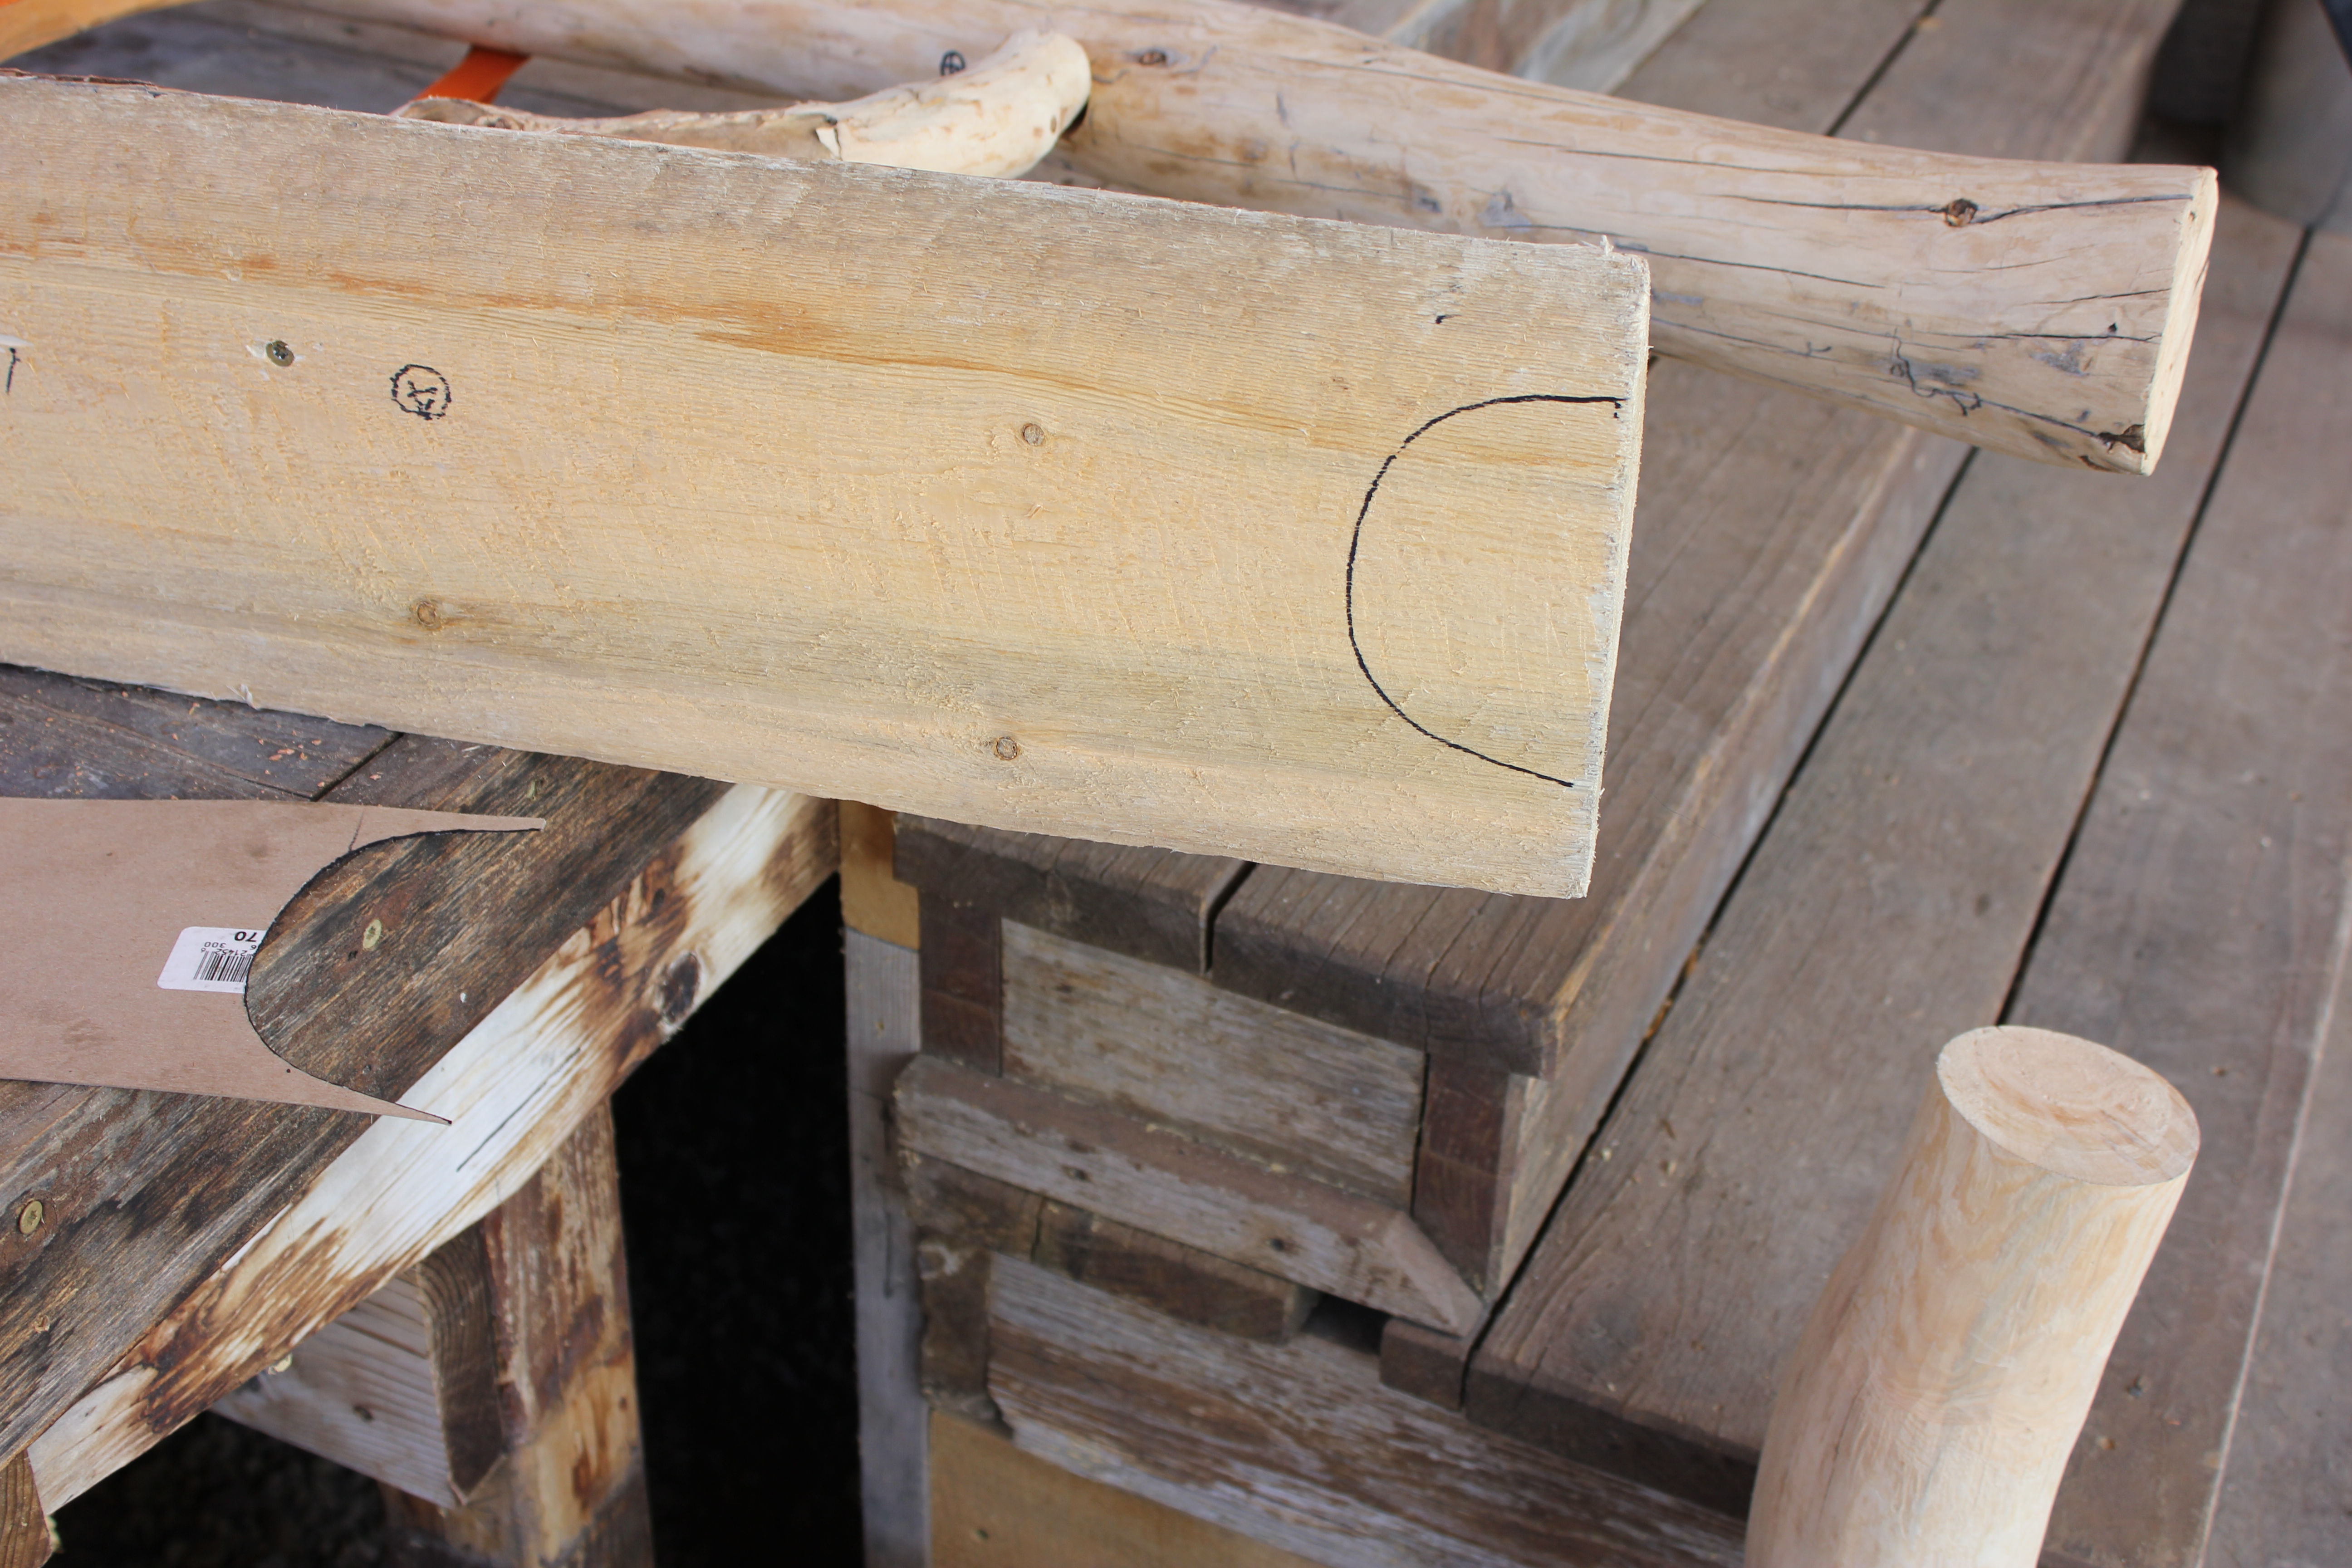
So here’s the guideline for the cut out on the back rest base, to receive the leg.

IMG_3174

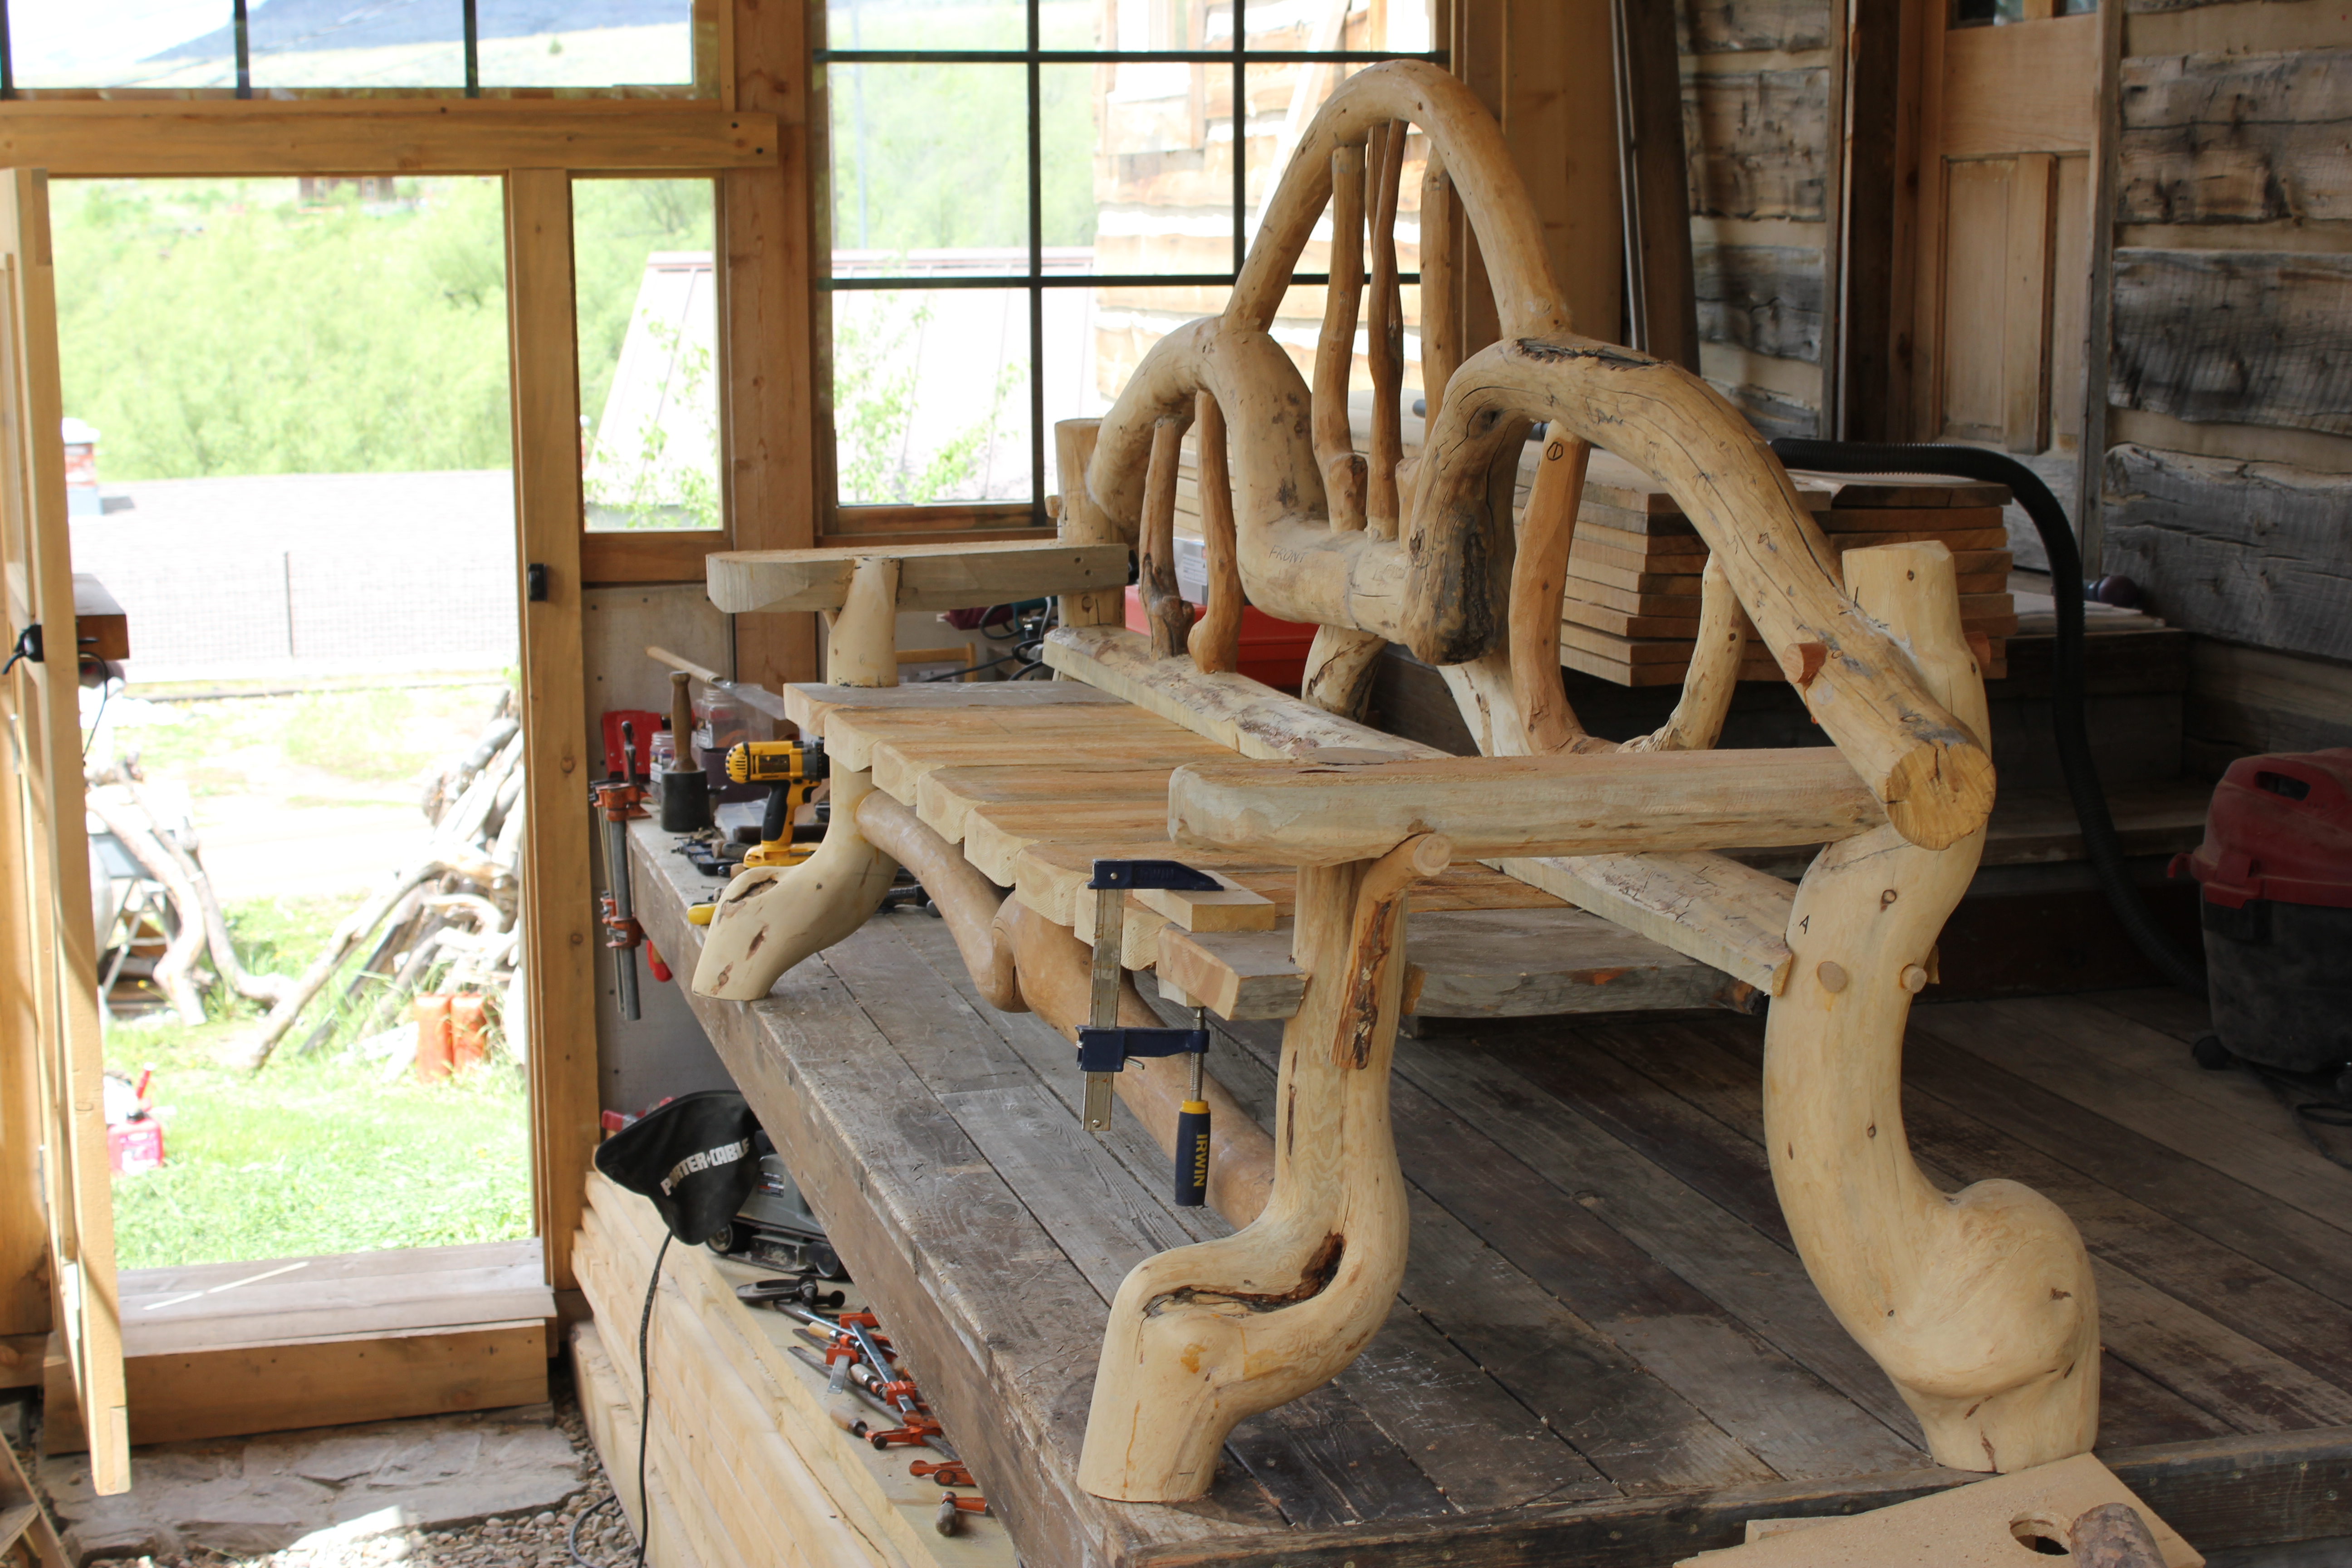
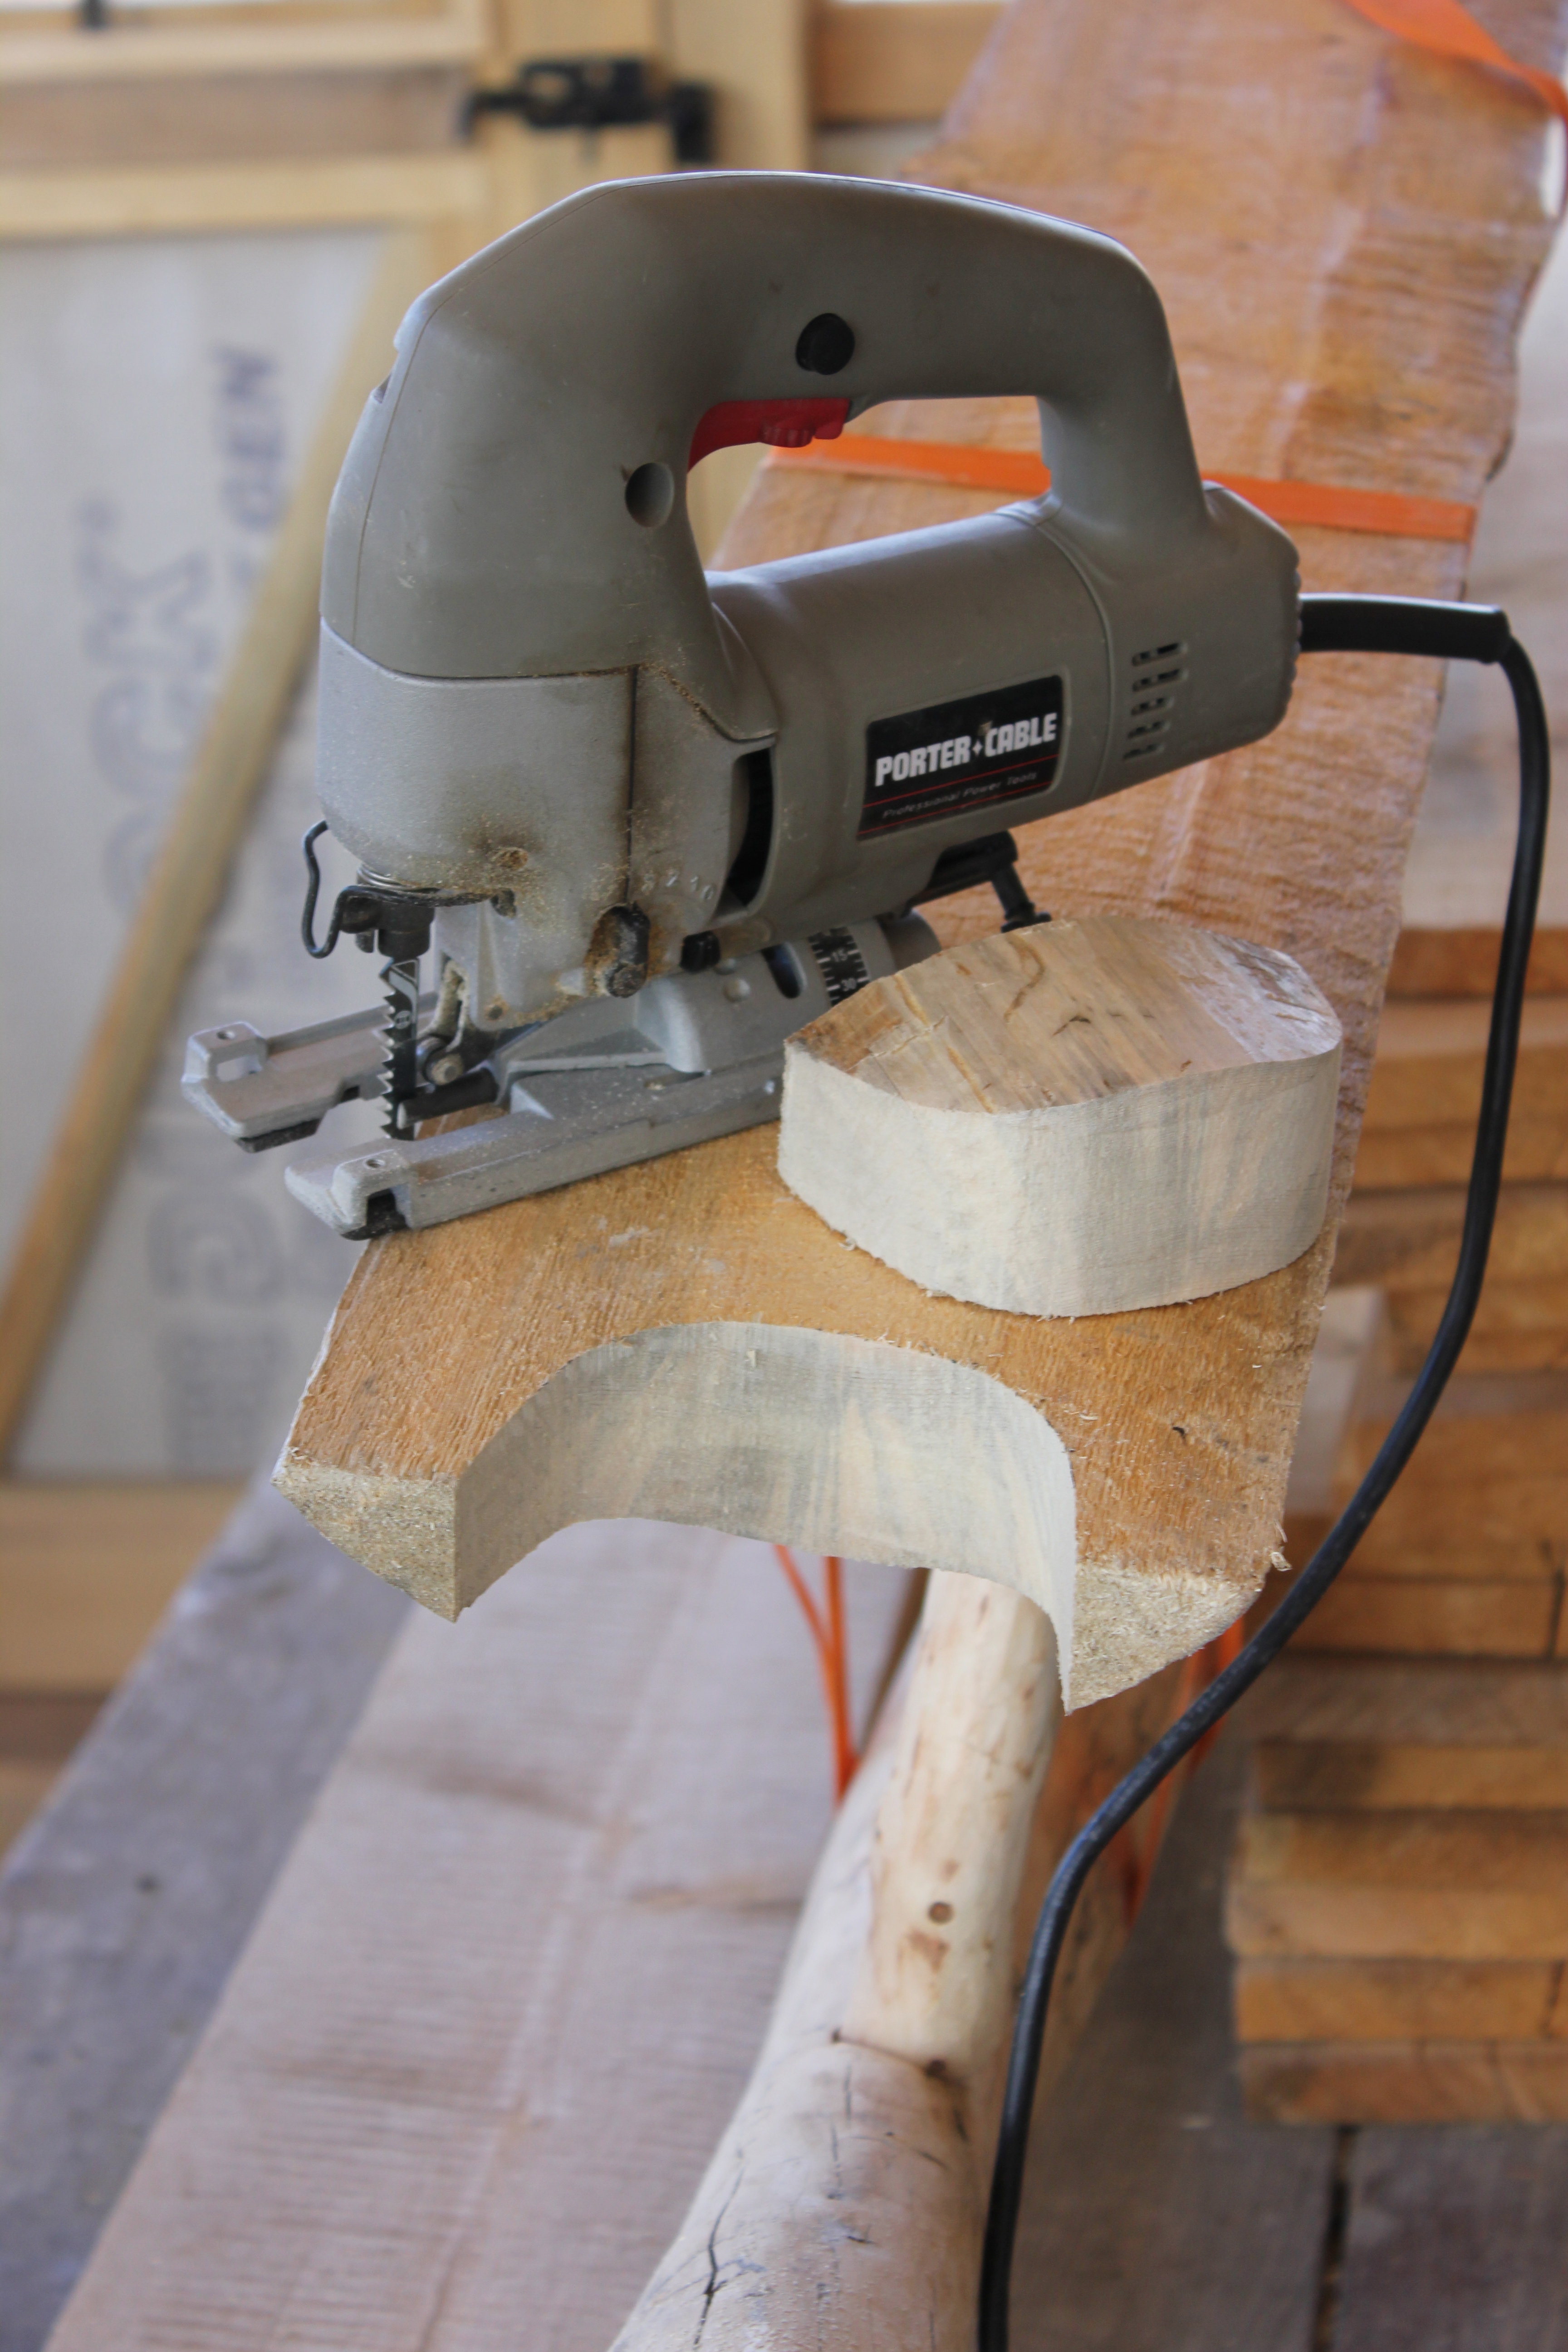
The cut out is completed, and the back rest will be turned over for a test fit.

IMG_3175

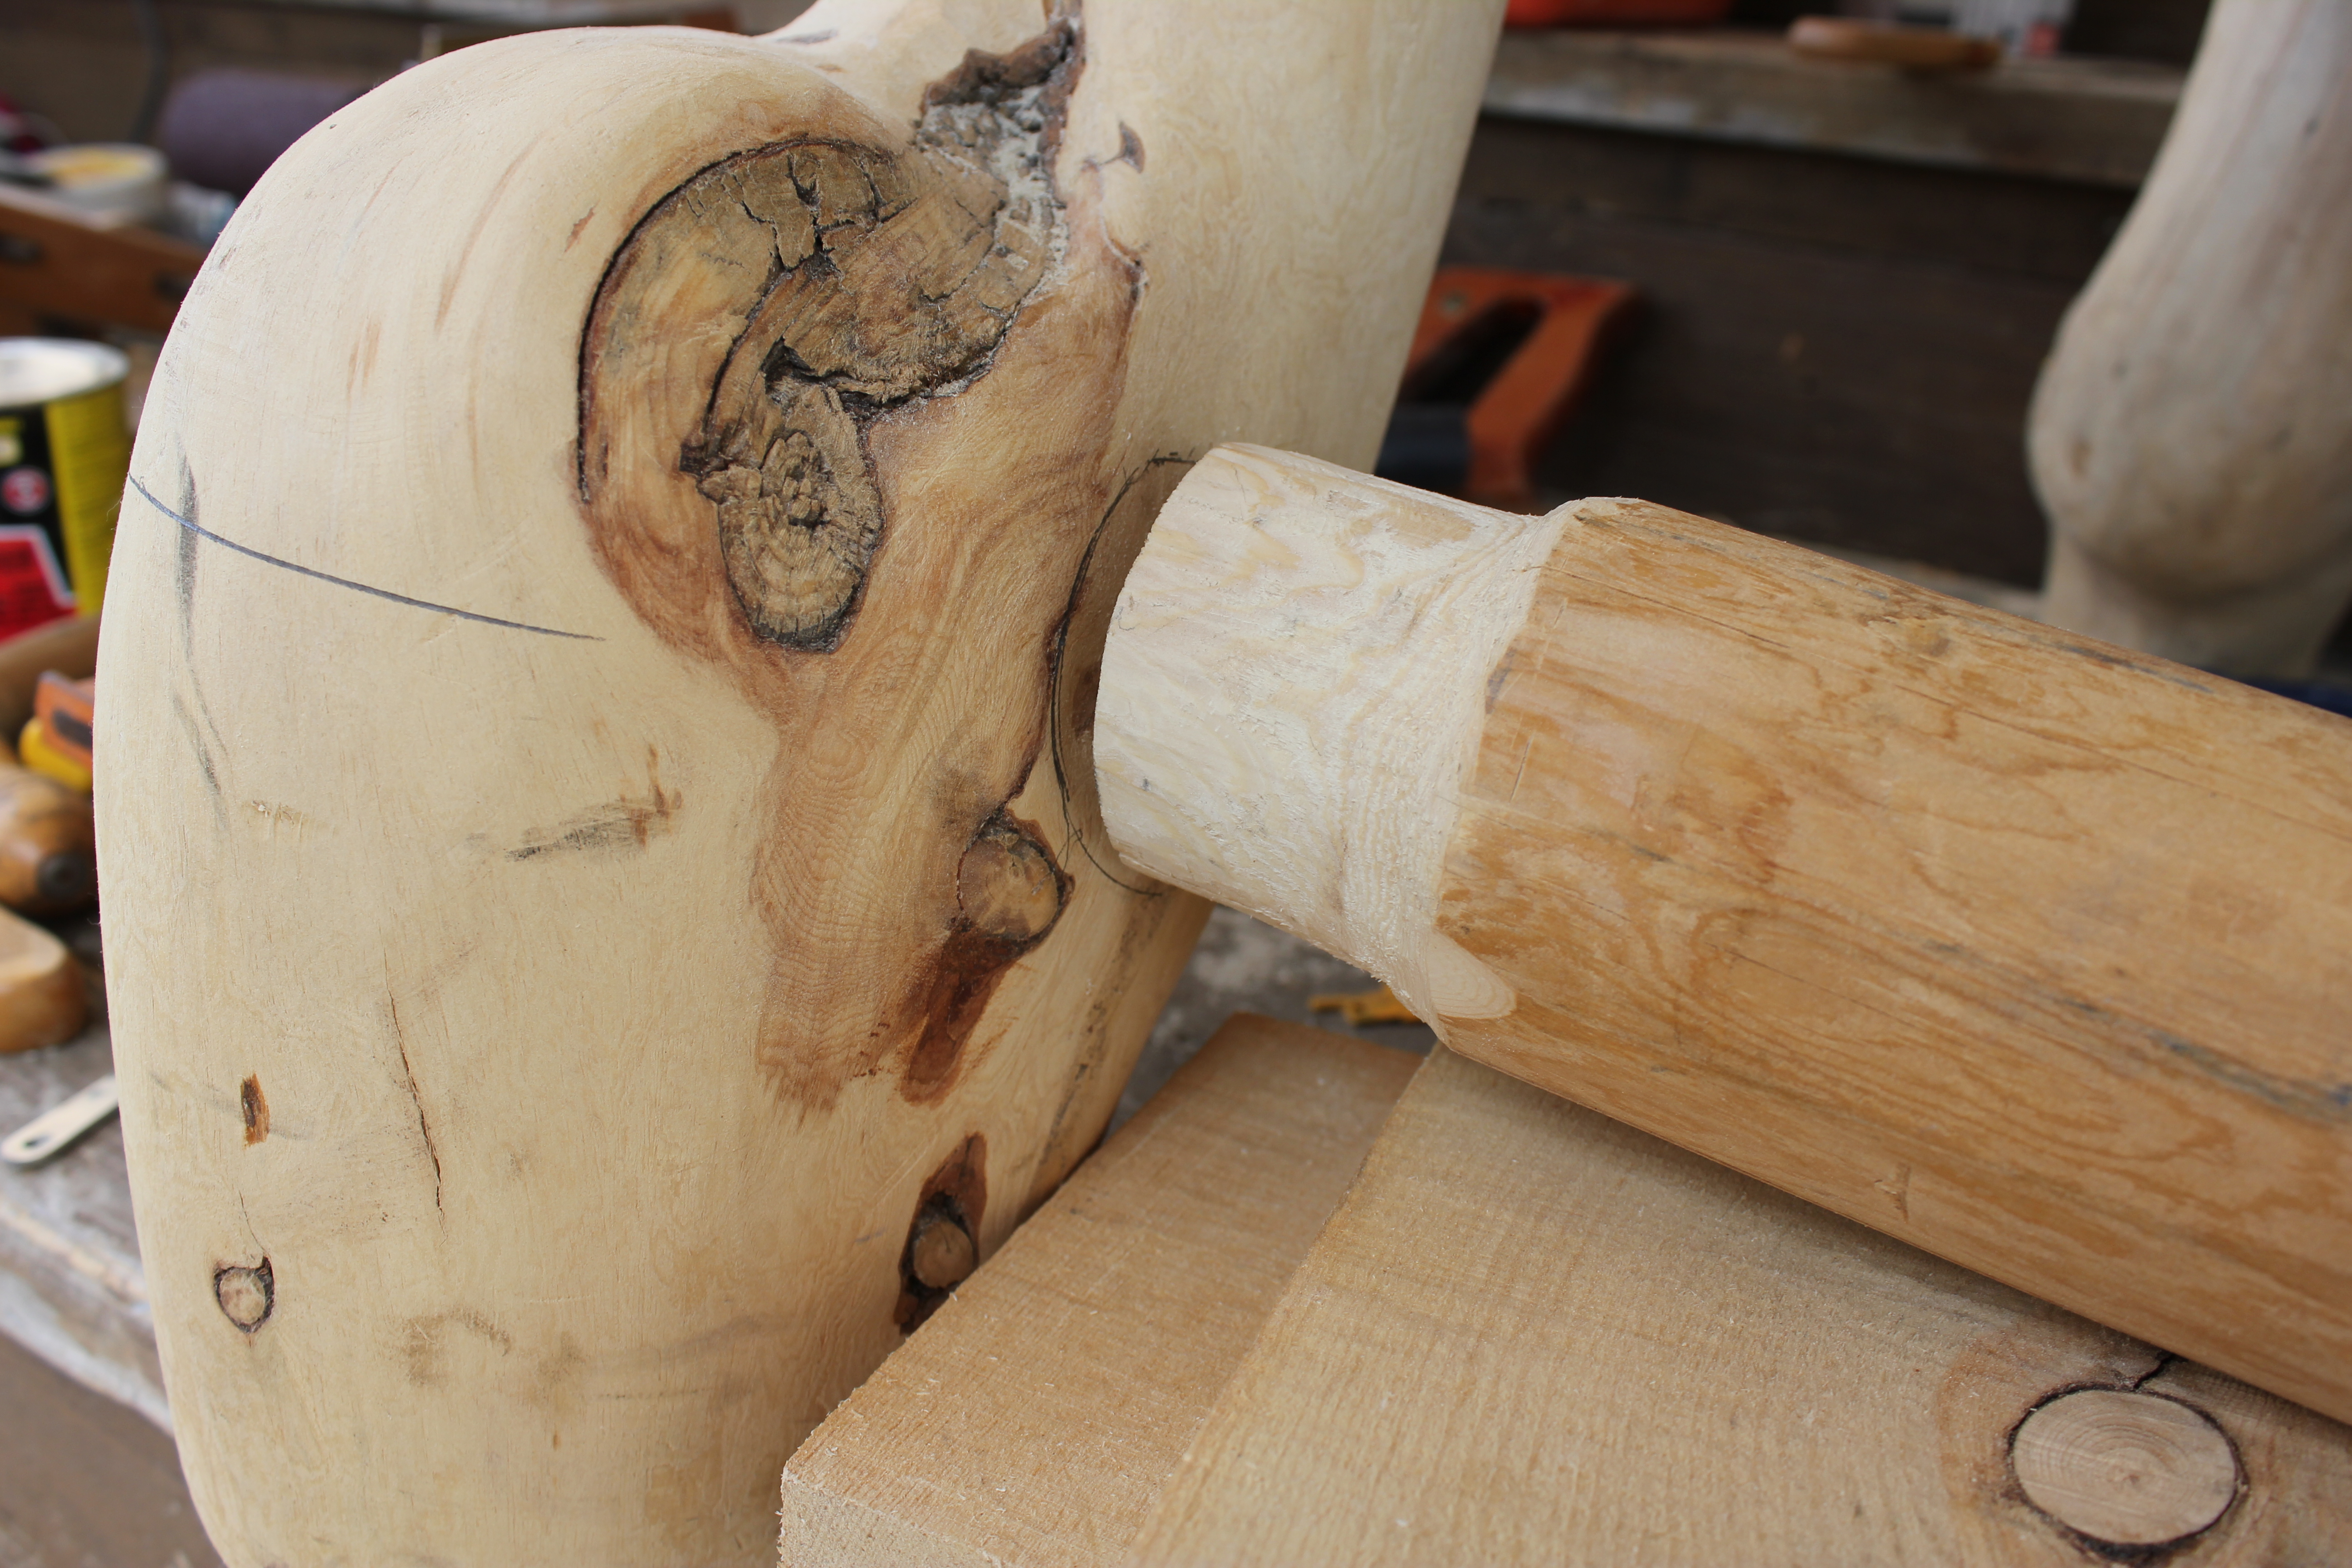
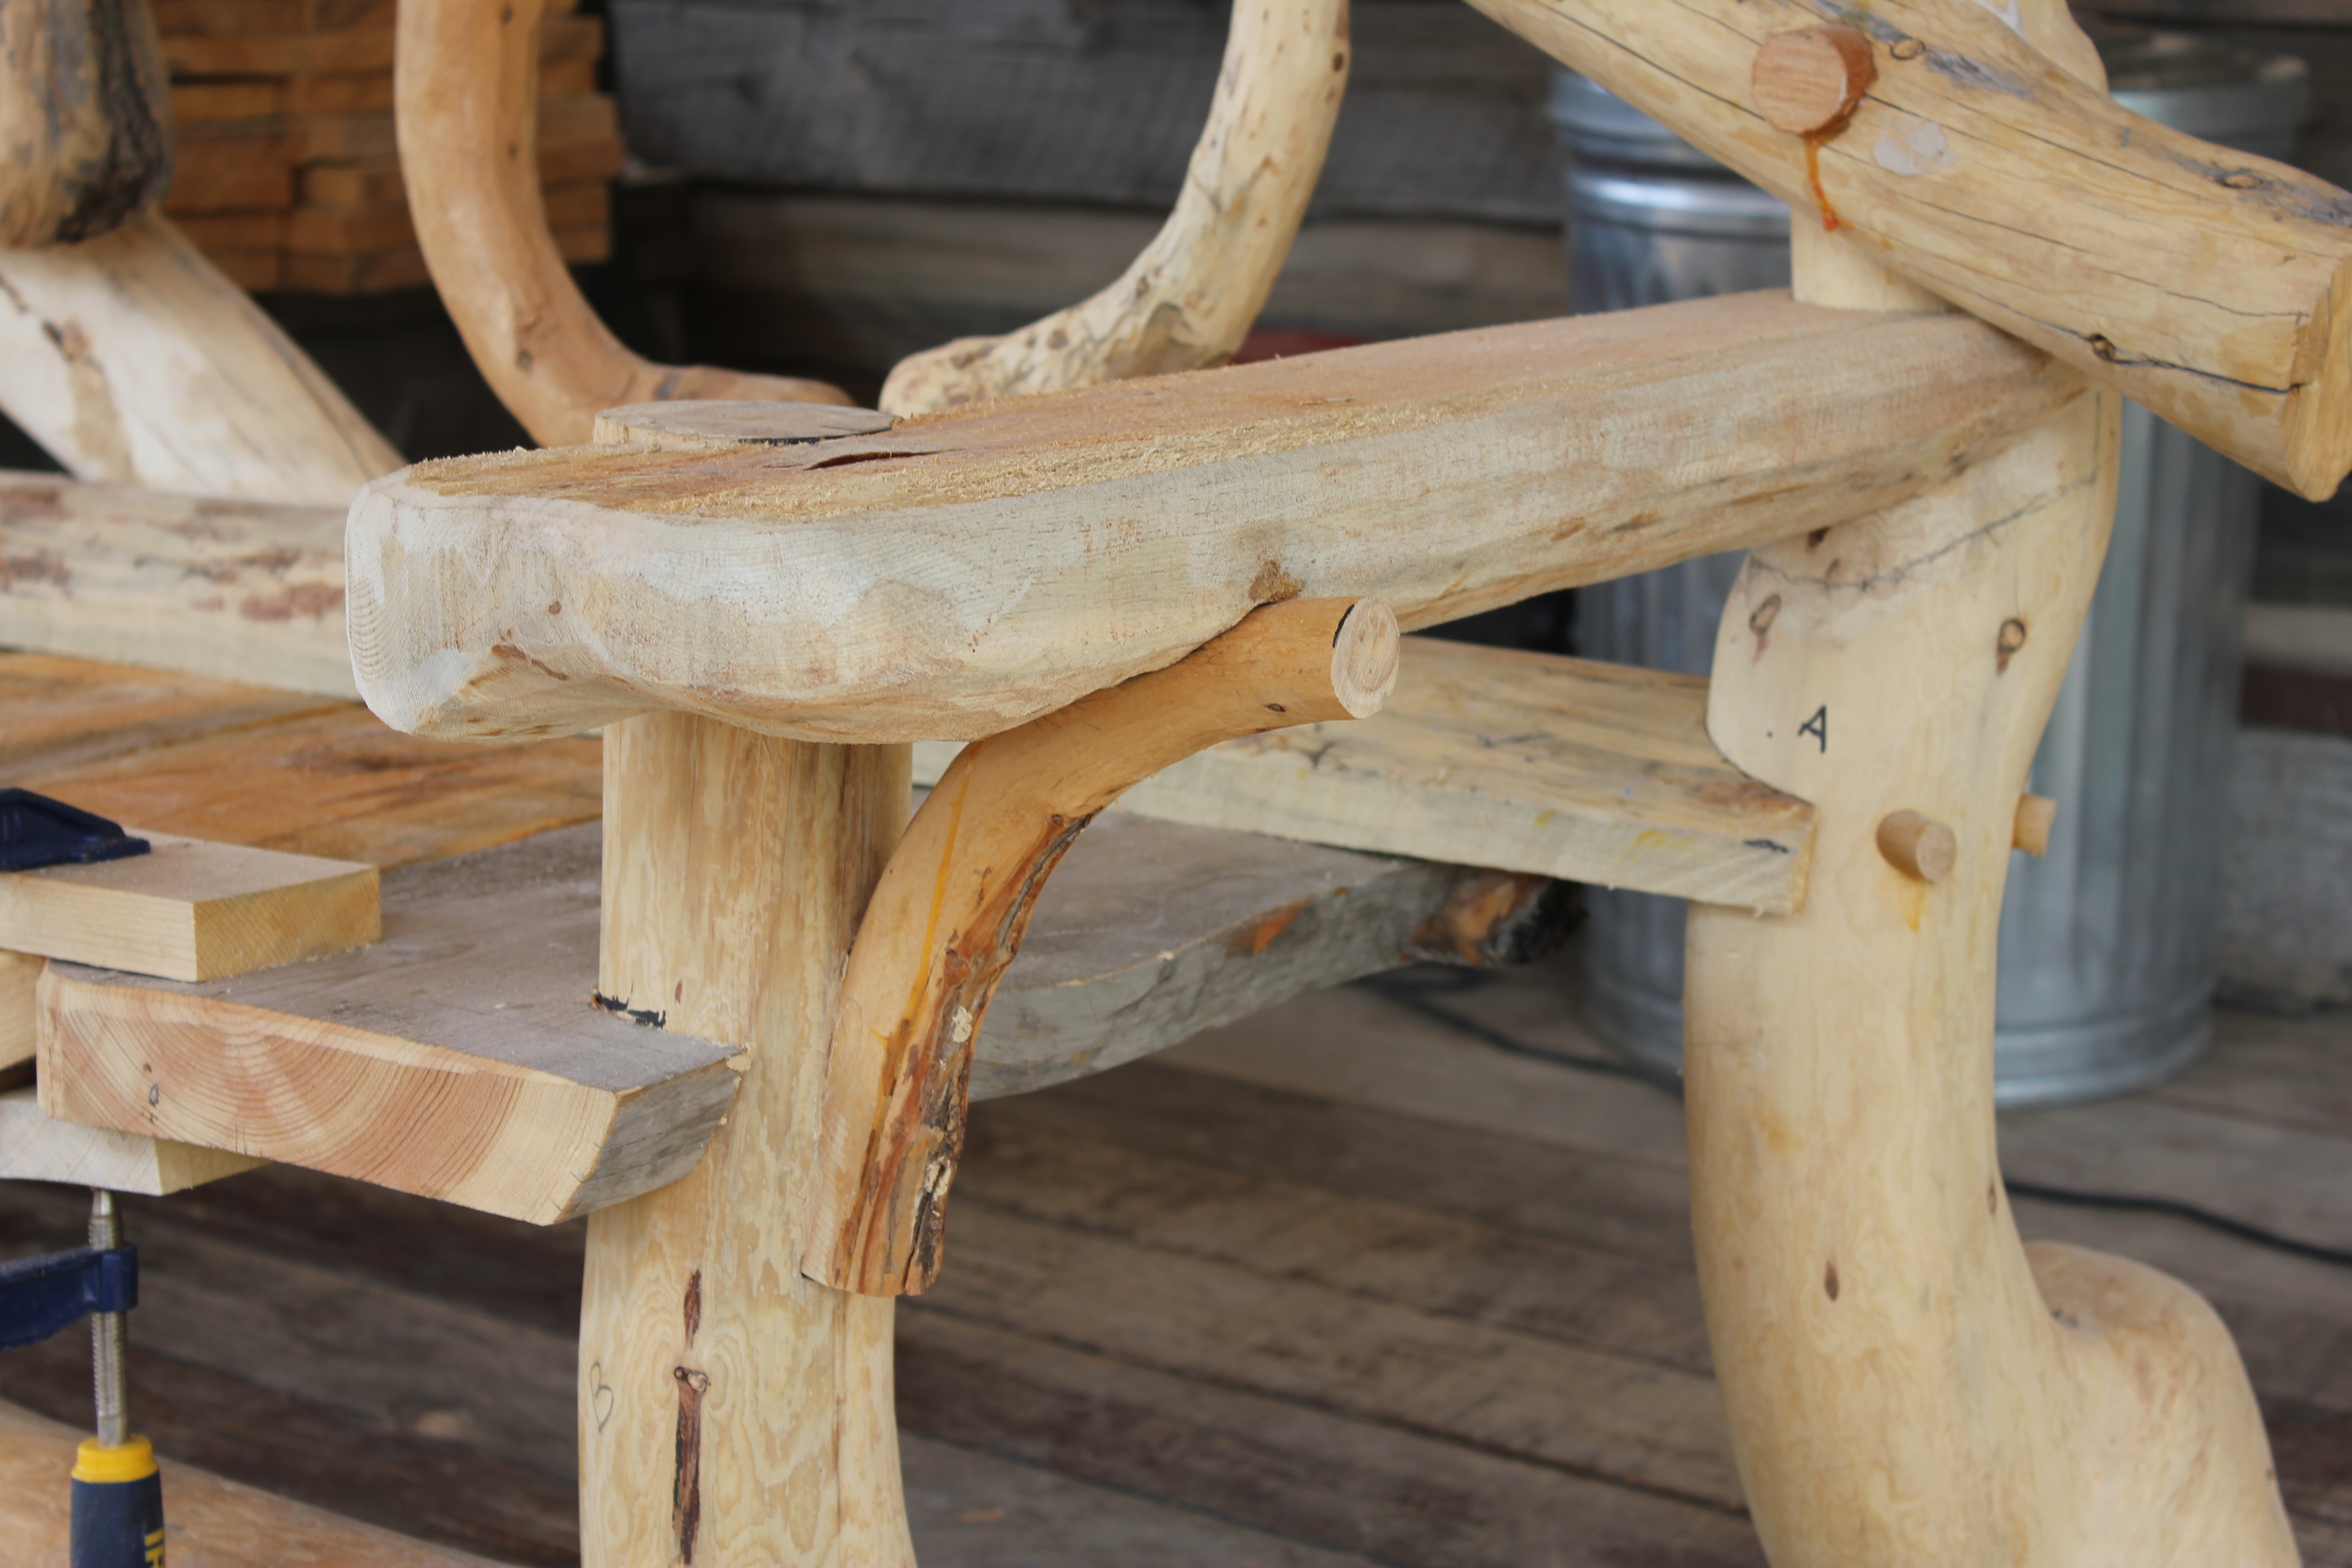
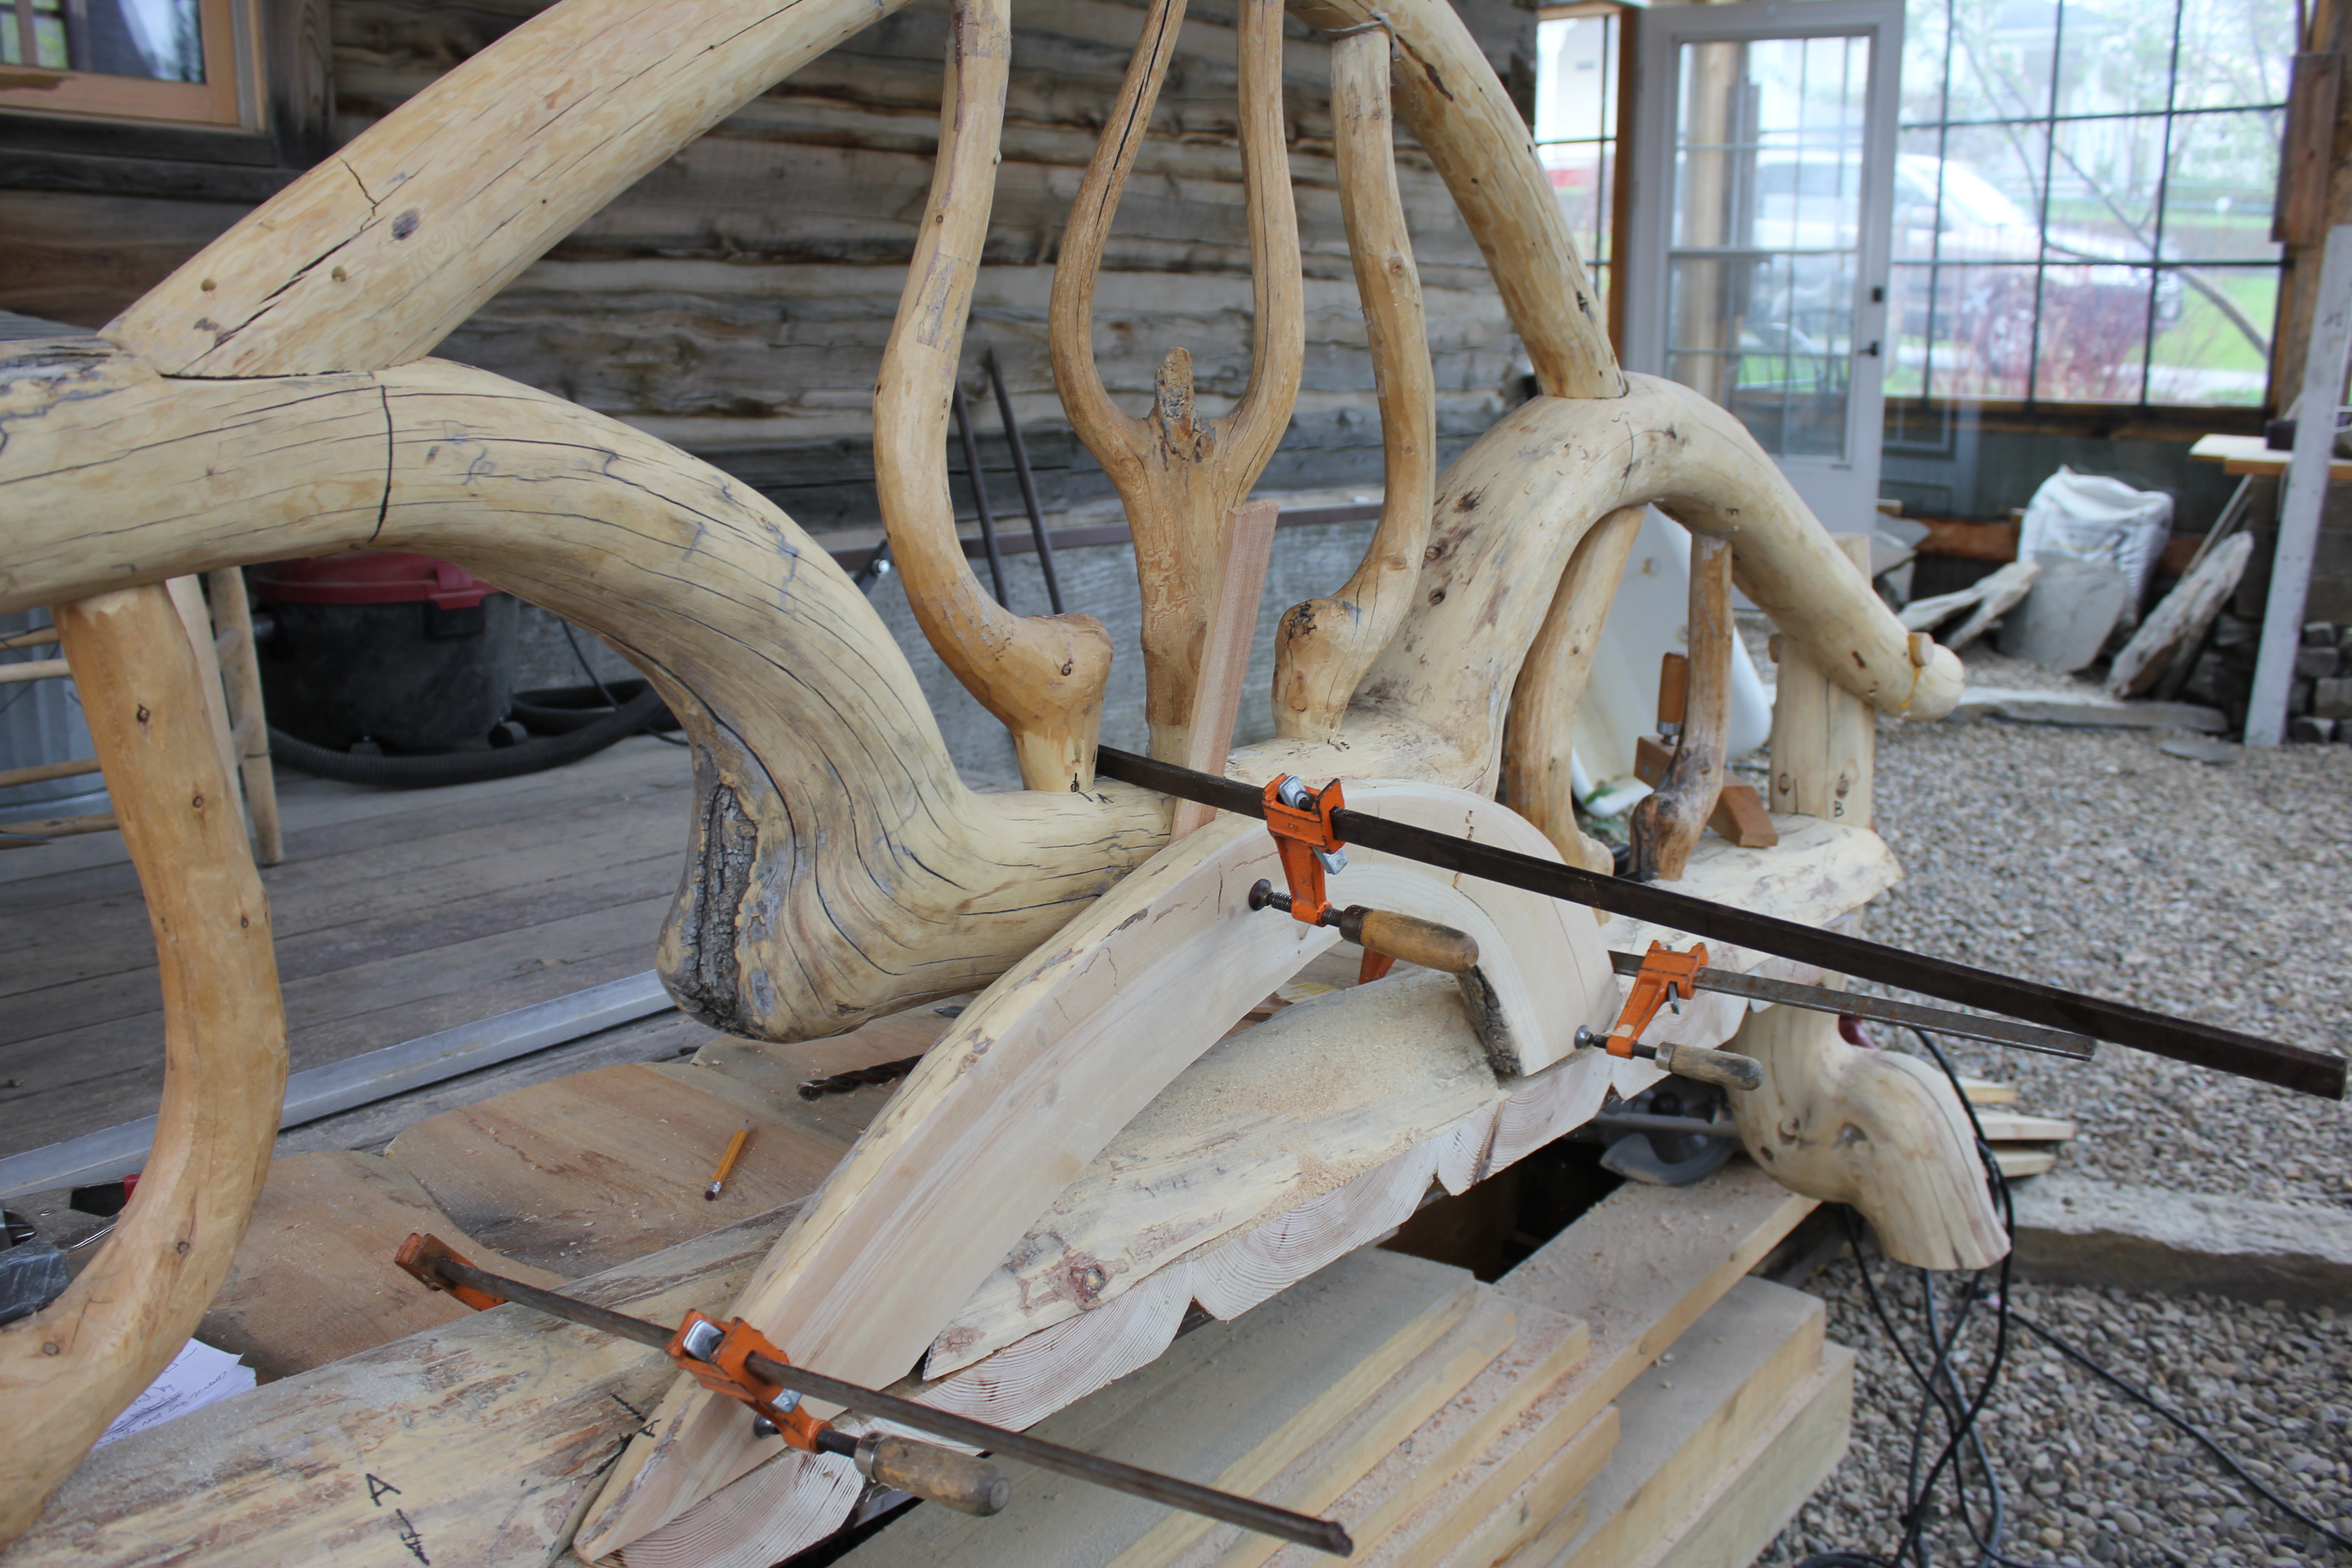
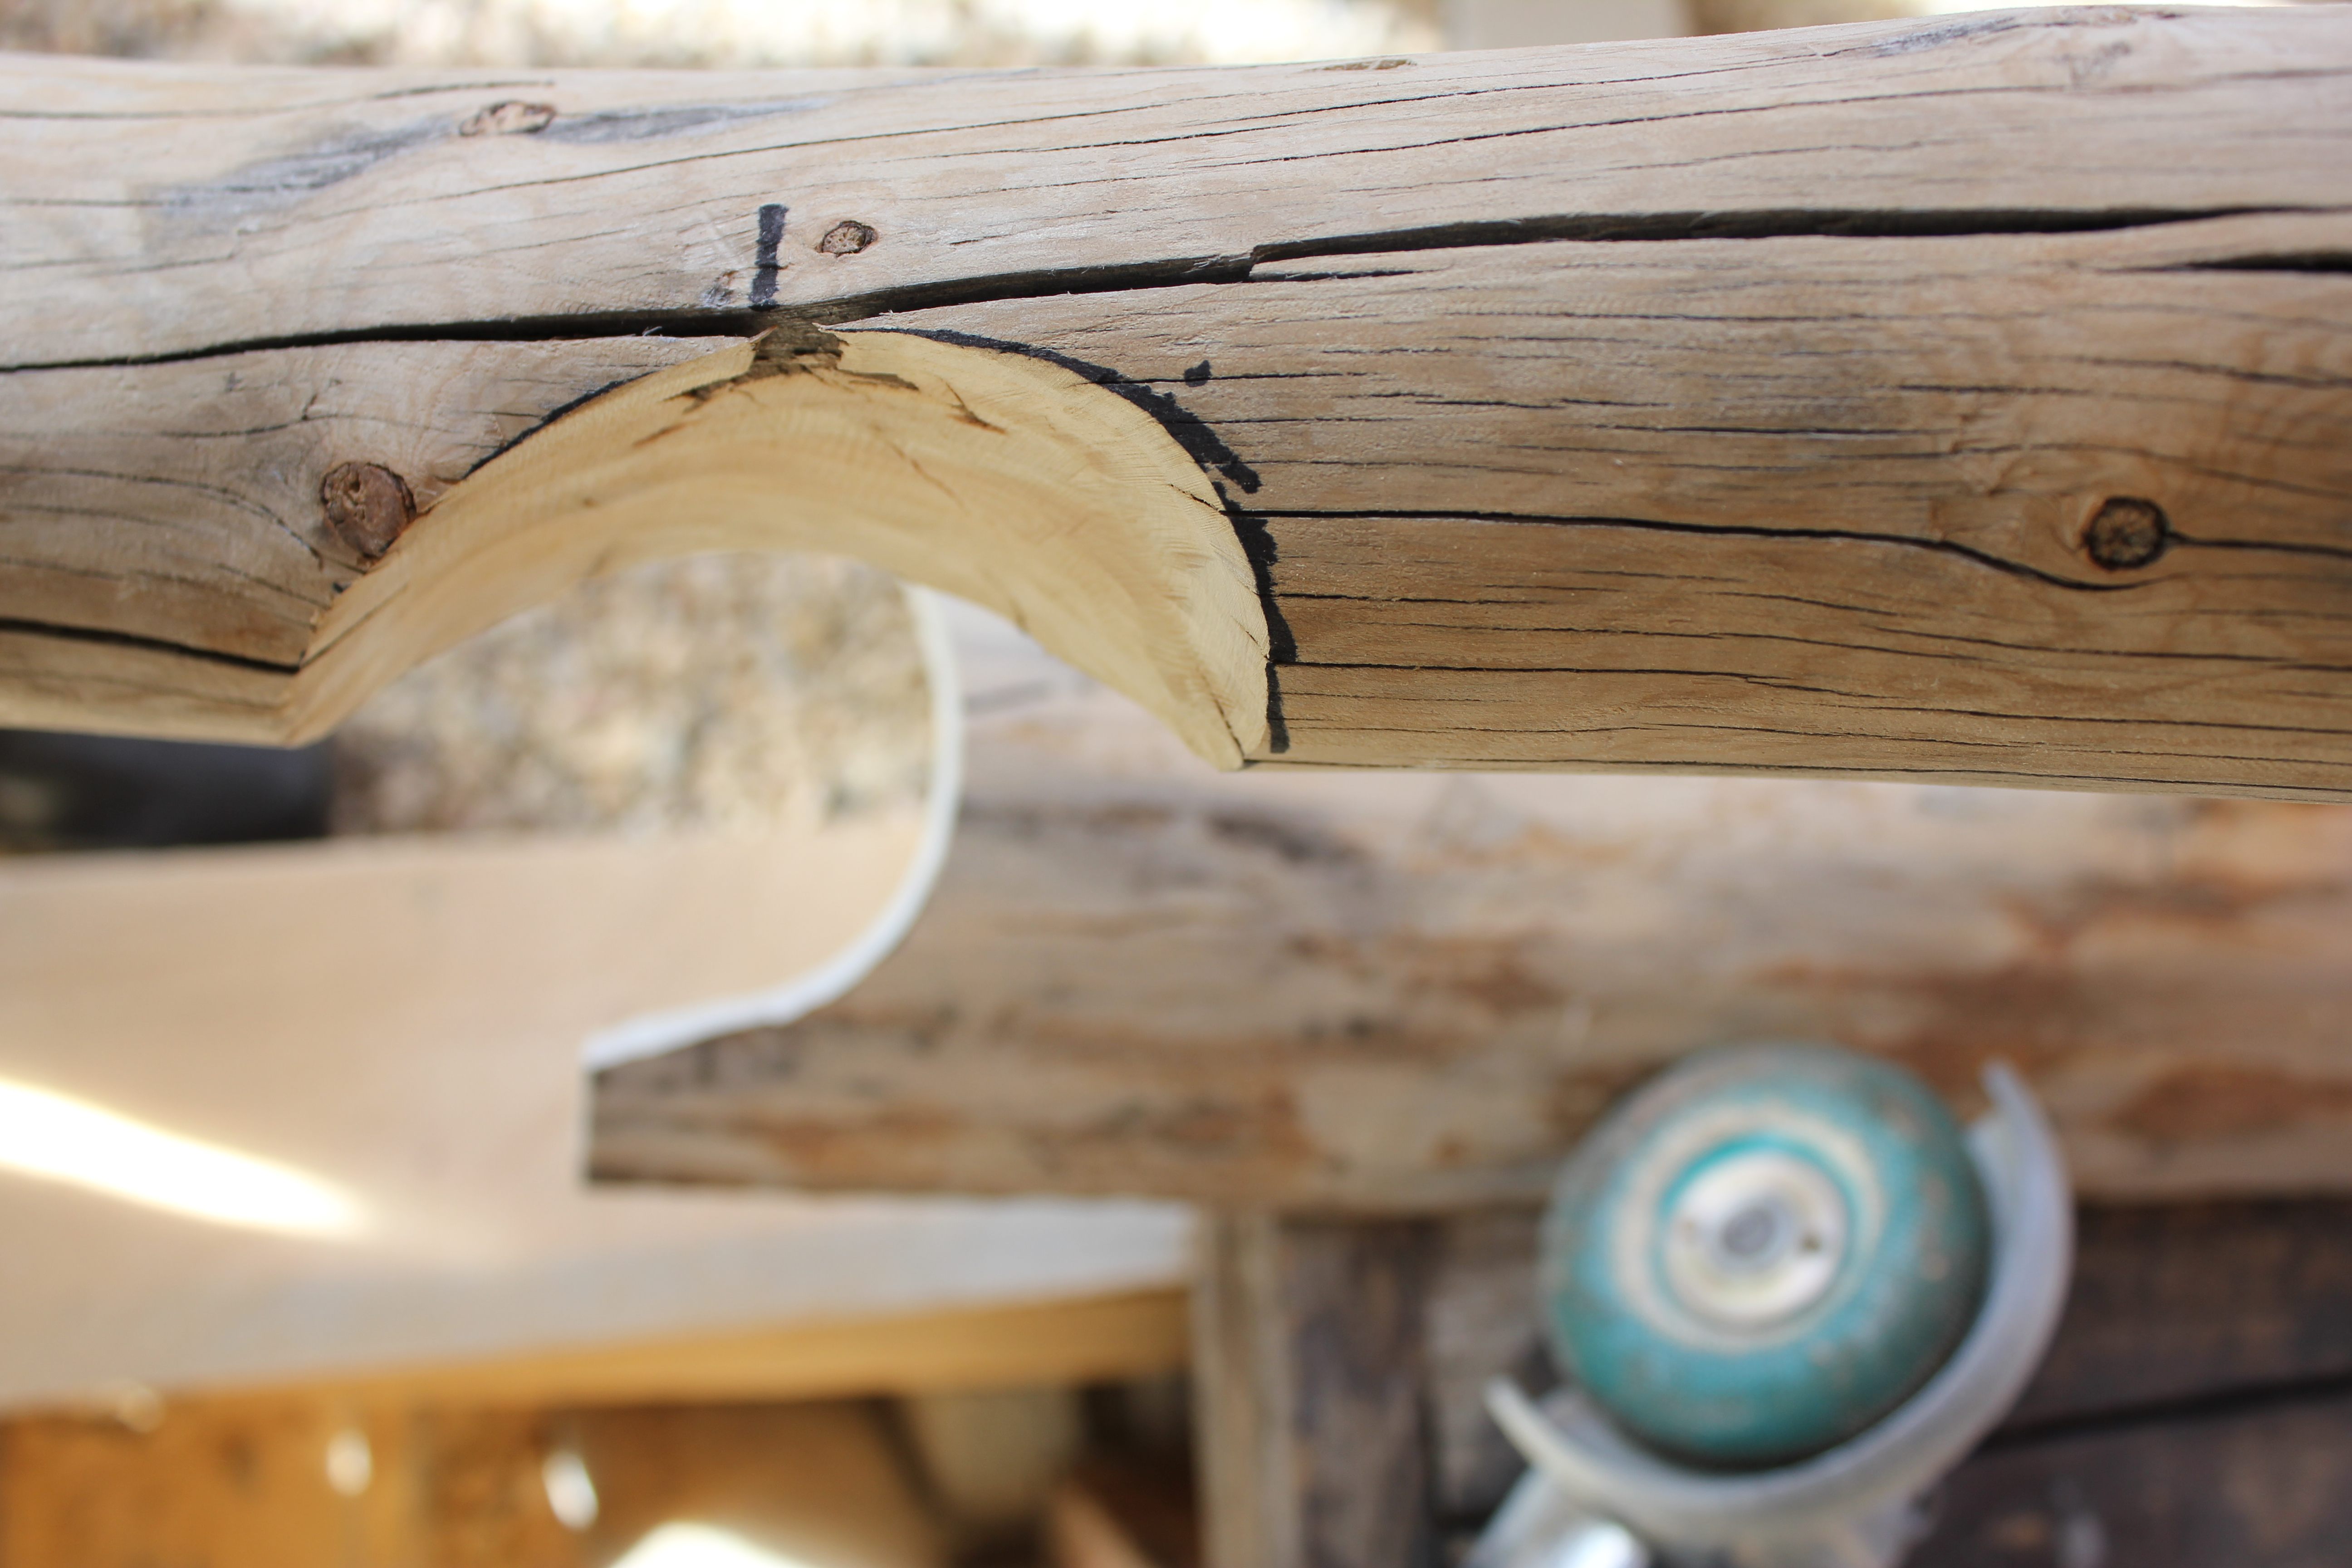
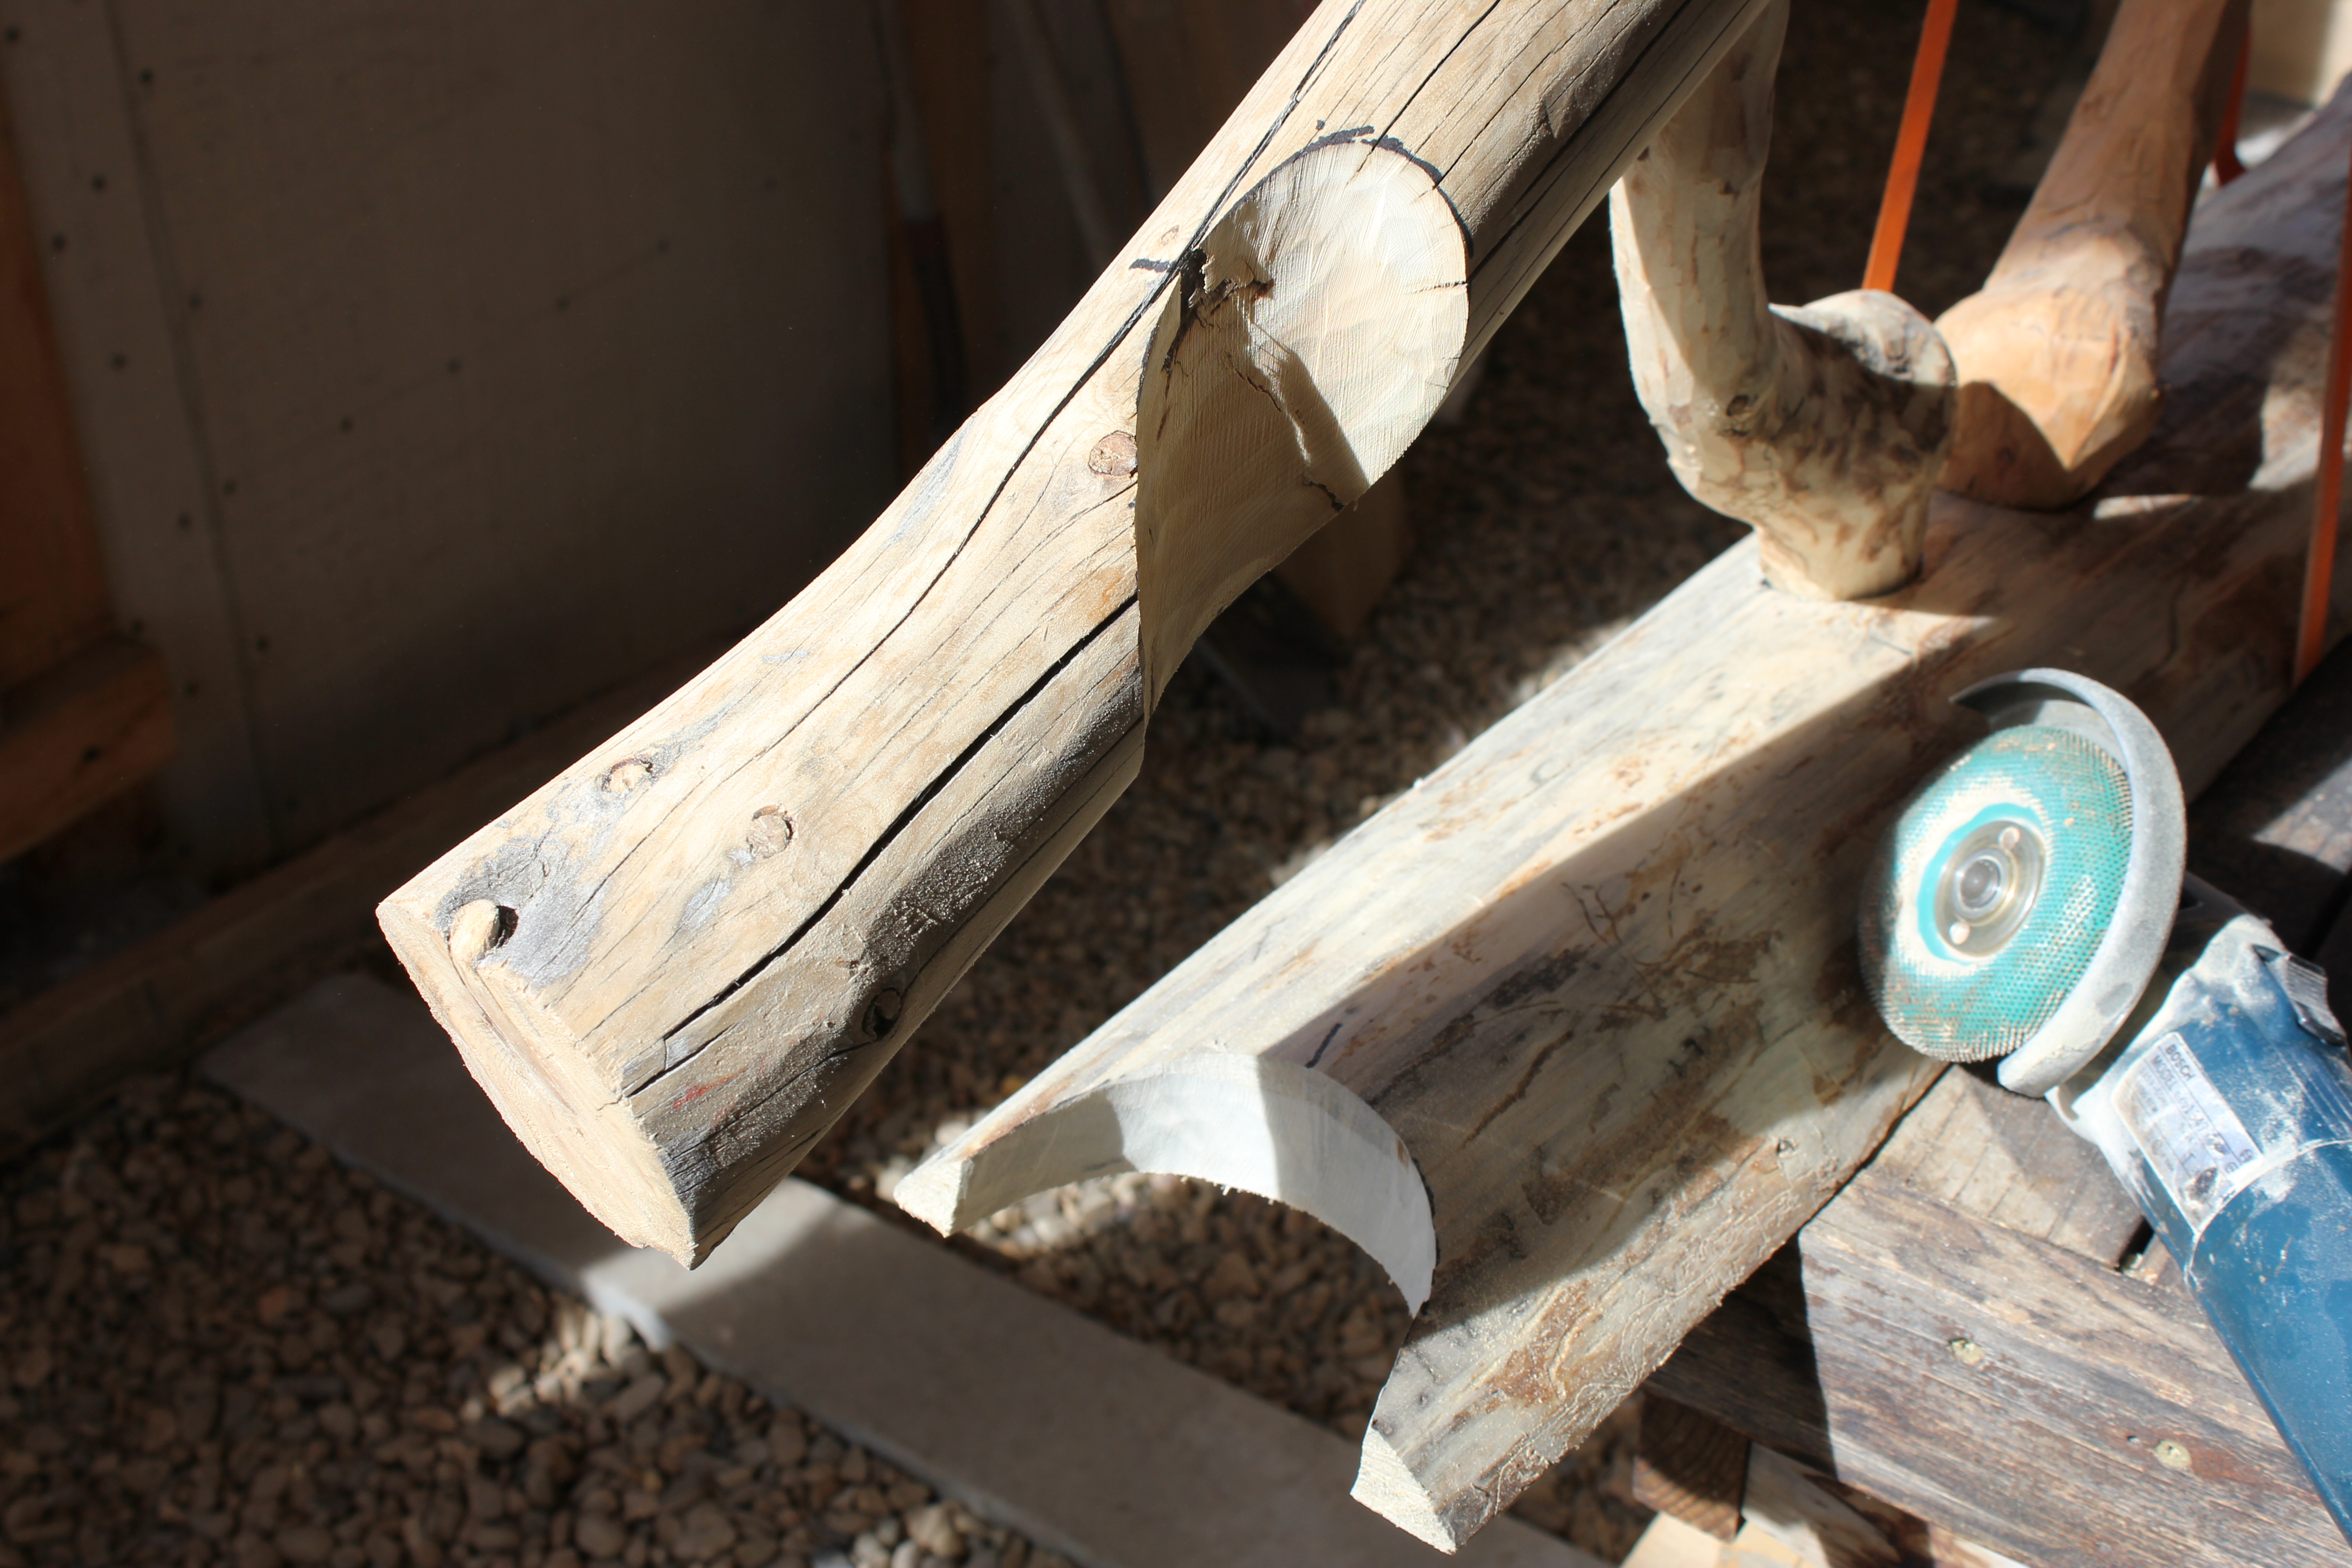
This photo is the first in a series showing the cut outs in both the top and bottom of the back rest to receive the leg. It’s a top view, looking down after the cut out has been made in the top rail of the backrest. Notice the black line that has a matching line on the leg for correct realignment of the joints. Also in the photo is the grinder and special cutting wheel that works very well, with and against the grain, in “sculpting” these cut outs for the coped joinery.

IMG_3176

Another view of the cut outs. I decided to leave the leg “as is” and fit it fully into the two cut outs. It’s complicated to make just one of these kinds of joints because of the curves and slants of the cut out, and of getting the correct horizontal alignments of the legs so the bench sits firmly on the ground.

IMG_3177

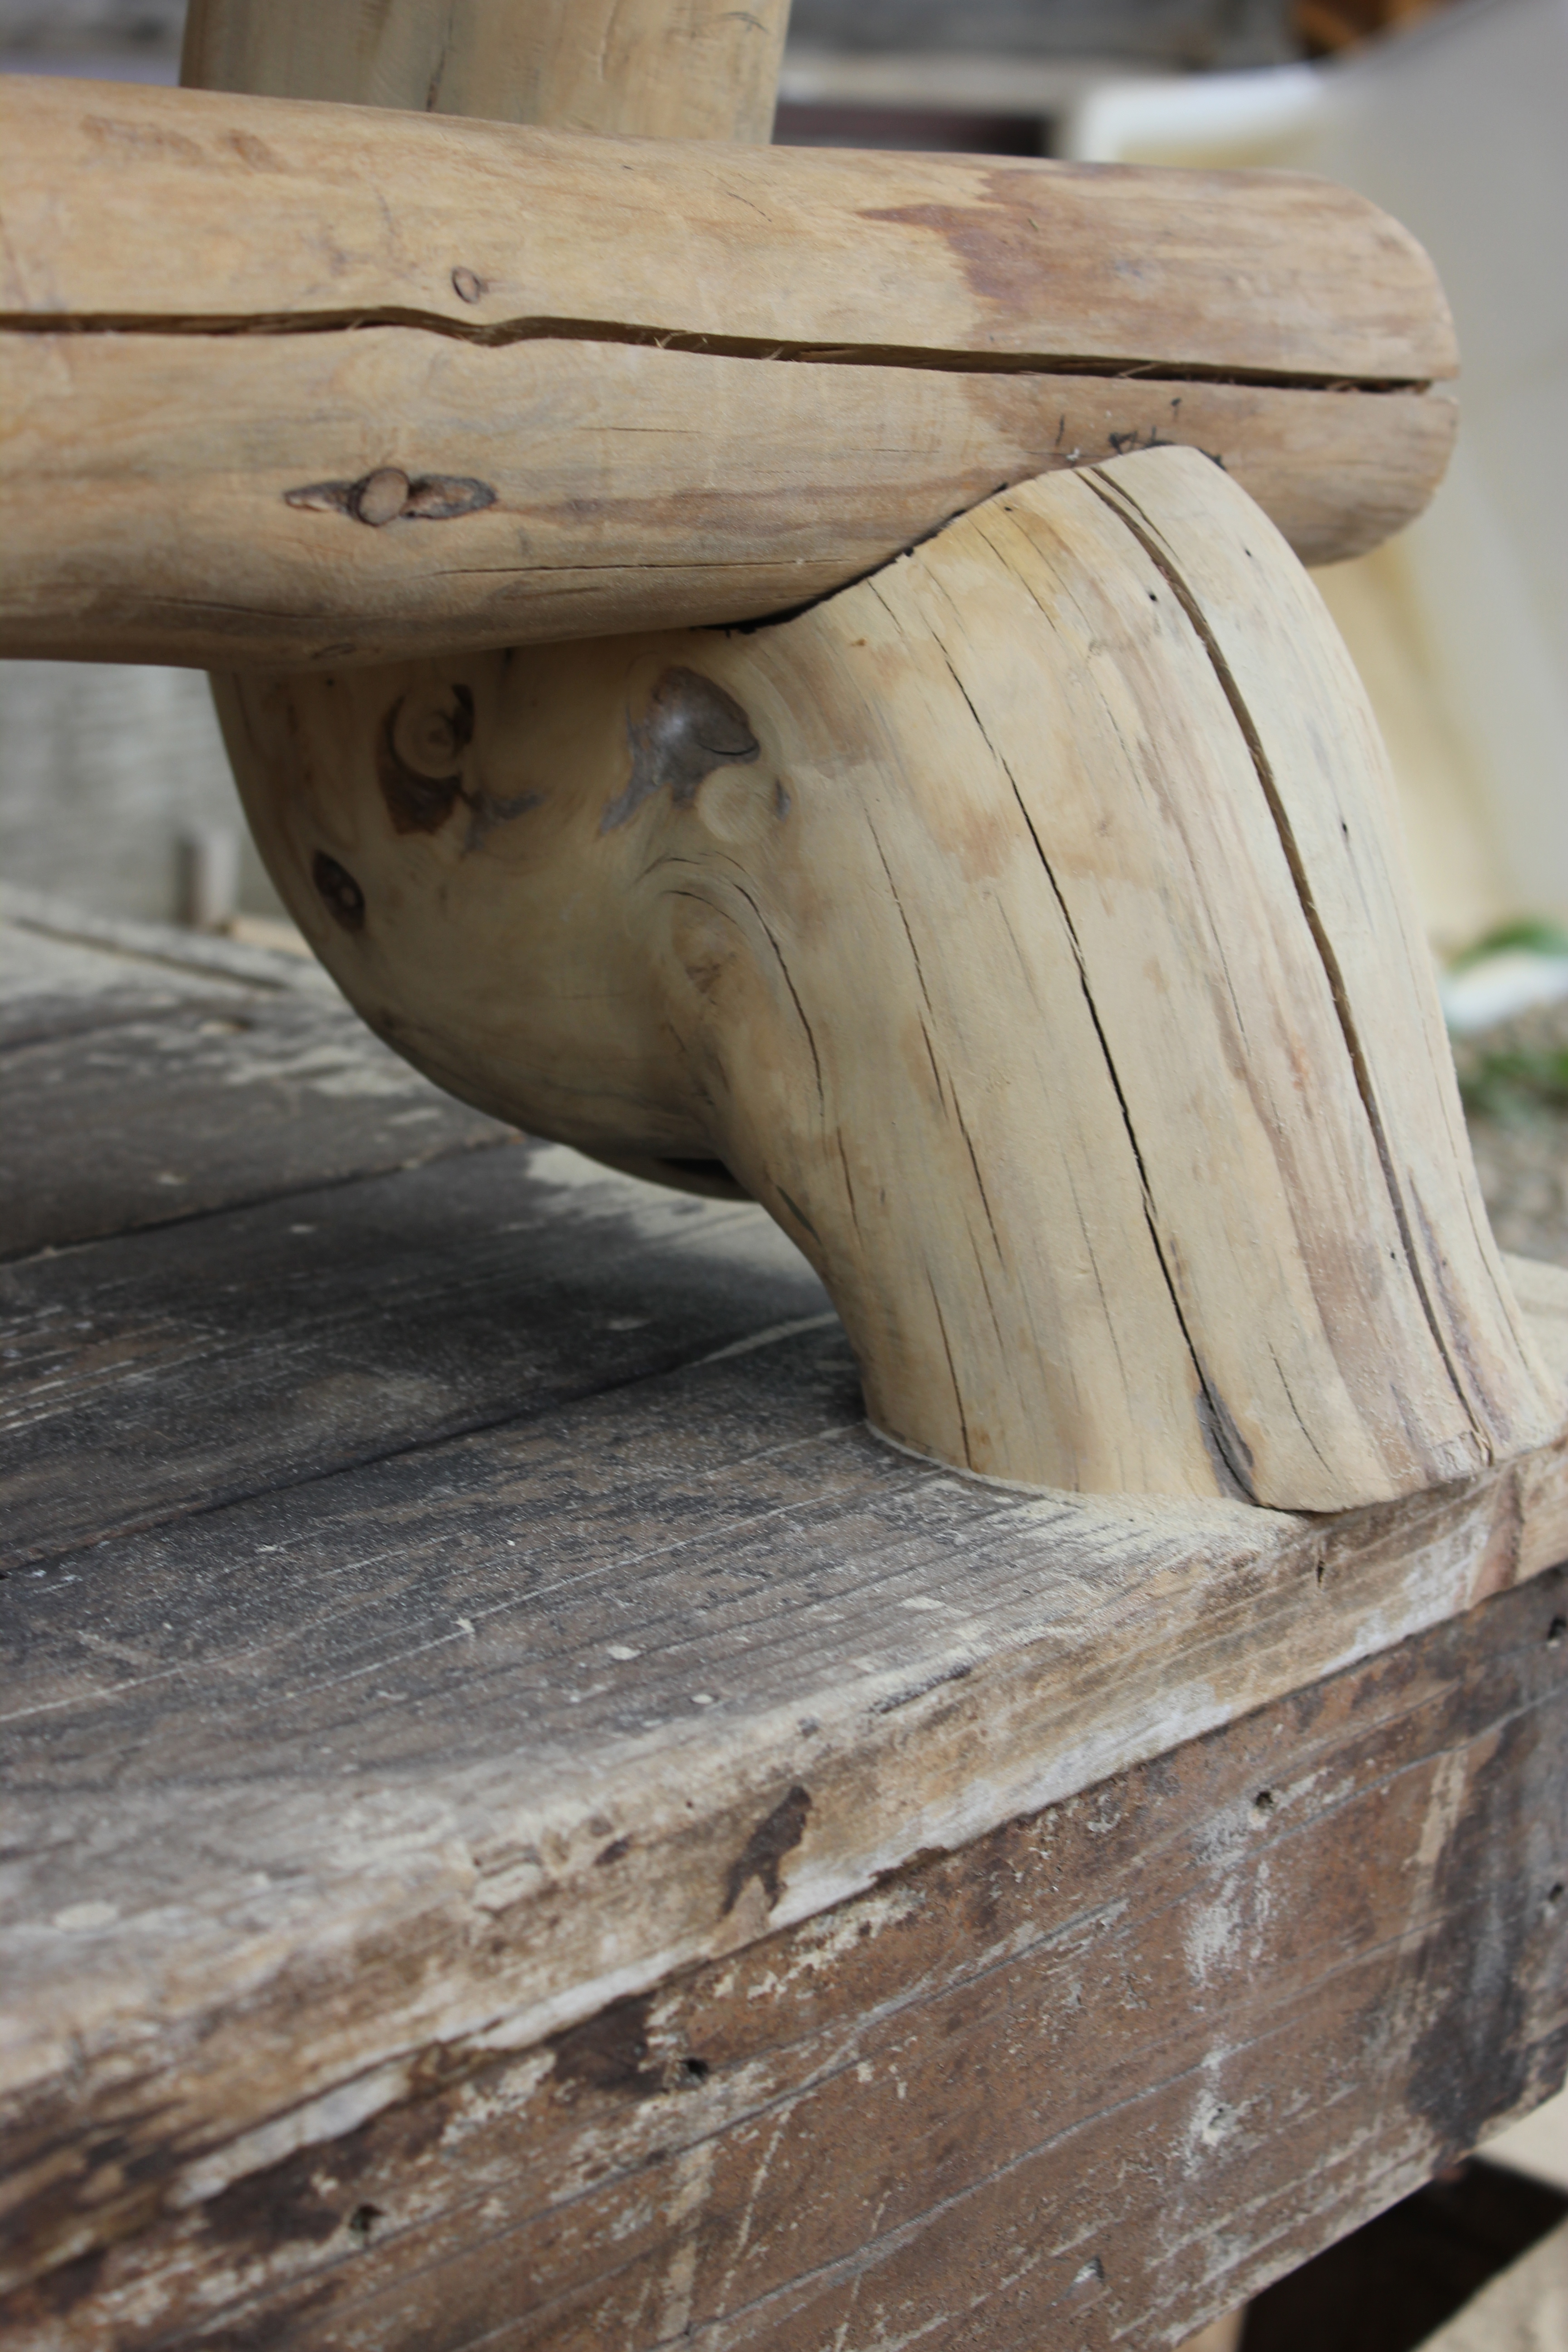
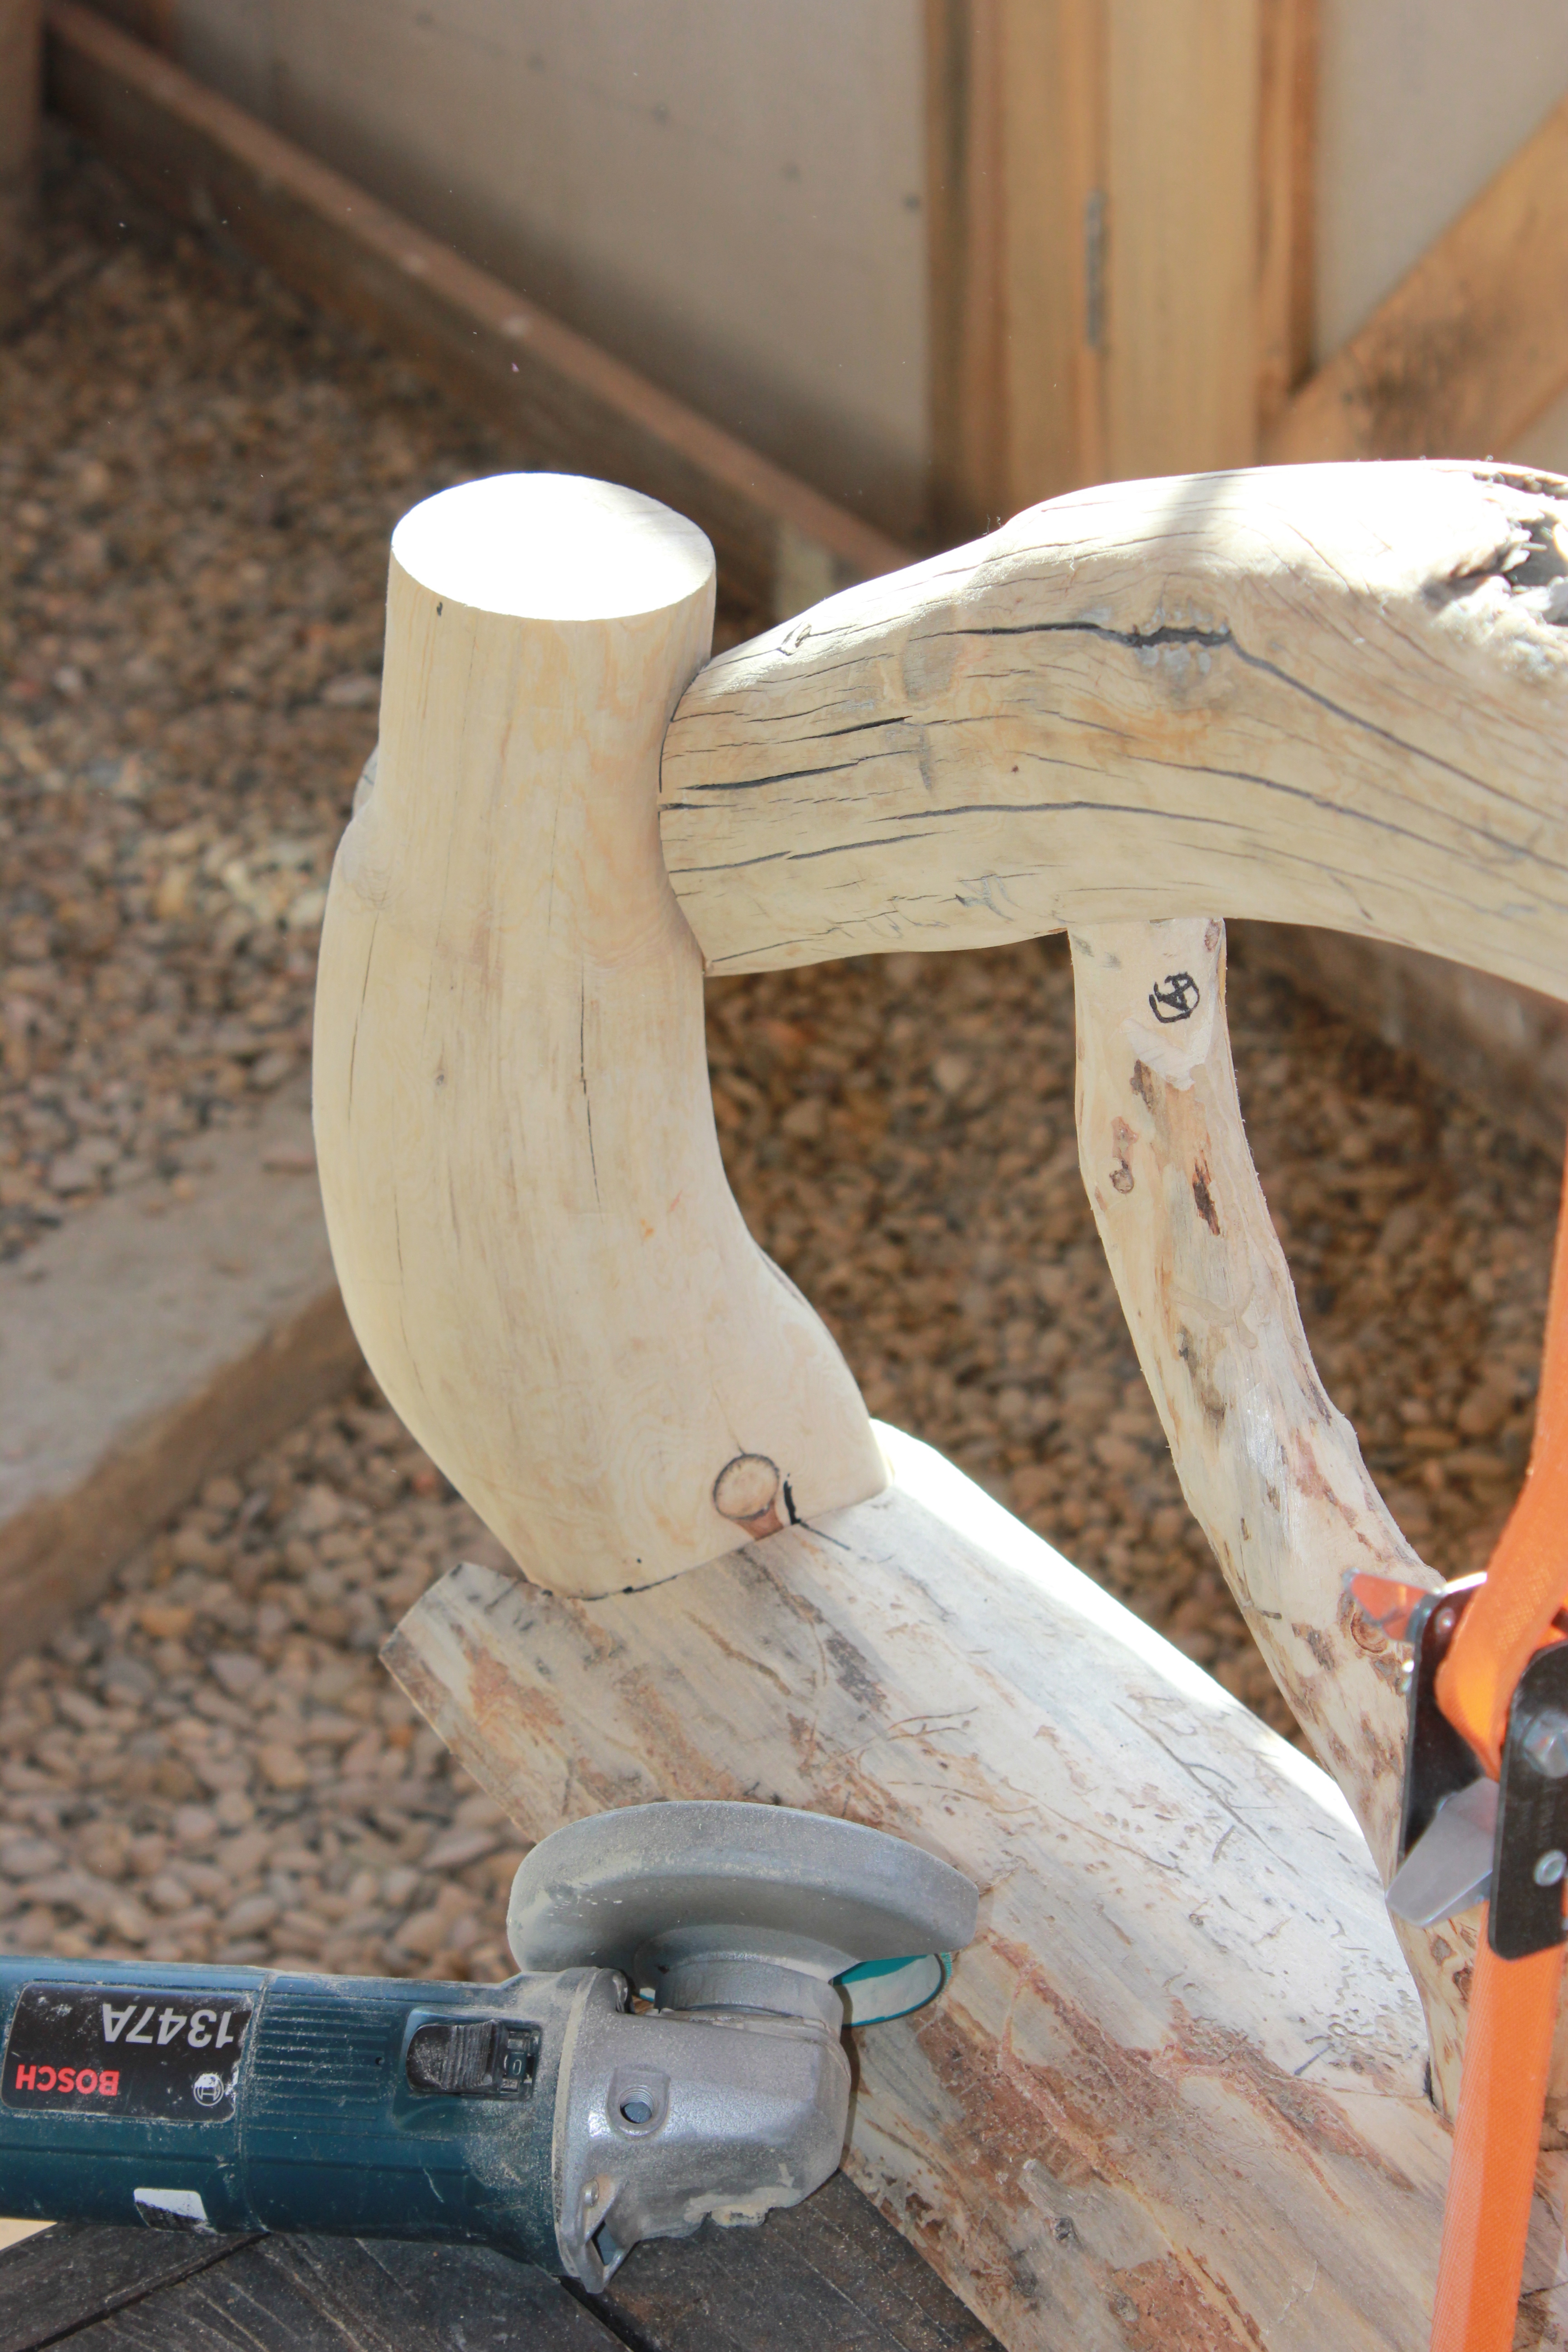
This is another view of the leg fitted into the two cut outs, with the top joint showing the alignment marks I mentioned above.

IMG_3181

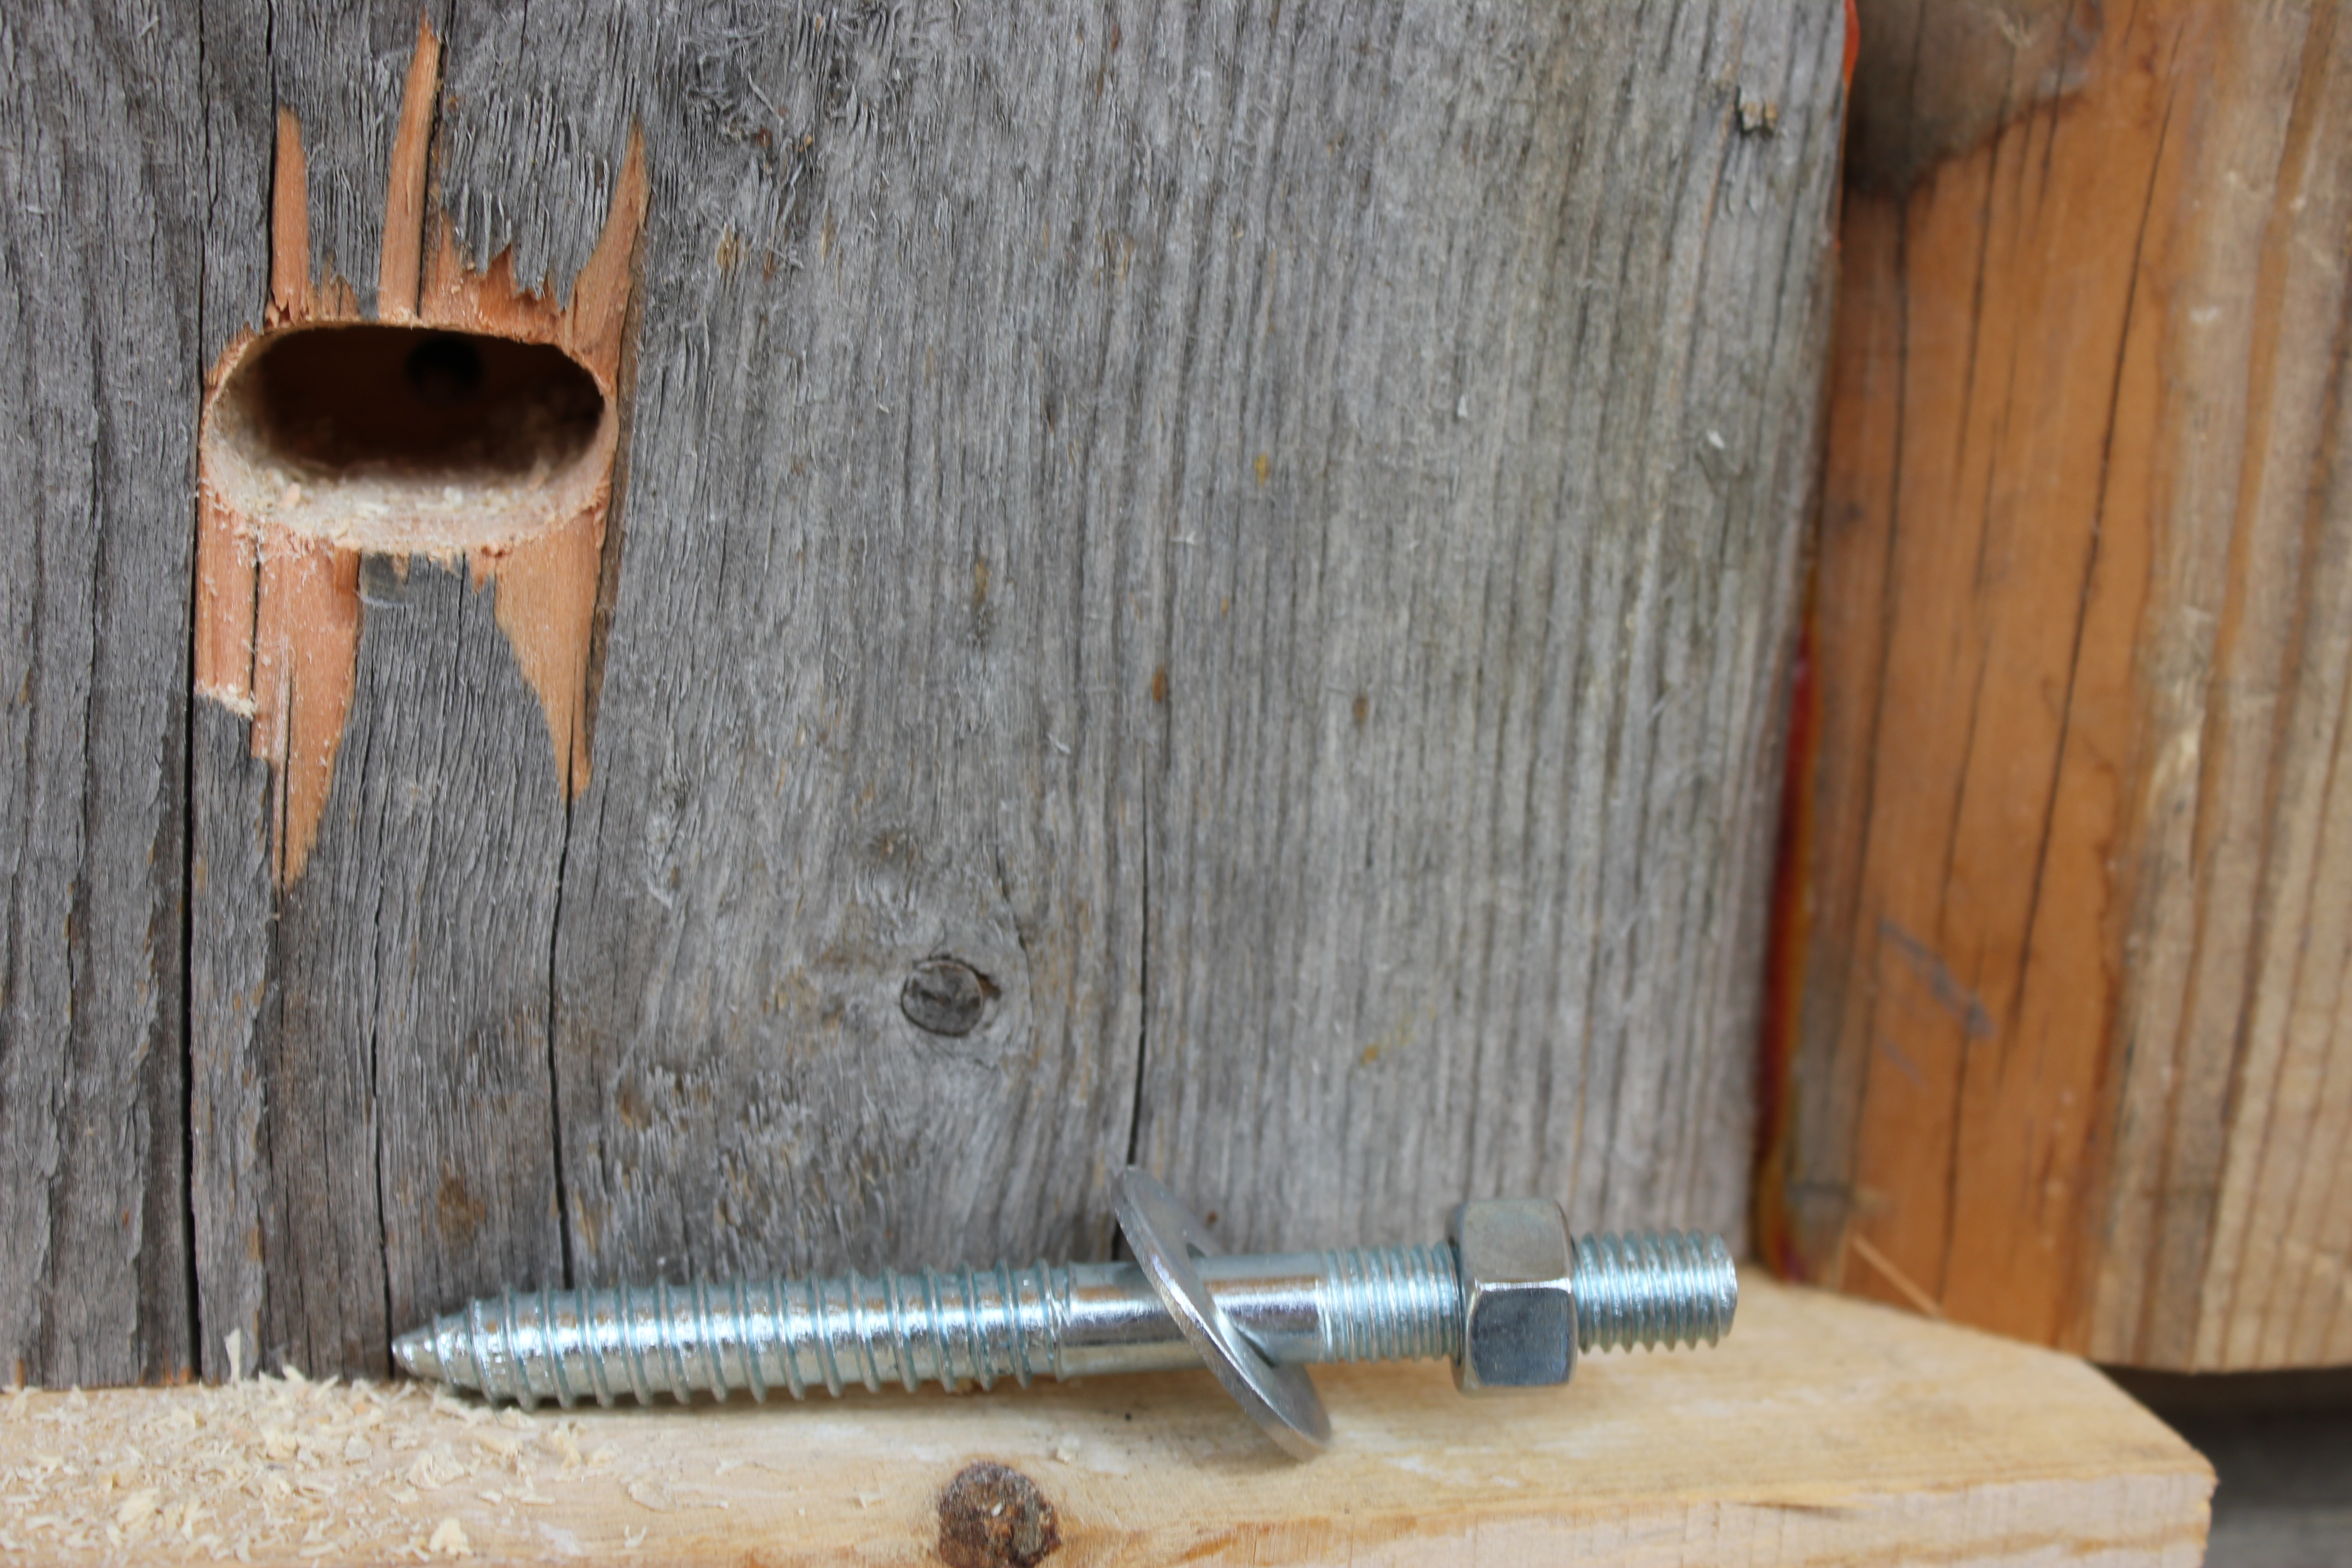
Viewed from the other side, the leg is securely fitted into the cut outs. At this point, I’m not sure how I will fasten the joints–whether I’ll dowel and glue them or use concealed wood screws to allow for disassembly because the bench is getting heavy and will be awkward to move.

Twenty-seven. Making the bench seat

The making of the bench seat with 8 pieces of 2″ thick planks.

Perhaps, since tree art is a collaboration with Nature, I tend to abhor straight lines (and square corners, etc.). In the making of edge to edge butt joints, I like the mate cut, waney edge joints as a design detail.

IMG_3111

After one side of a piece has been cut on the bandsaw, the compass serves to scribe the adjoining piece, for a paired and mate cut joint. It’s important to keep the point and the pencil directly opposite to each other, closely perpendicular to the direction of the joint.

IMG_3113

Piece number 4 will now go to the bandsaw for a cut of the second half of the paired pieces, for an approximate fit. It is important to number the paired pieces for replacement.

IMG_3109

The edges of these pieces have all been cut on the bandsaw. Now, one joint at a time, after each end of the paired pieces has a log dog driven in, the jigsaw will mate cut the final butt joint.

IMG_3118

Here’s a close up of the mate cut in progress. Tightly fitting the joint sometimes takes several passes, releasing the log dogs each time, depending on how tightly the bandsaw’s approximate cuts fit. The two points of each log dog are pointed and wedge shaped so they draw the joint together as they are driven into the end grain.

IMG_3121

The jigsaw is cutting a uniform kerf the length of the pieces, so when the log dogs are removed the waney edges fit tightly, i.e., are mated to each other.

IMG_3125

These 8 pieces are ready for gluing and clamping to make the seating surface for the bench, about 80′ long and 20″ deep–deep enough for the backrest to be placed on top.

Twenty-six. (B) Making the bench backrest (cont’d)

Post Twenty-six was getting too lengthy, probably too many photos and not enough text.  I’ve been saving two posts as drafts rather than publishing them.  I’m thinking now that it doesn’t matter all that much if I go ahead and publish them.  Just as tree art is not fine woodworking, my writing in these posts is not fine literature.

IMG_3098

After the bark was drawknife off the slab, I scribed around the end of each swan neck for a matching mortise to secure each of them as a tenon.  The FR with arrows remind me which edge of the slab is to the front and which end is to the right.

IMG_3099

The four swan necks will connect this 80″ long slab with both the backrest and the bench seat. Eventually, the two back legs of the bench will also be joined to this slab.

IMG_3101

Each swan neck tenon is now secured in its mortise by a long wood screw inserted and tightened through a pilot hole predrilled through the slab from its flat underside.

IMG_3104

With the backrest mounted to the slab, I’m now ready to think about the bench seat, which I hadn’t designed yet or selected its materials. This project has become more of a design-in-progress than I feel comfortable with ….